
Design #4 - Creating Orange Flowers and Leaves - With 3 other variations
Step - by - Step Tutorial

Hello my lovelies,
Today I want to show you how to create designs using a simple approach. I chose orange with some terracotta tint colours. All supplies from Aliexpress except acrylic paints and brushes. Acrylic colours are from HERE.
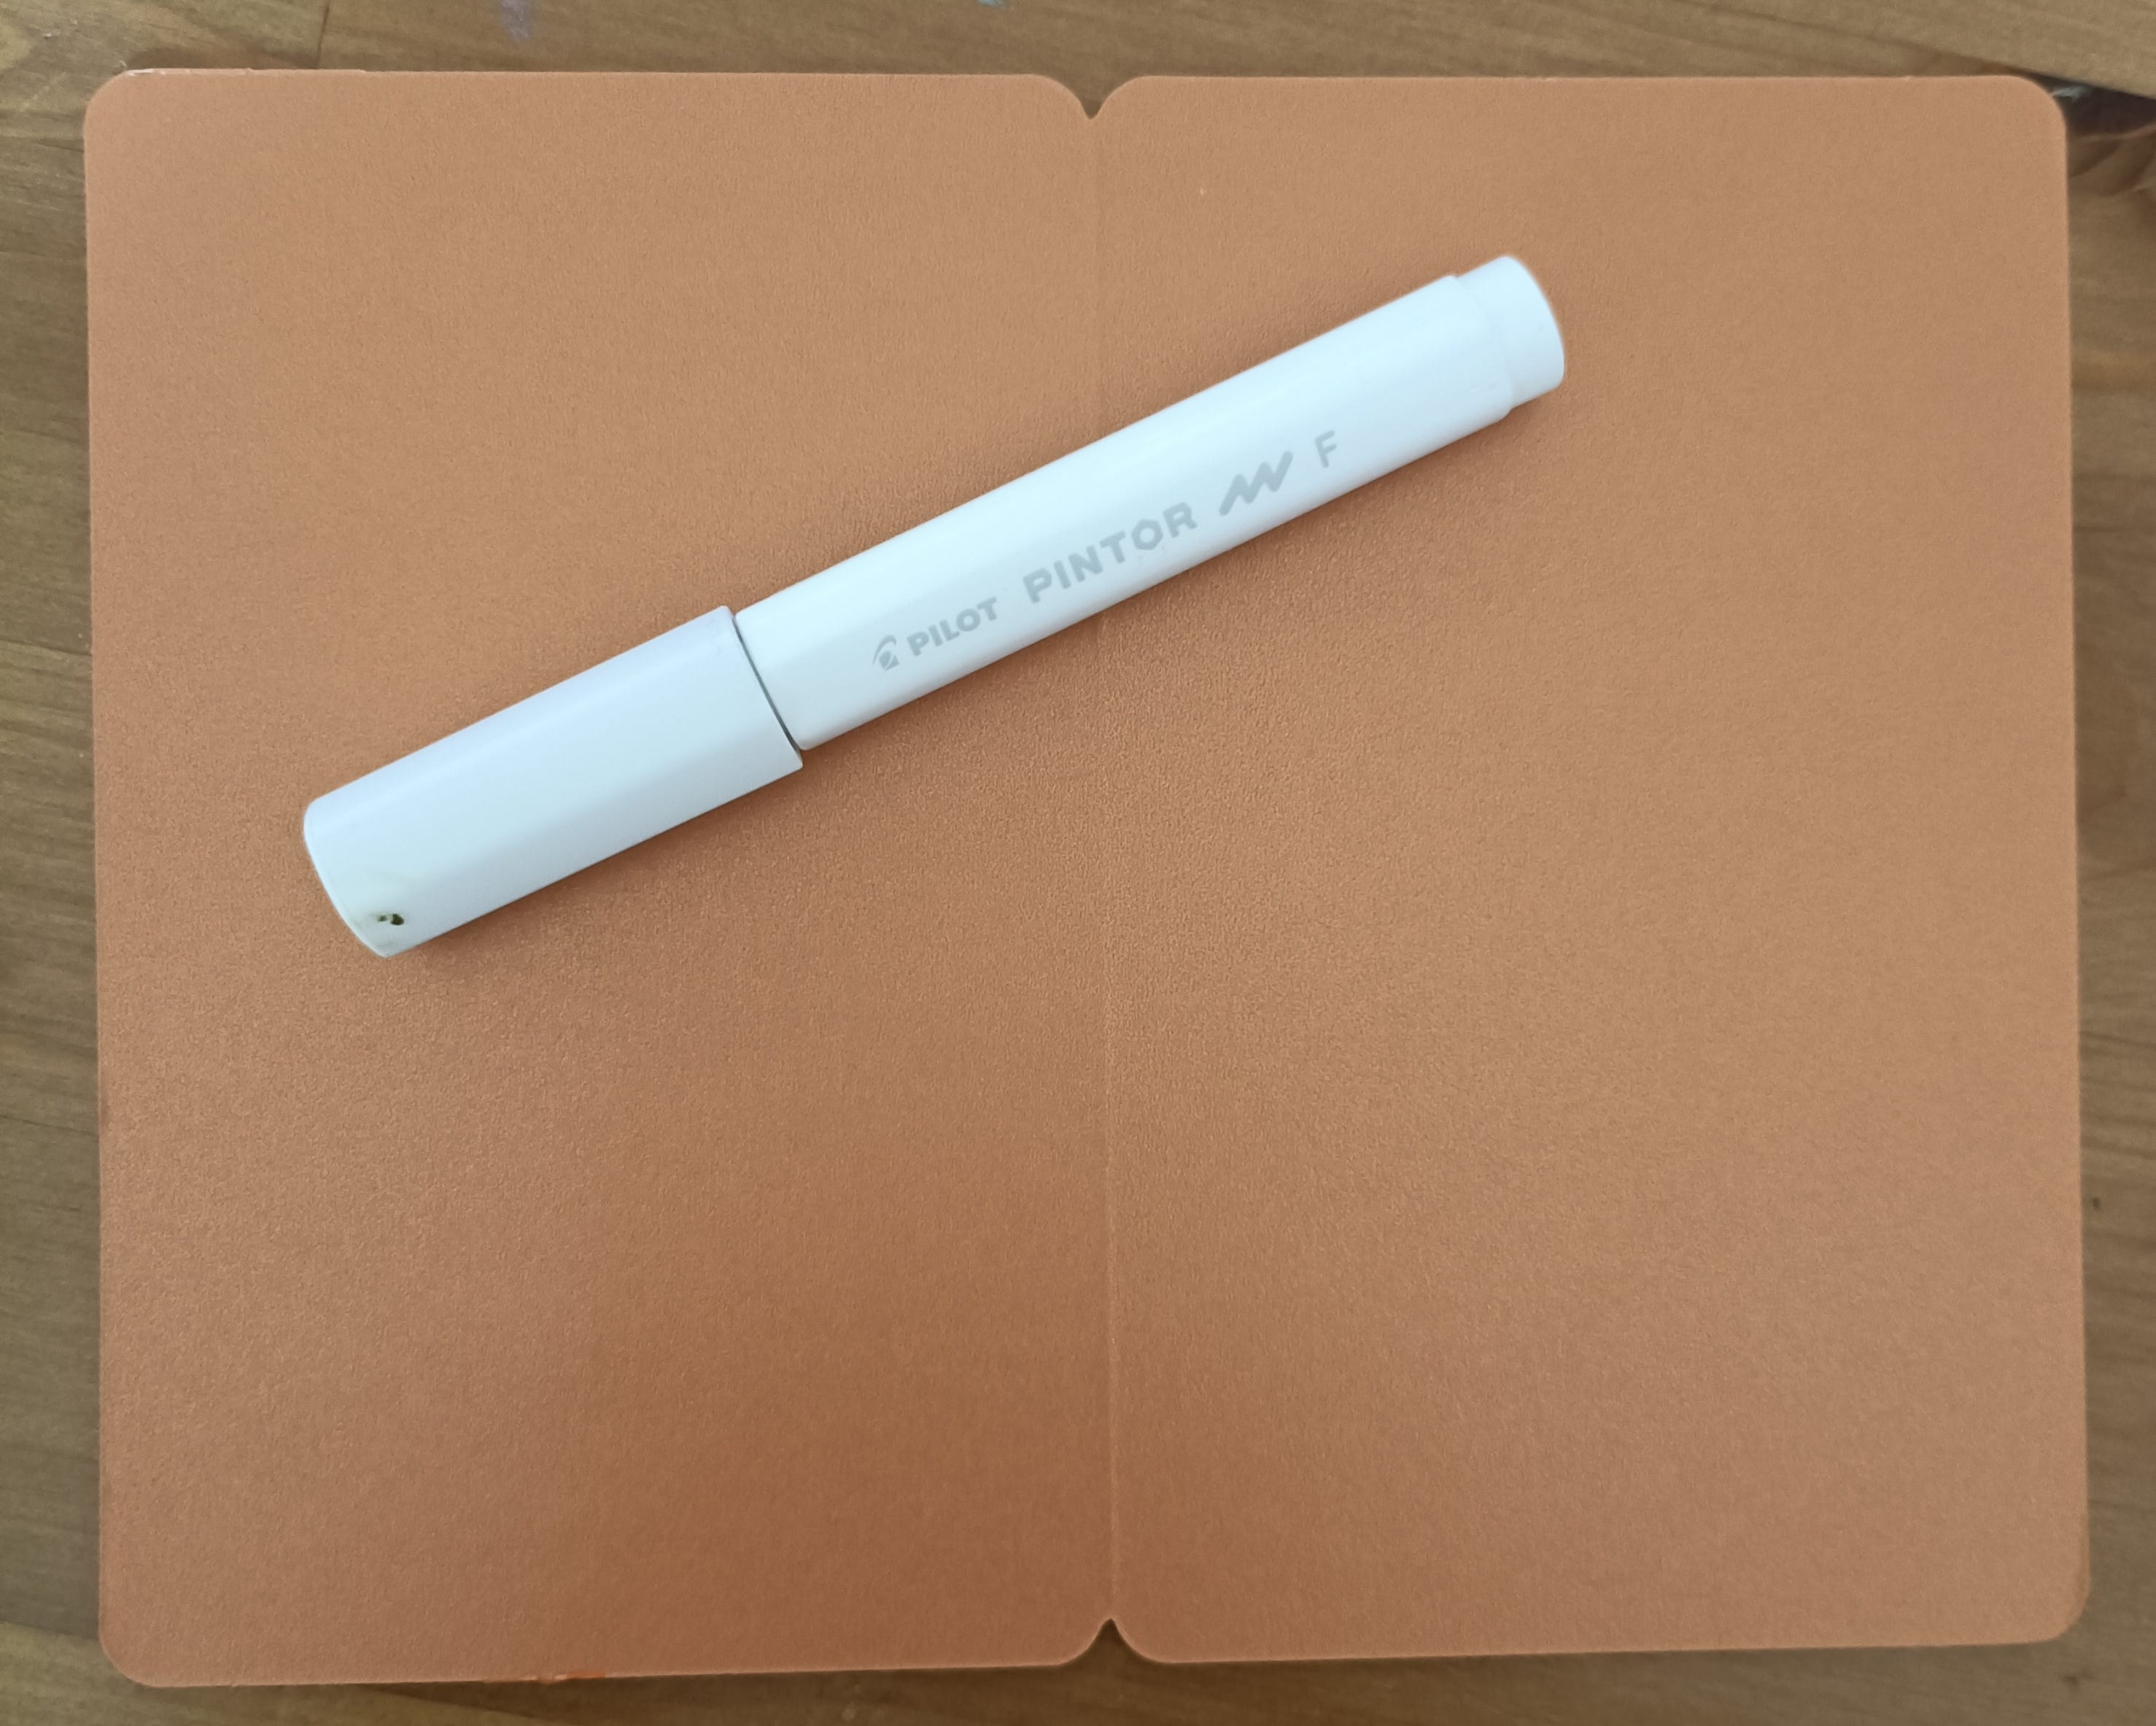
1) You will need orange colour cardstock paper and white marker, I am using Pilot.
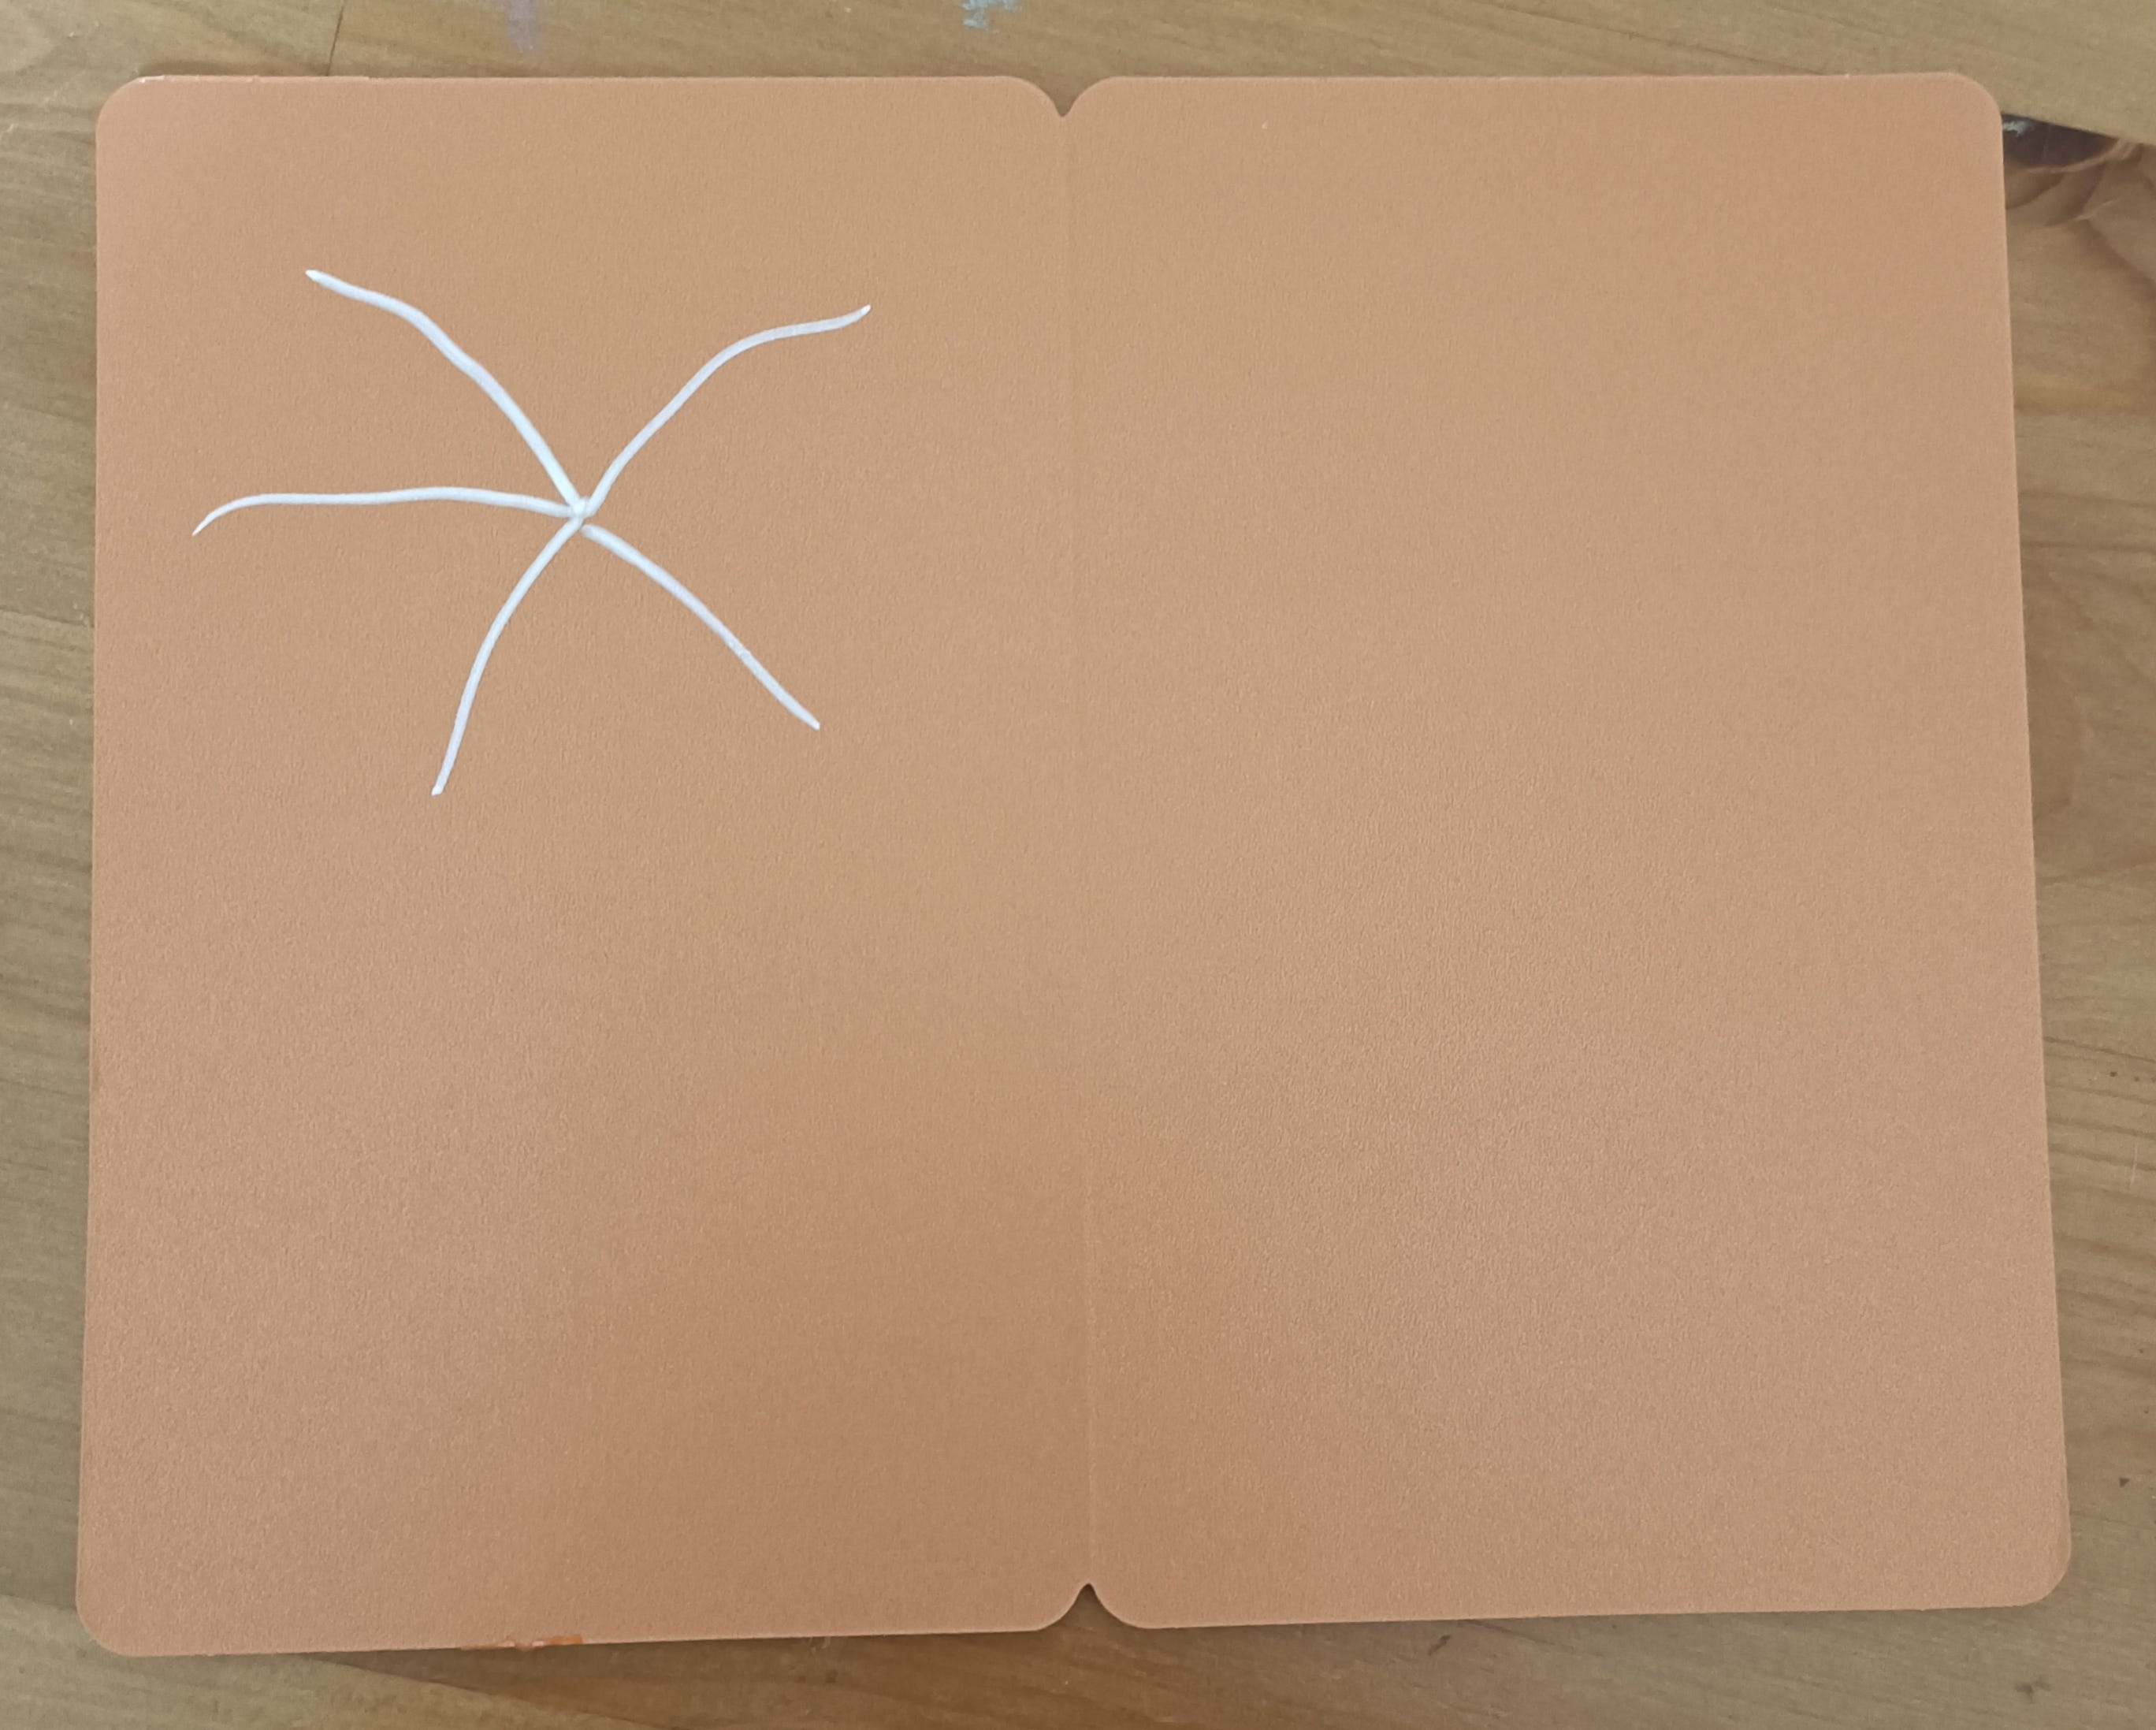
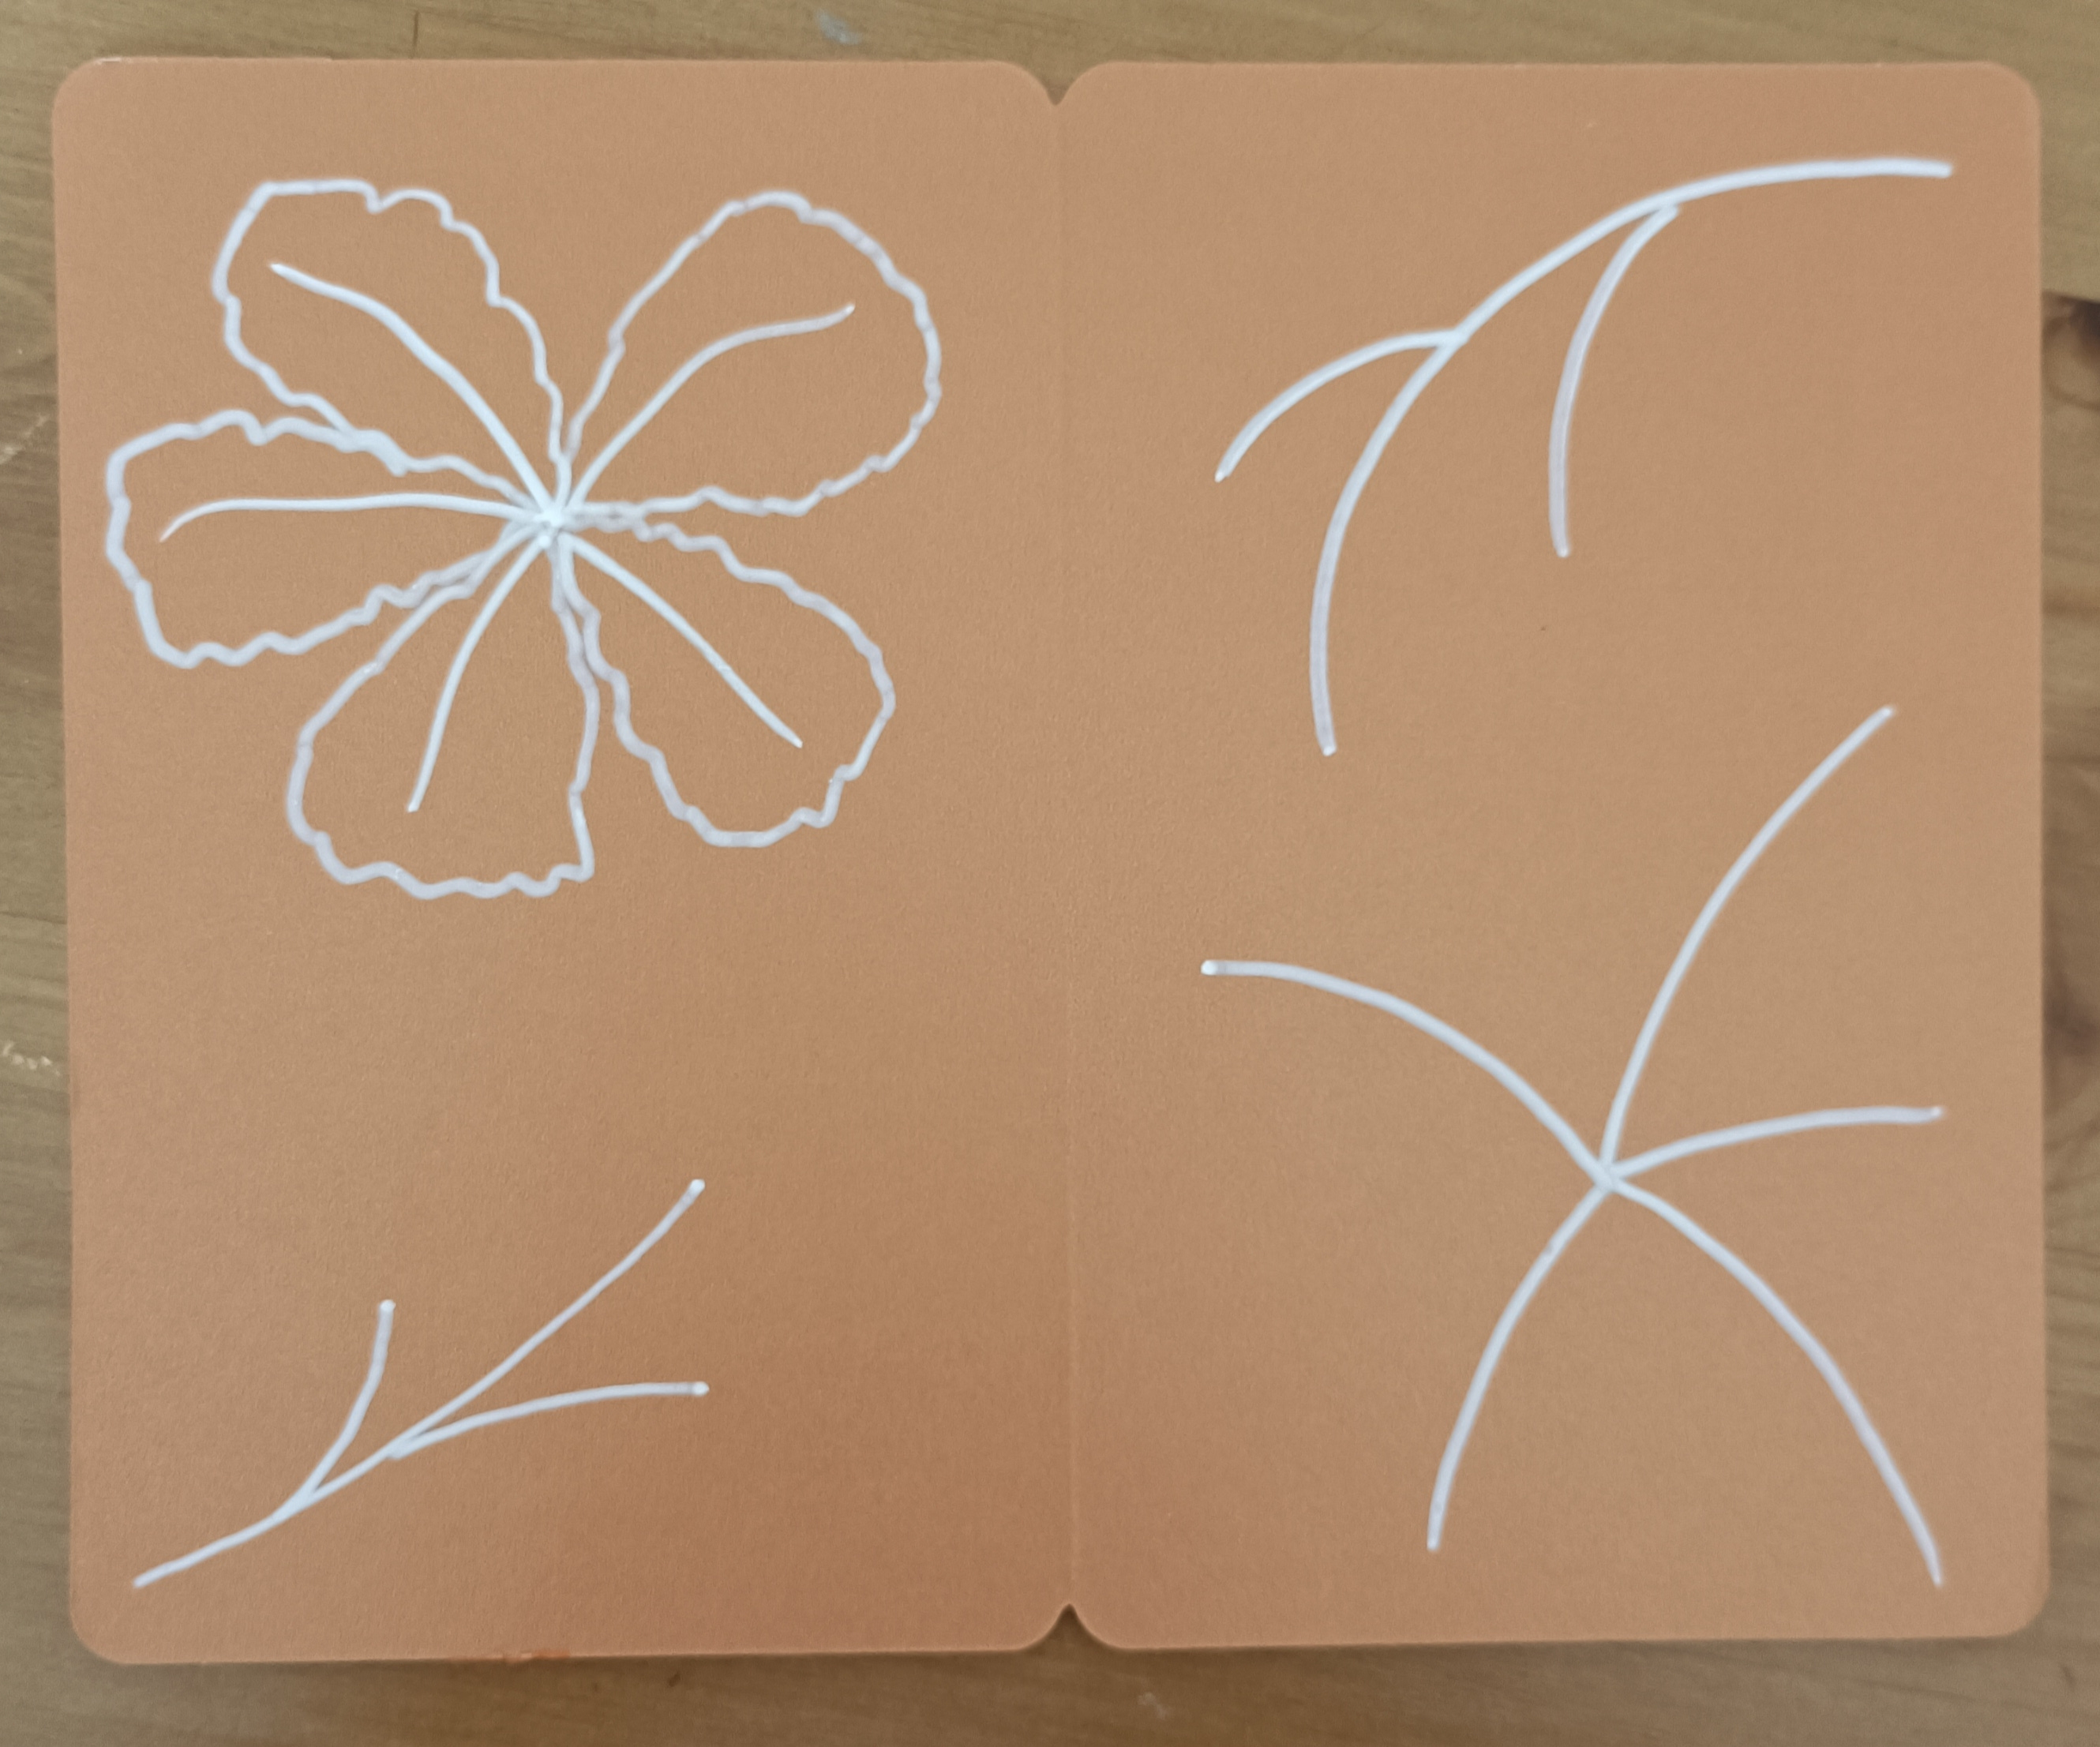
2) Draw 5 lines, you don’t have to be precise and measure every line, just draw freestyle lines.
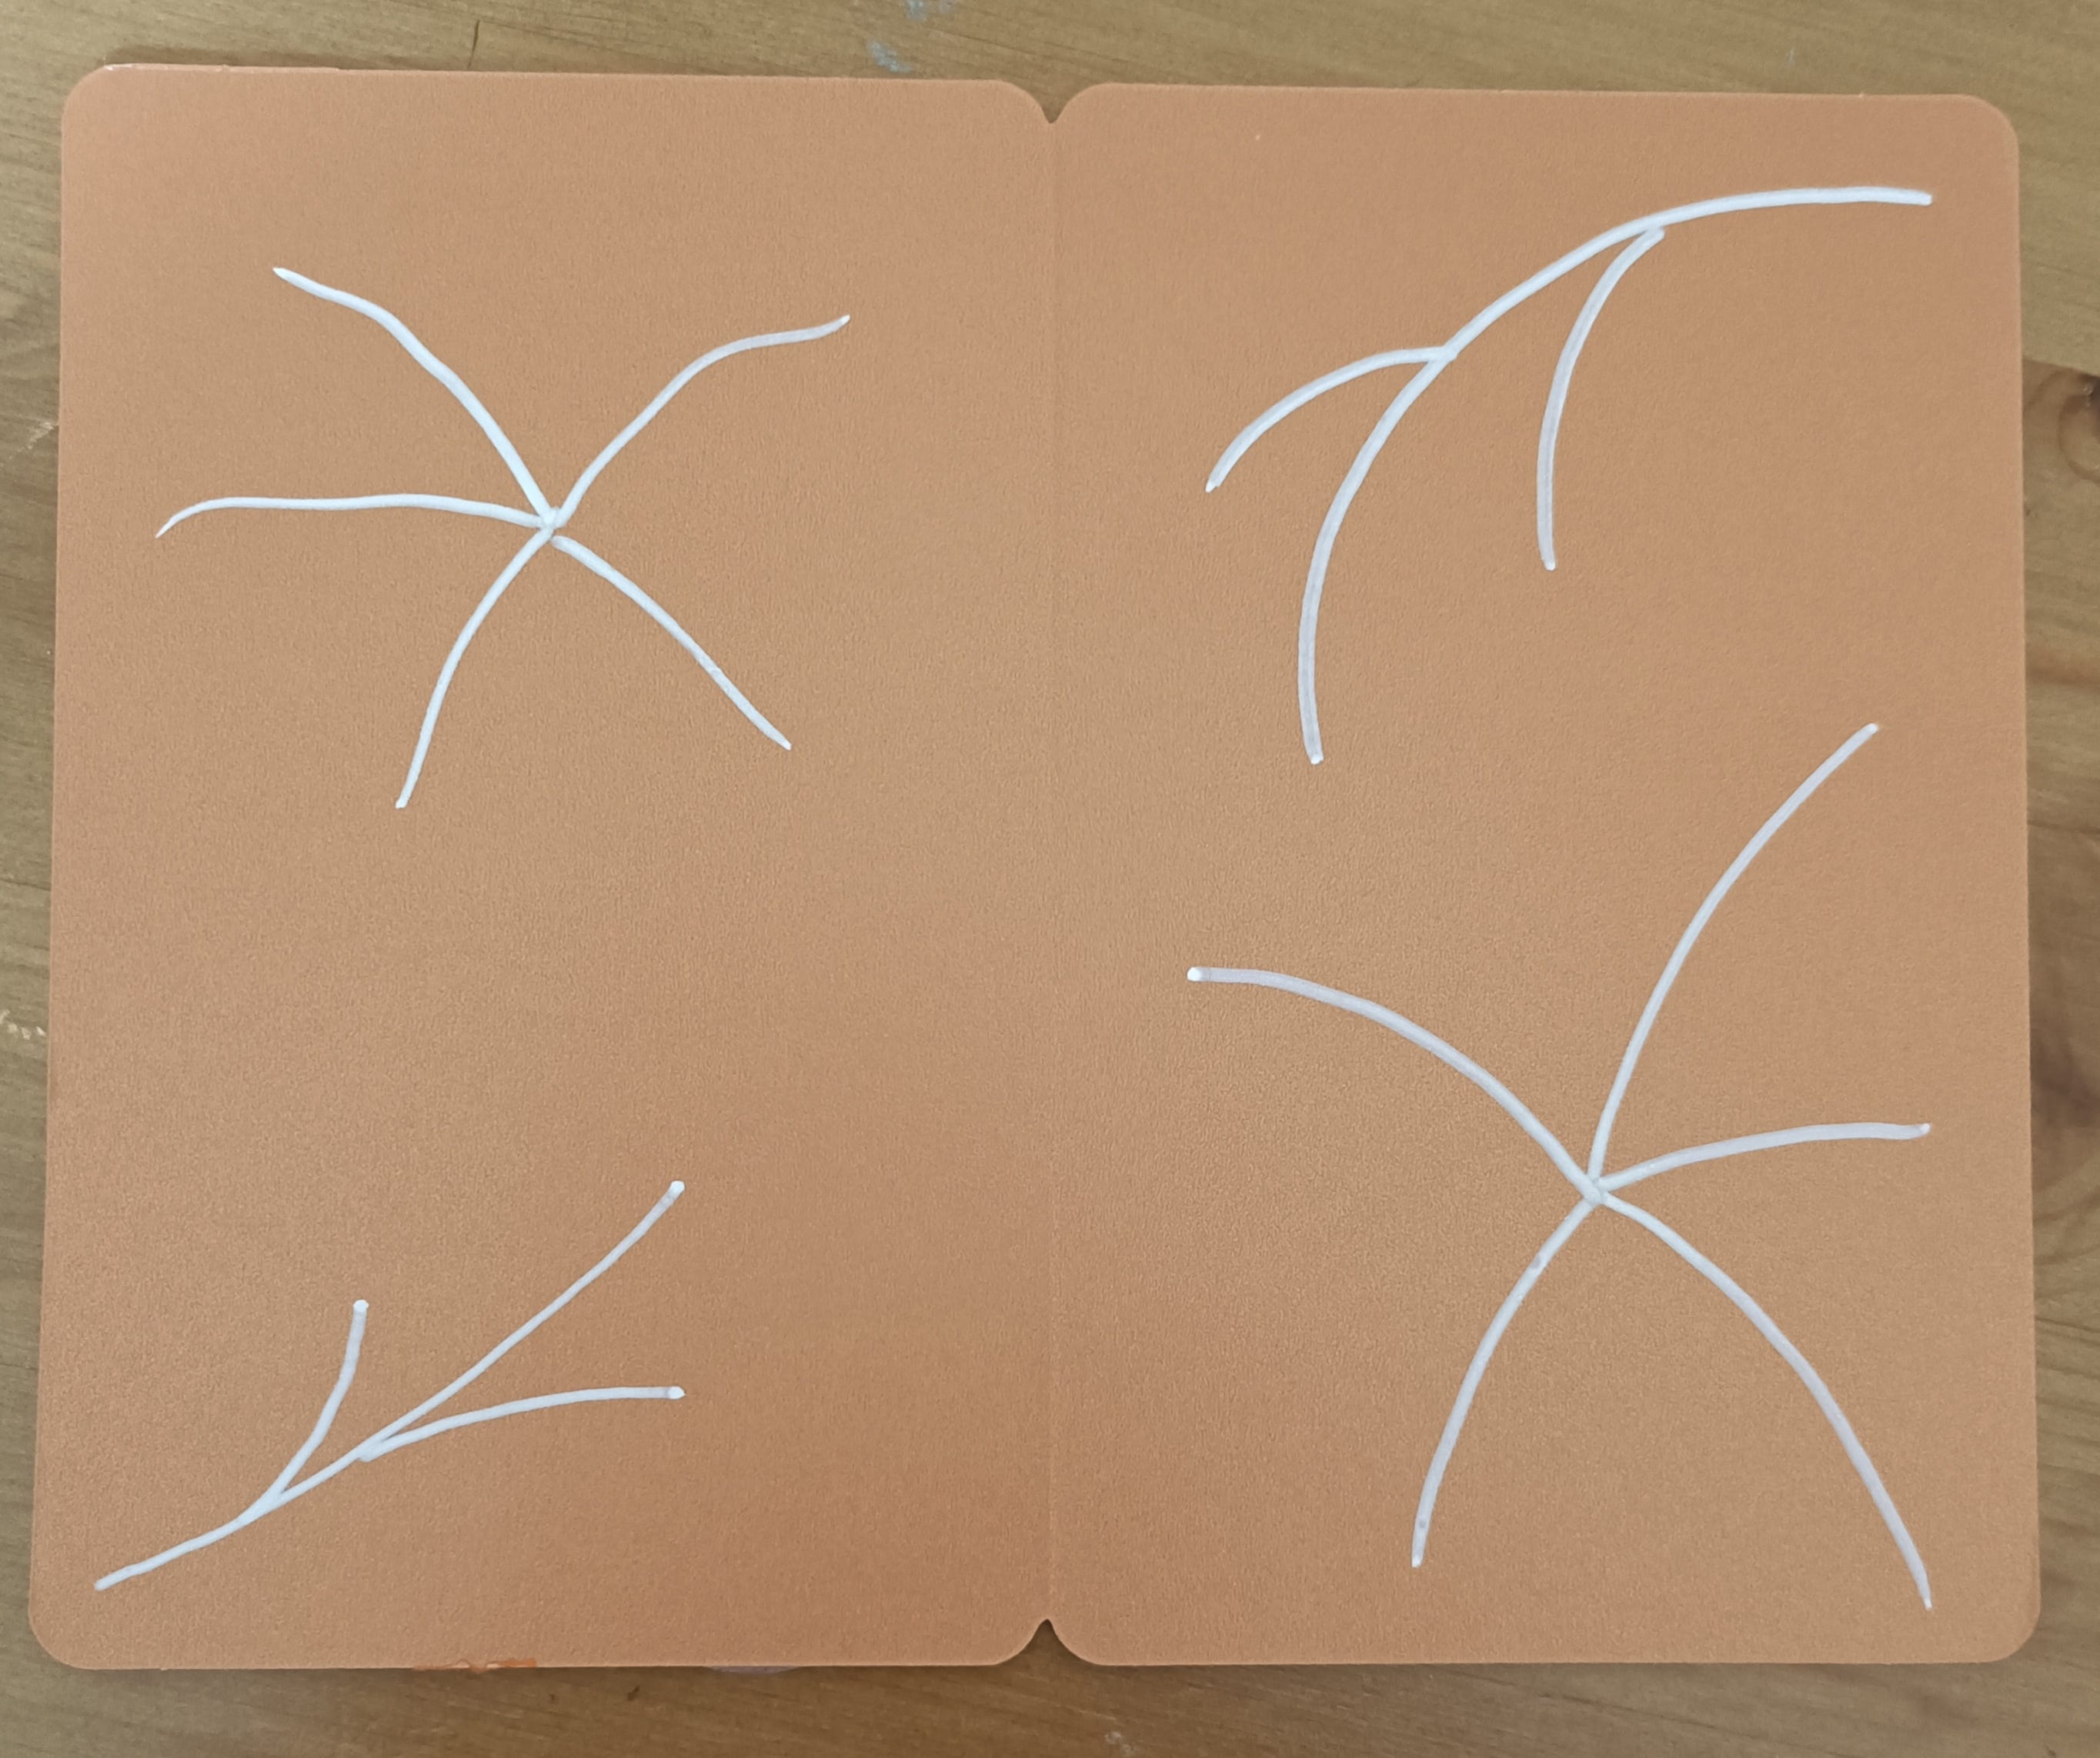
3) I drew a few different designs, which will be later flowers and leaves.
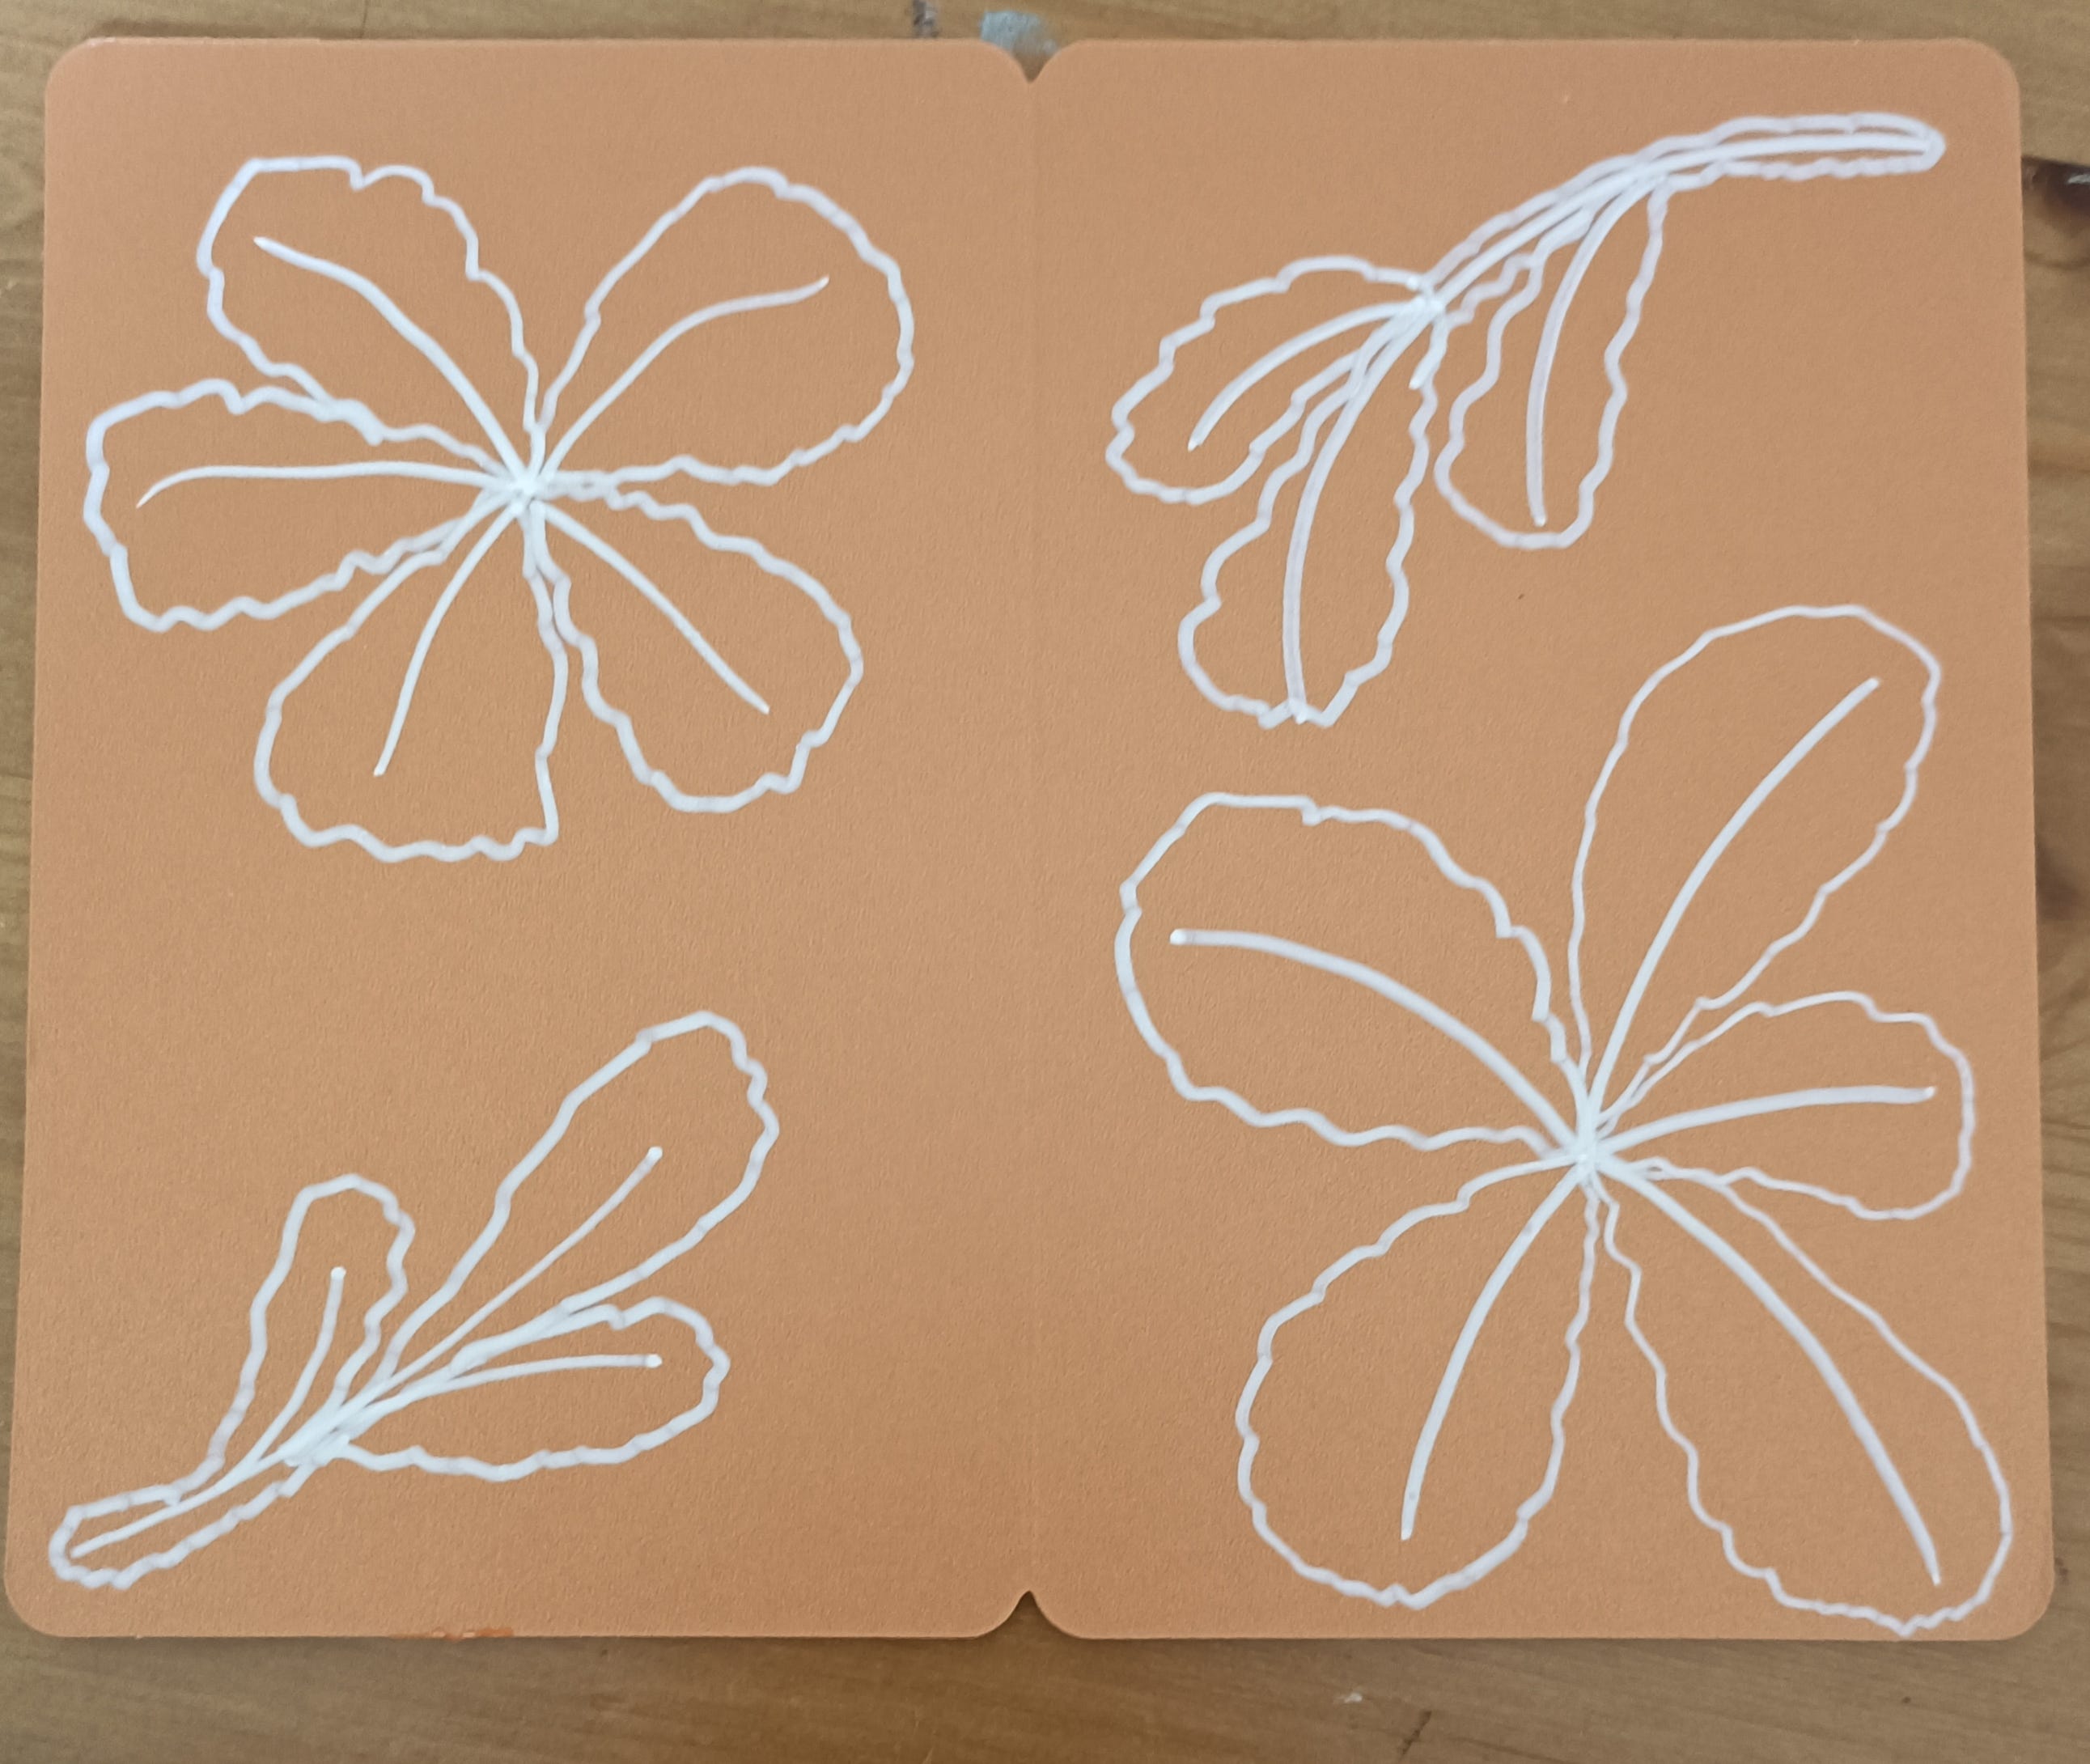
4) Now, I drew flowers around freestyle lines with wavy lines.
5) Draw wavy lines around all flowers and leaves.
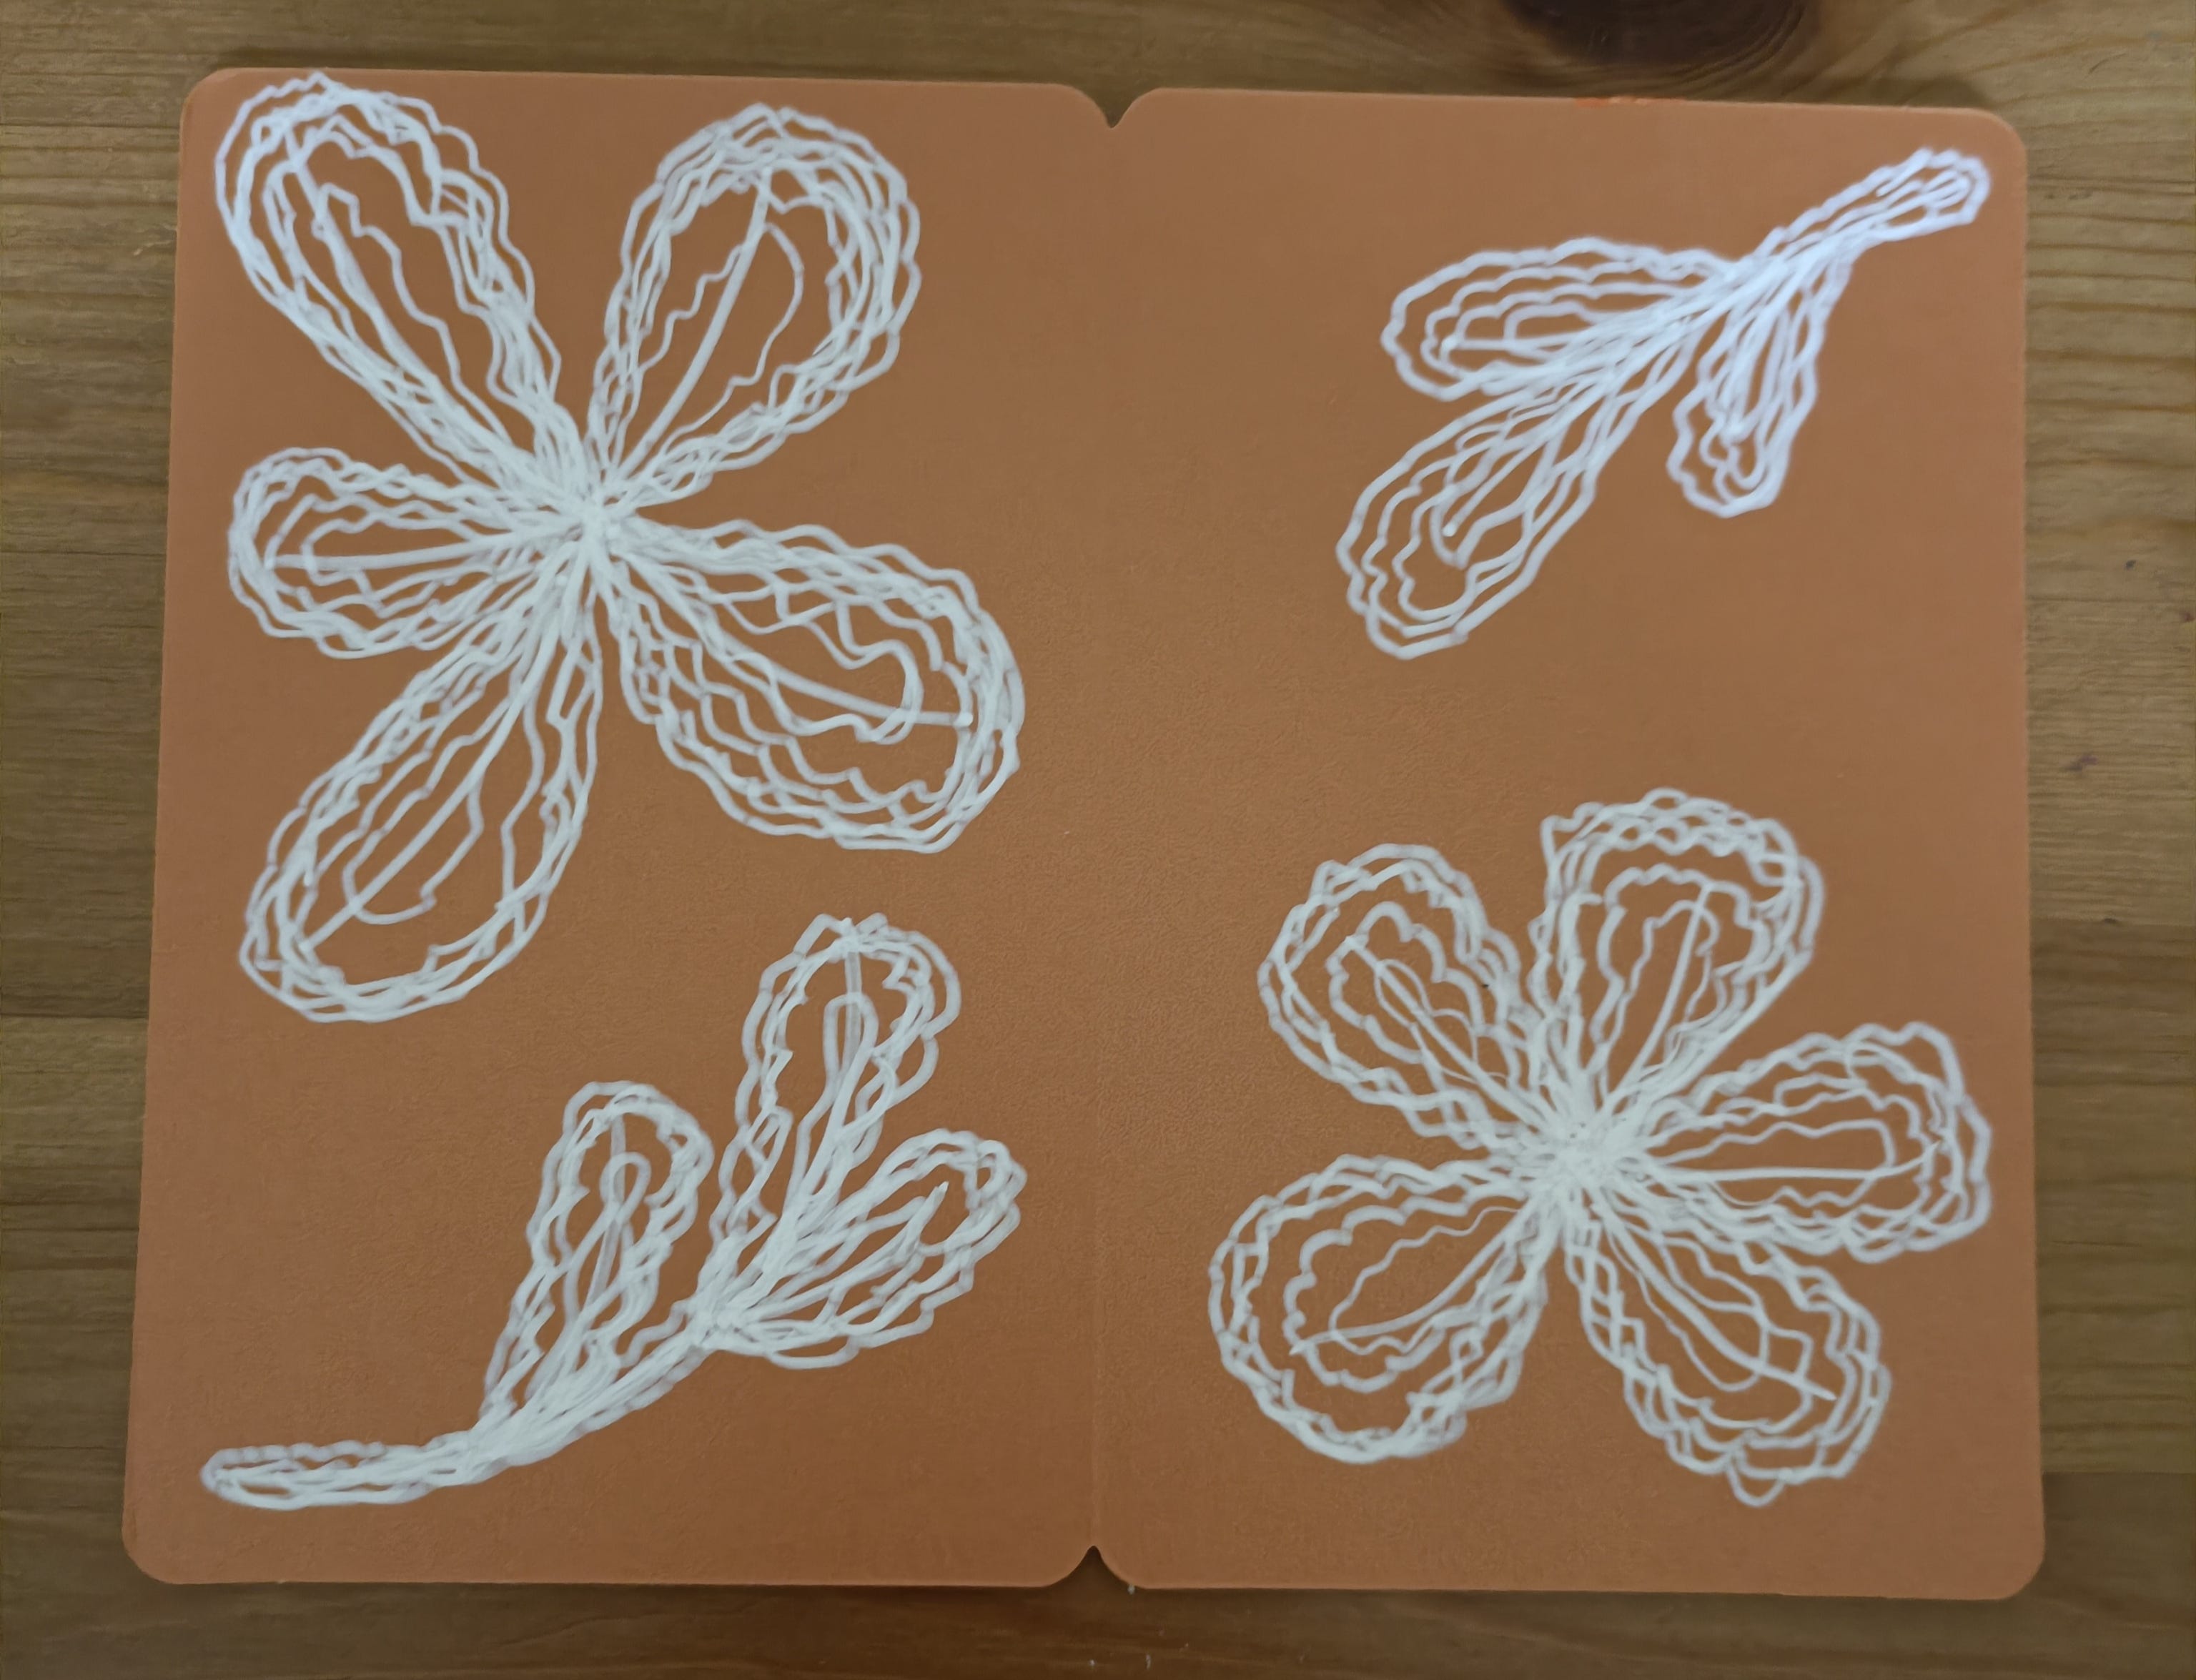
6) Next, draw wavy lines around previous wavy lines 3-5 times, depending how white you want it to be. With more rounds you will get a whiter appearance.
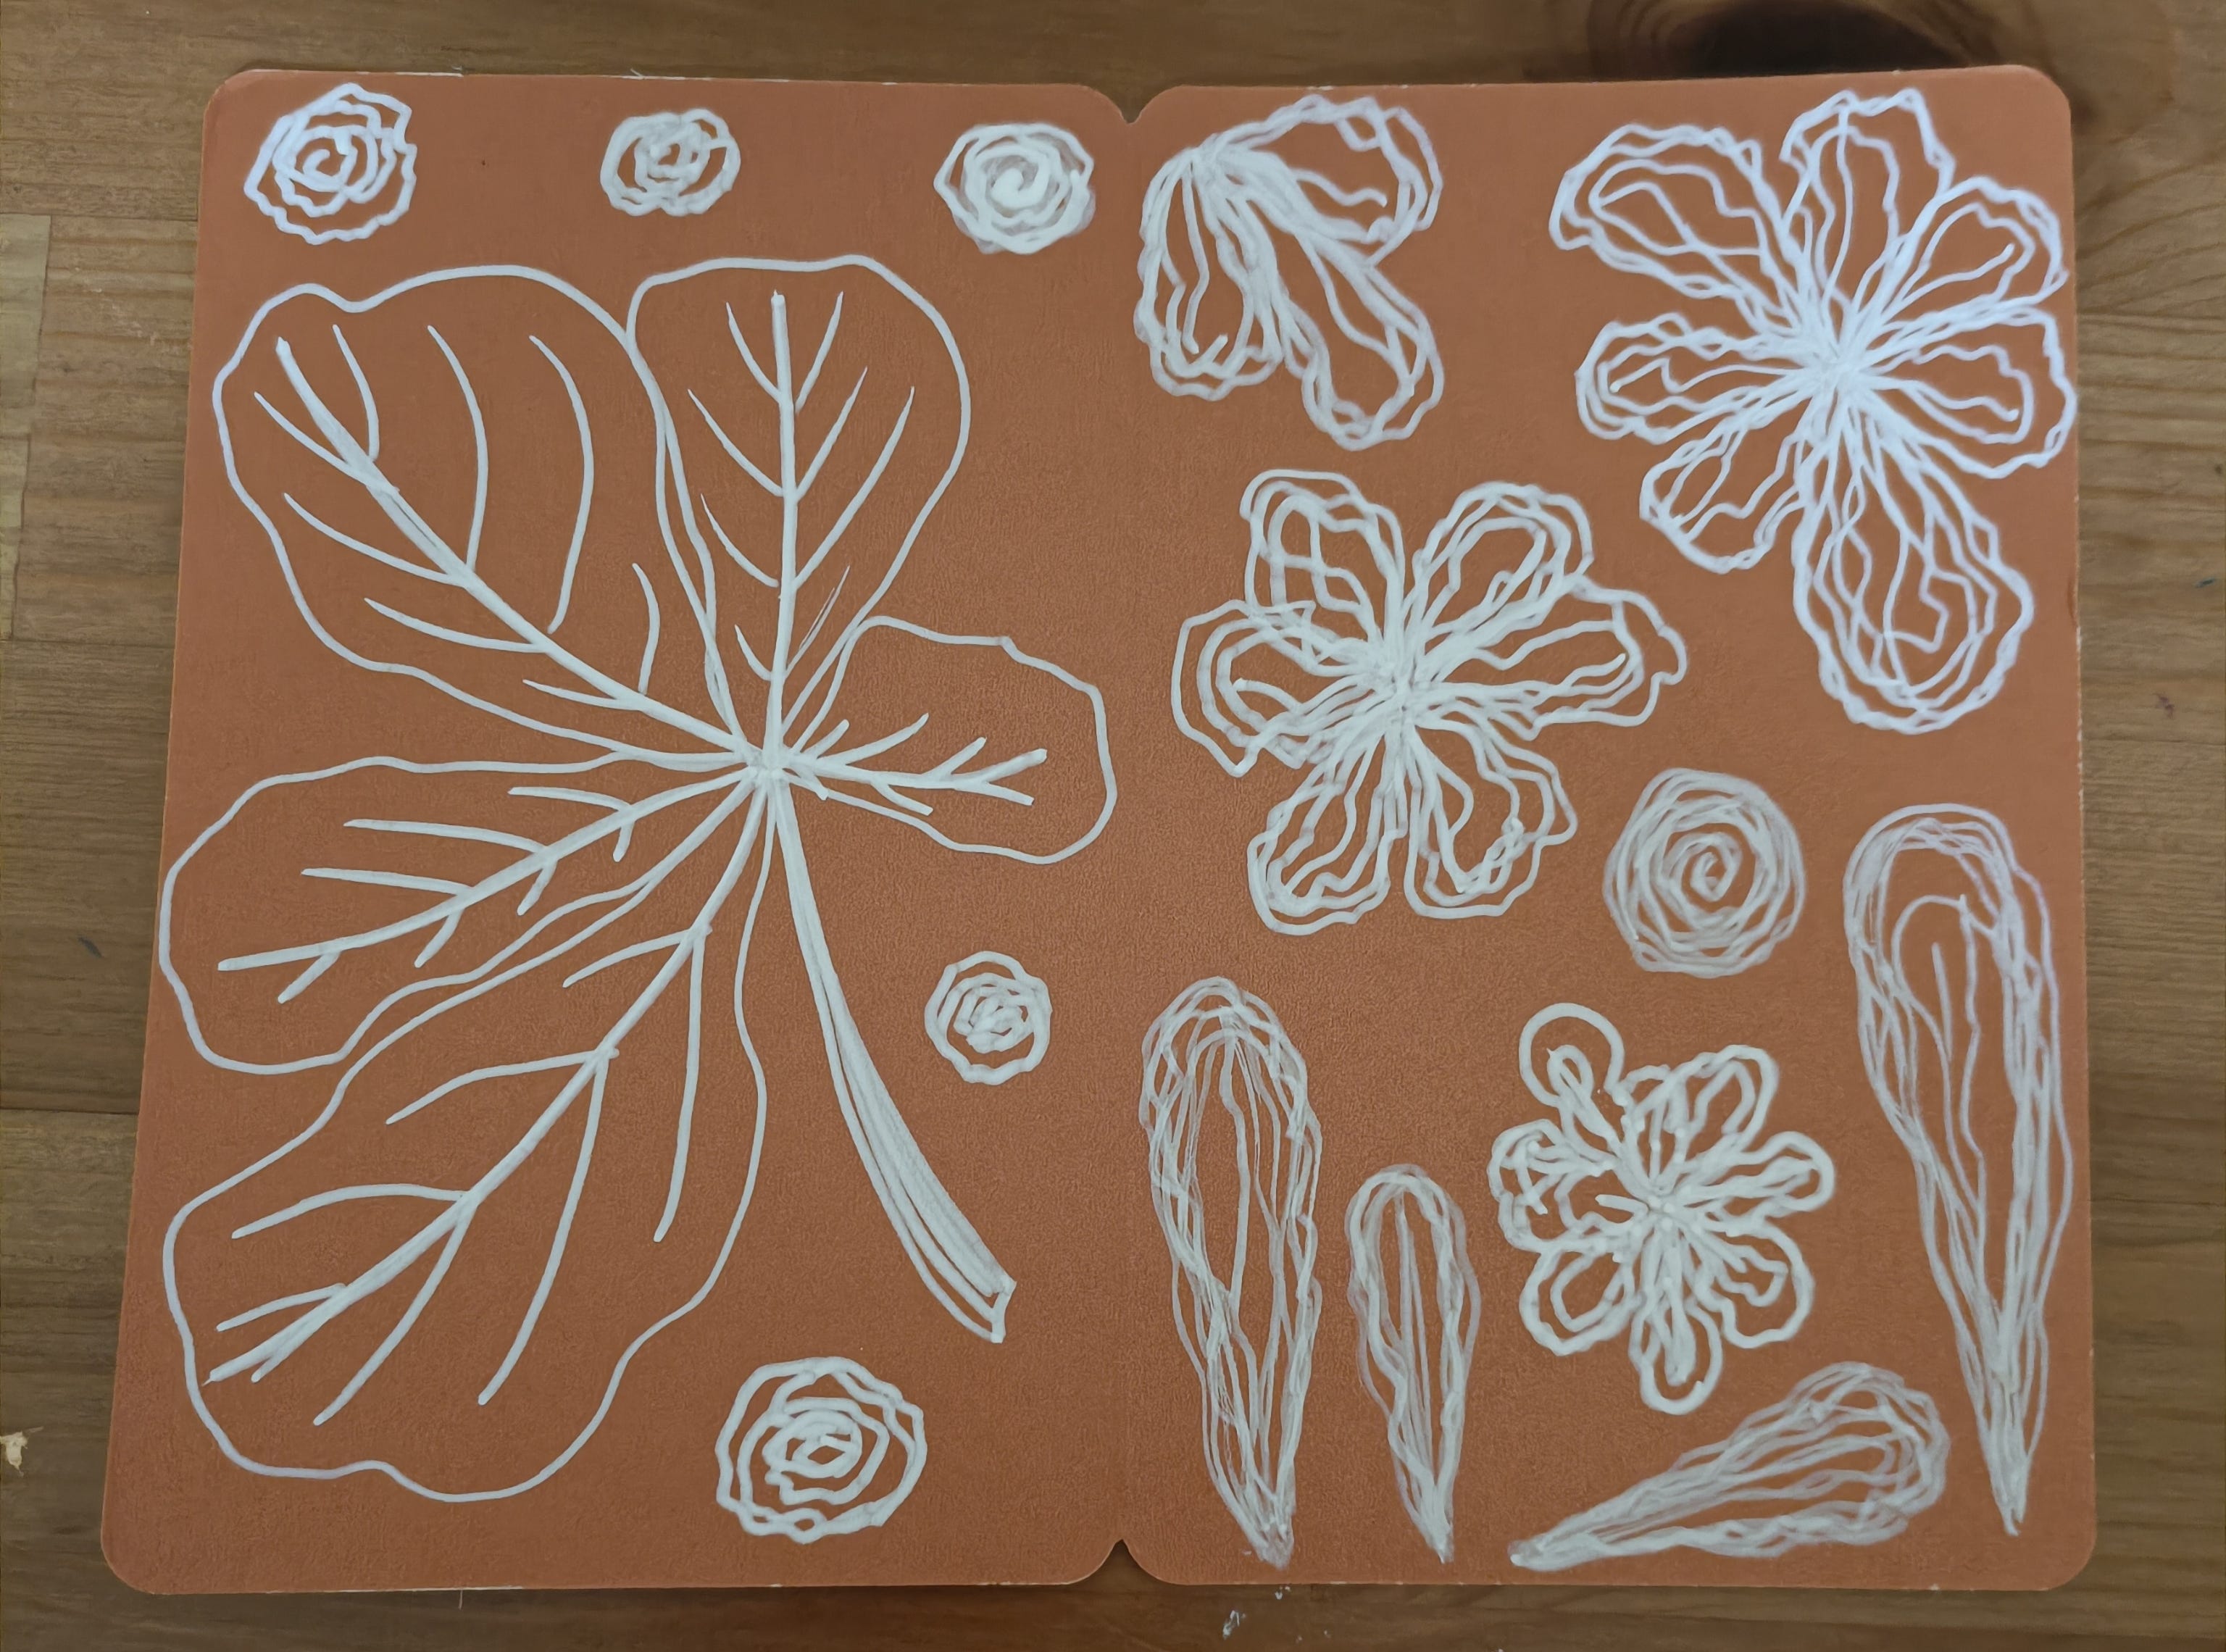
7) I drew other styles as well just to have more variety.
8) Next I sent both drawings to the graphic designer on Fiverr to clean the background and separate all elements.
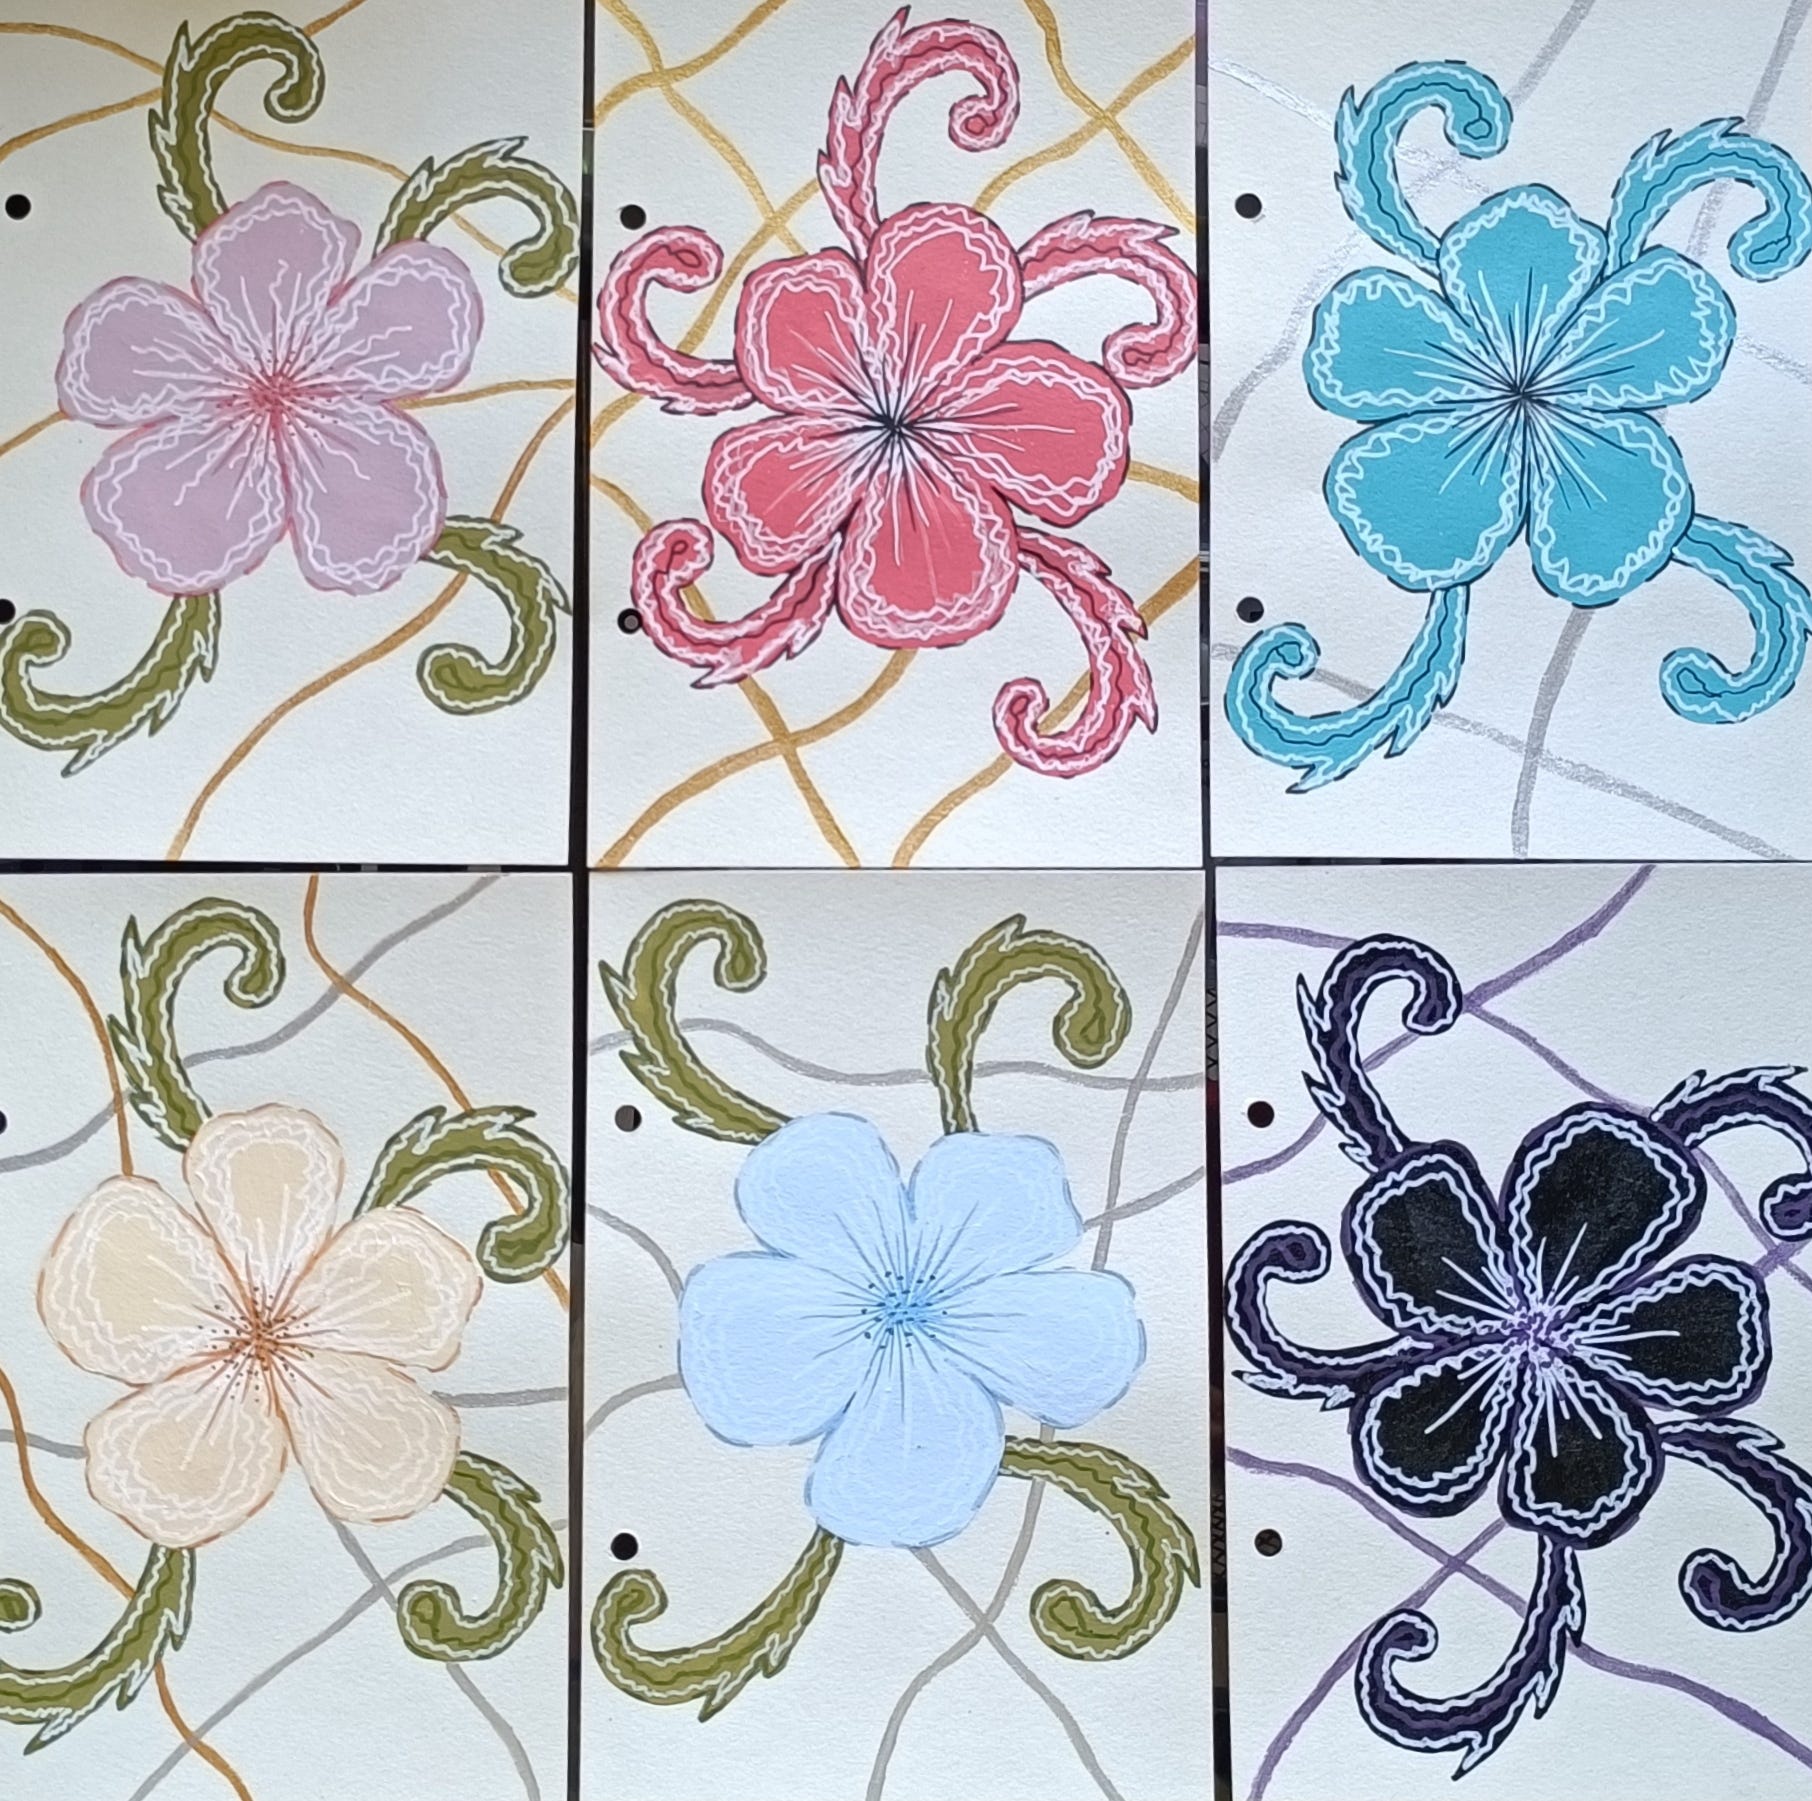
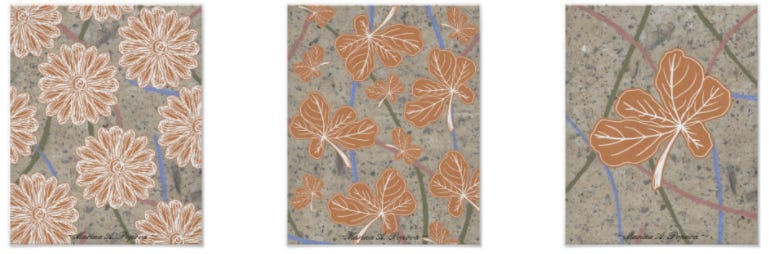
9) After some editing in digital software I’ve got designs for Merchandise and Stationaries. Here are results:
Orange flowers and leaves on hat, shorts, tights and iPhone case.

This is Art prints with the same orange leaves and flowers.
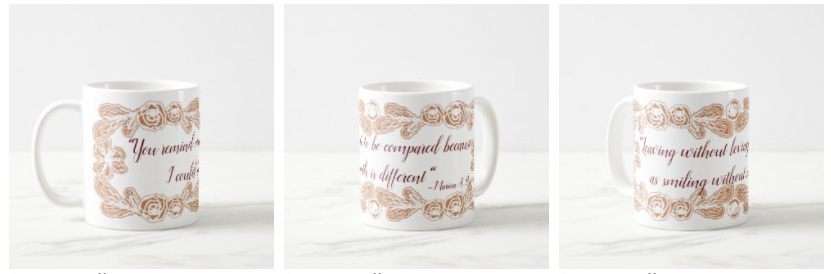
And mugs…with quotes on it.
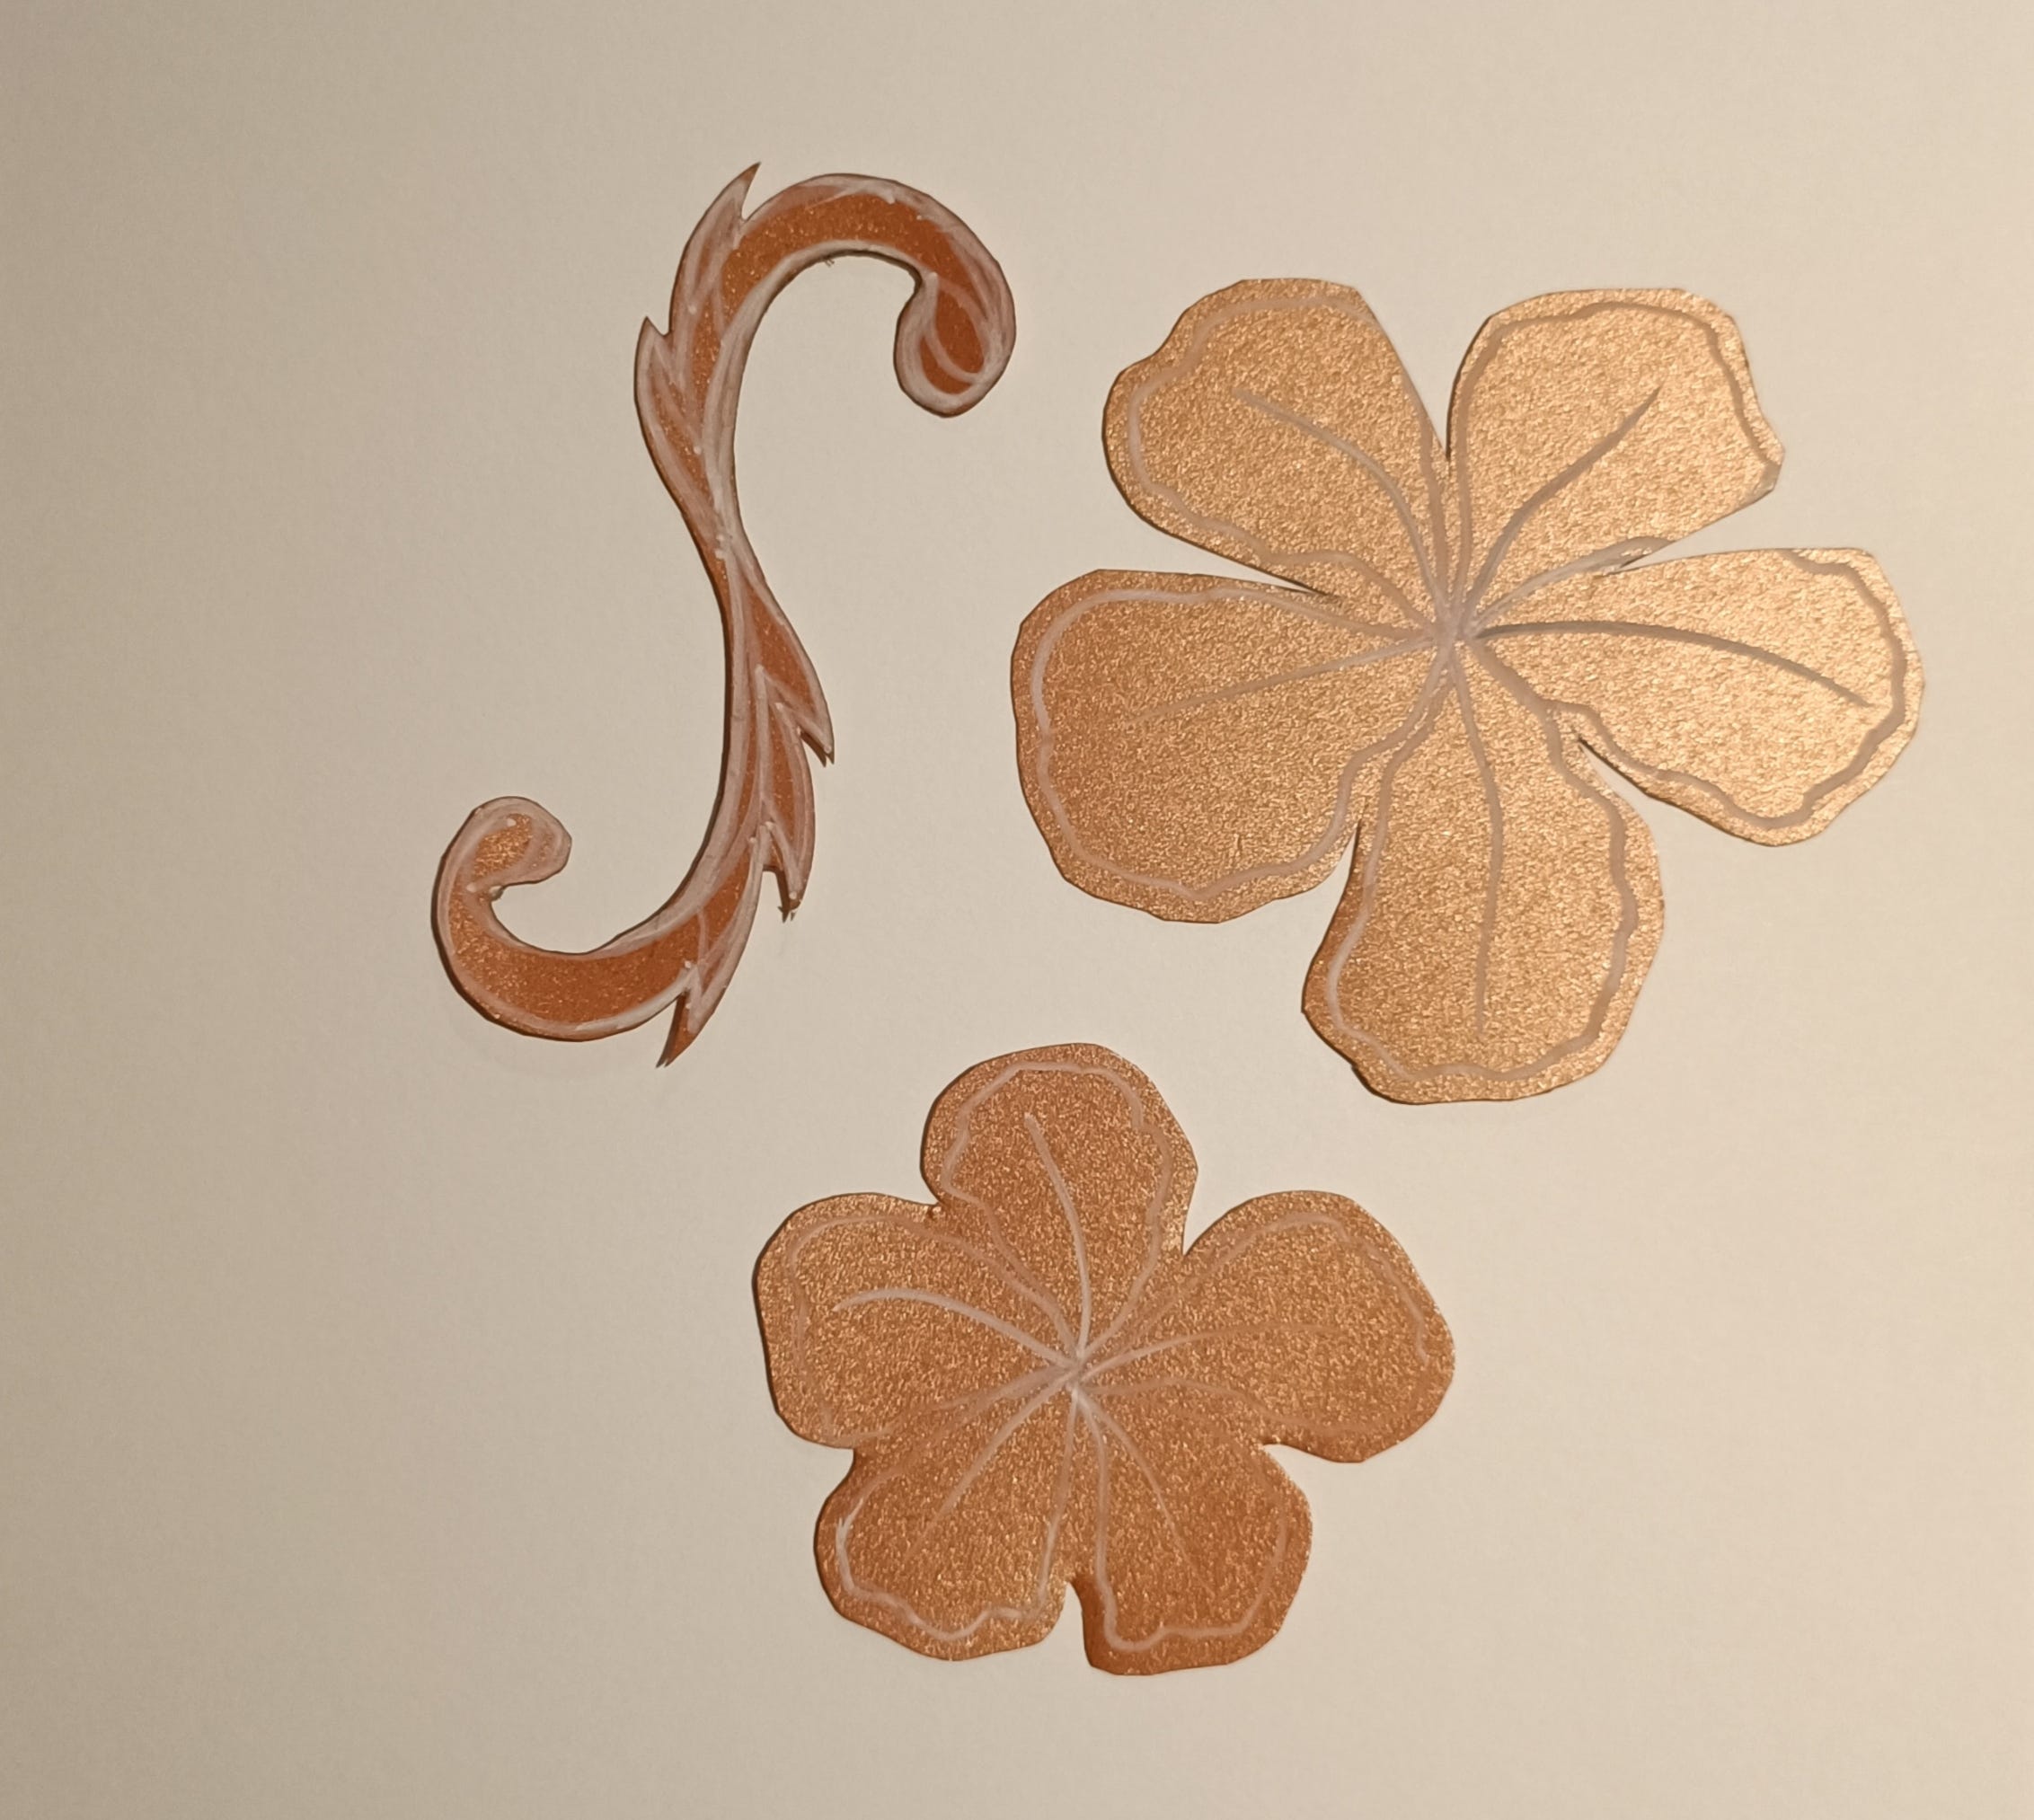
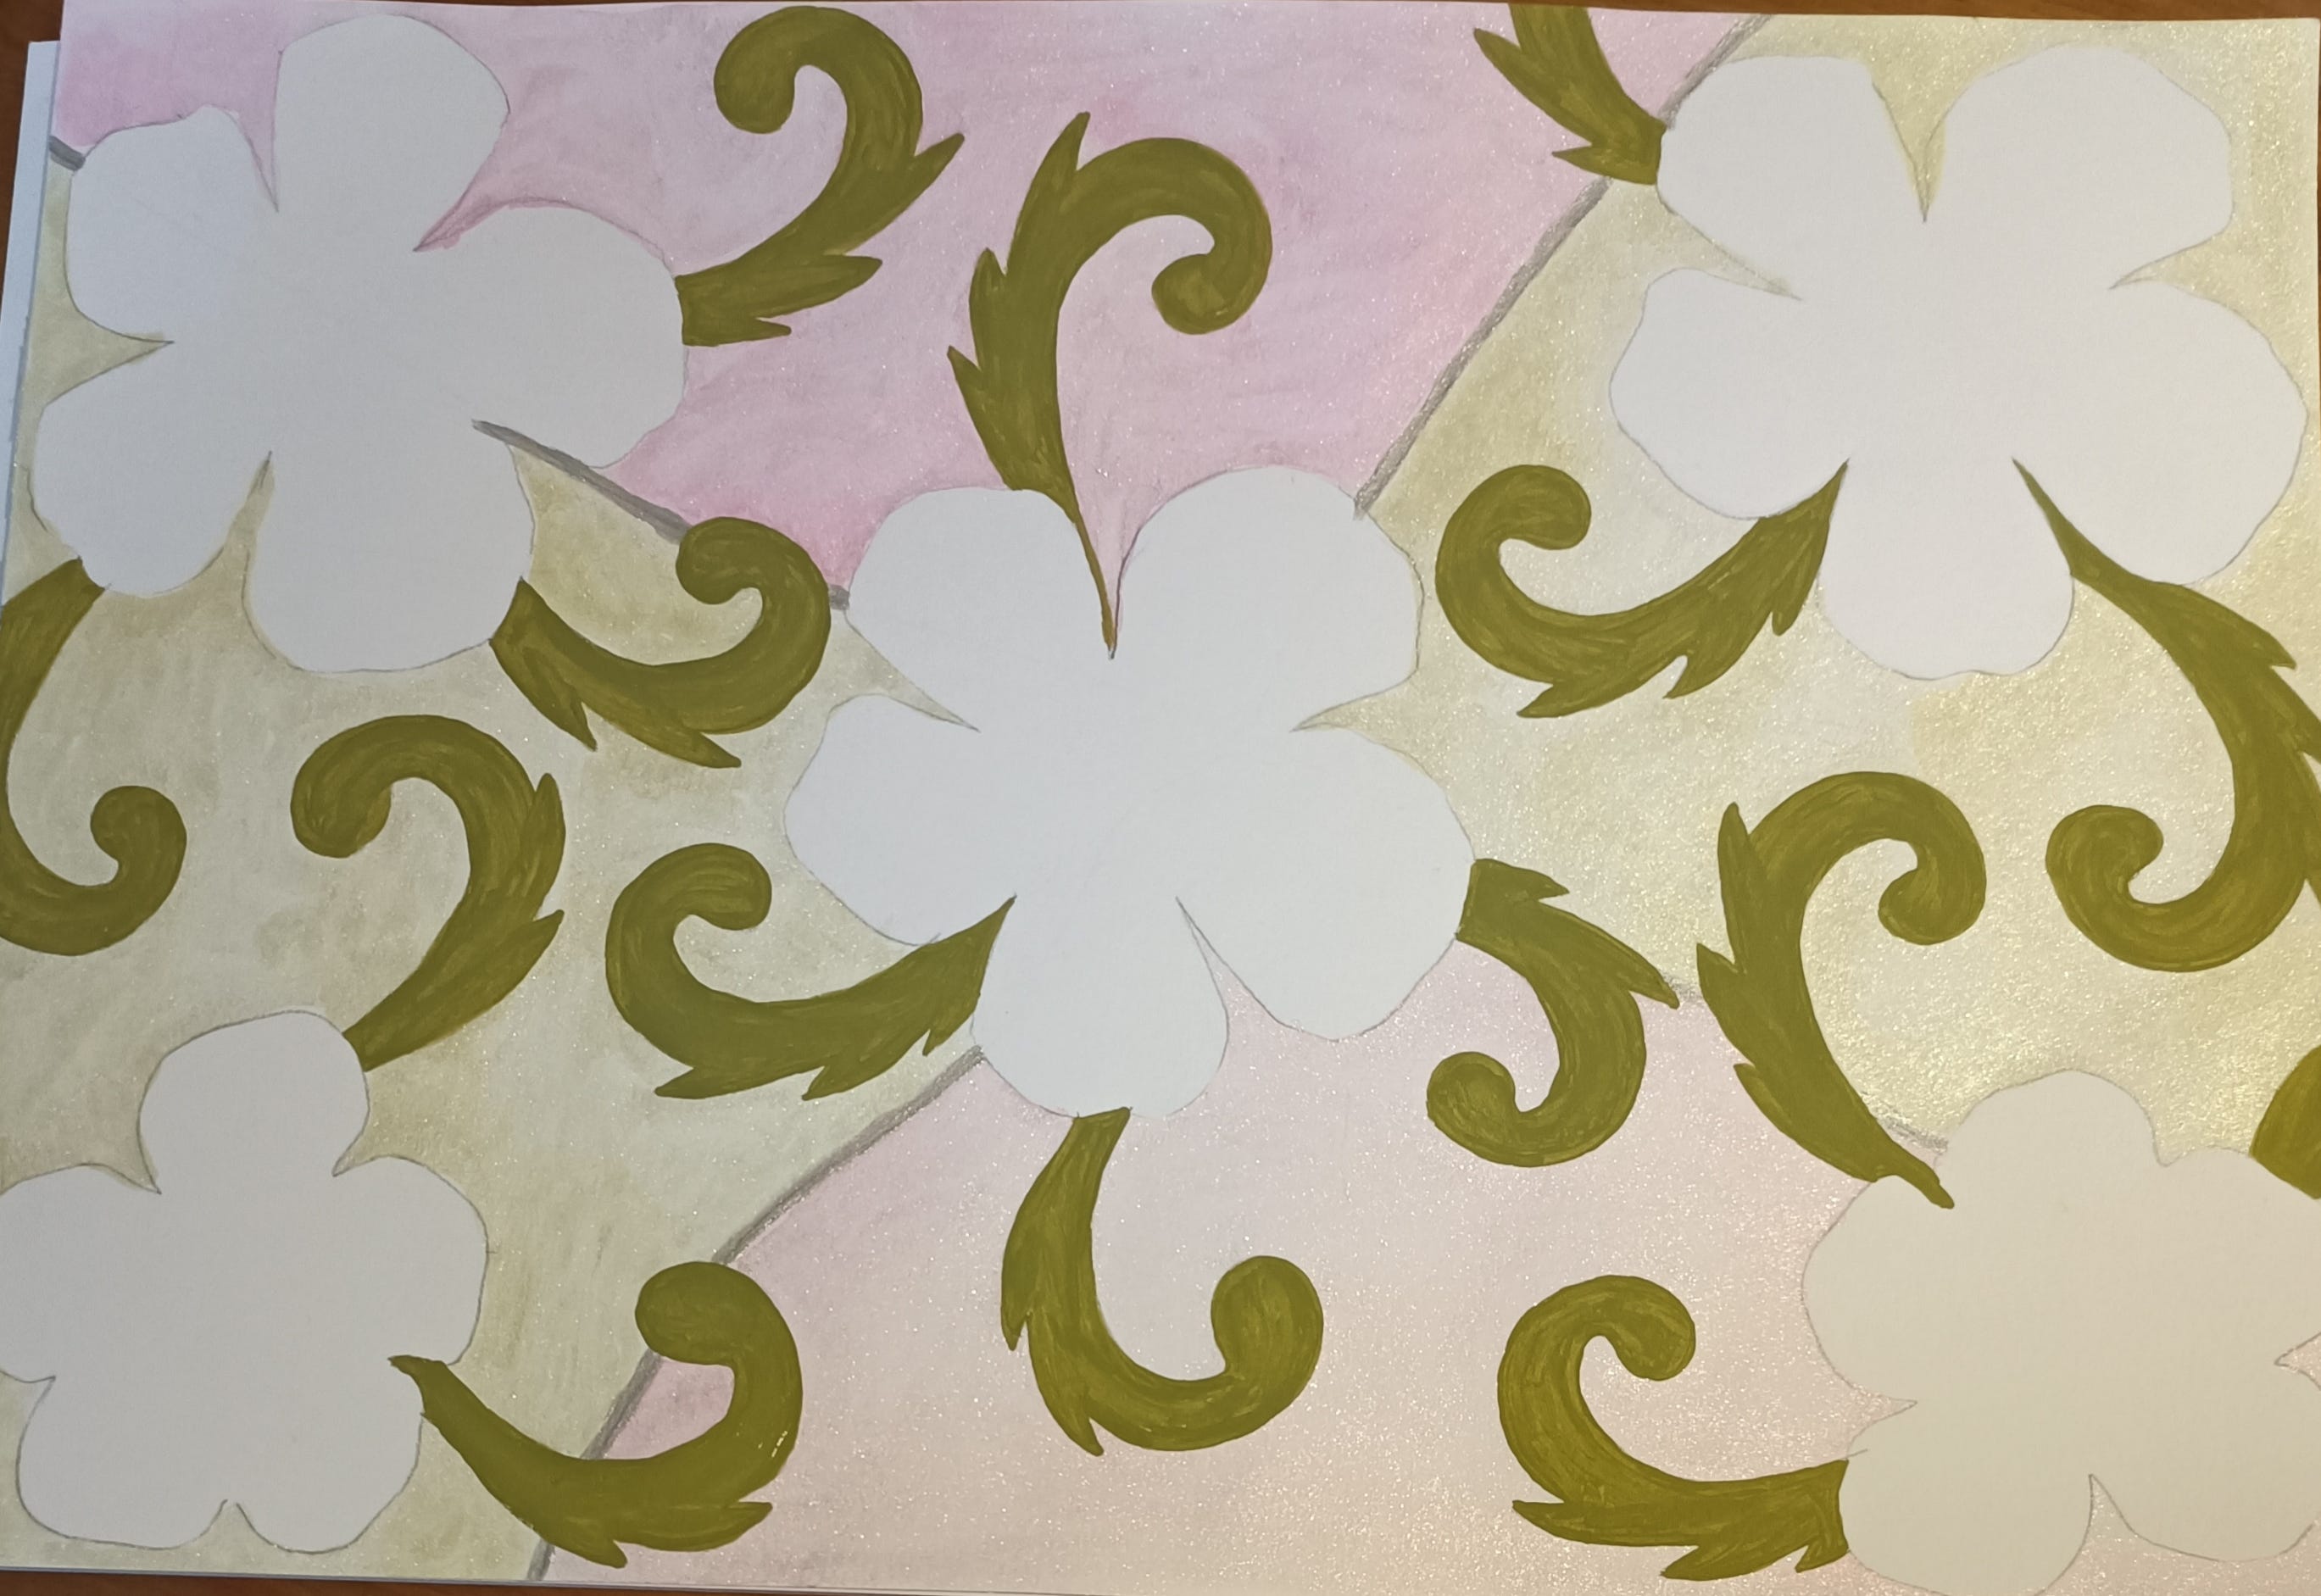
10) Next I will use the same approach to create handmade drawings which I will use for Art Prints and planners. Using the same technique as for orange flowers and leaves, I drew these 2 flowers in smaller and larger sizes and 1 double-sided scroll. I cut out shapes and I will use them as stencils for my drawings.
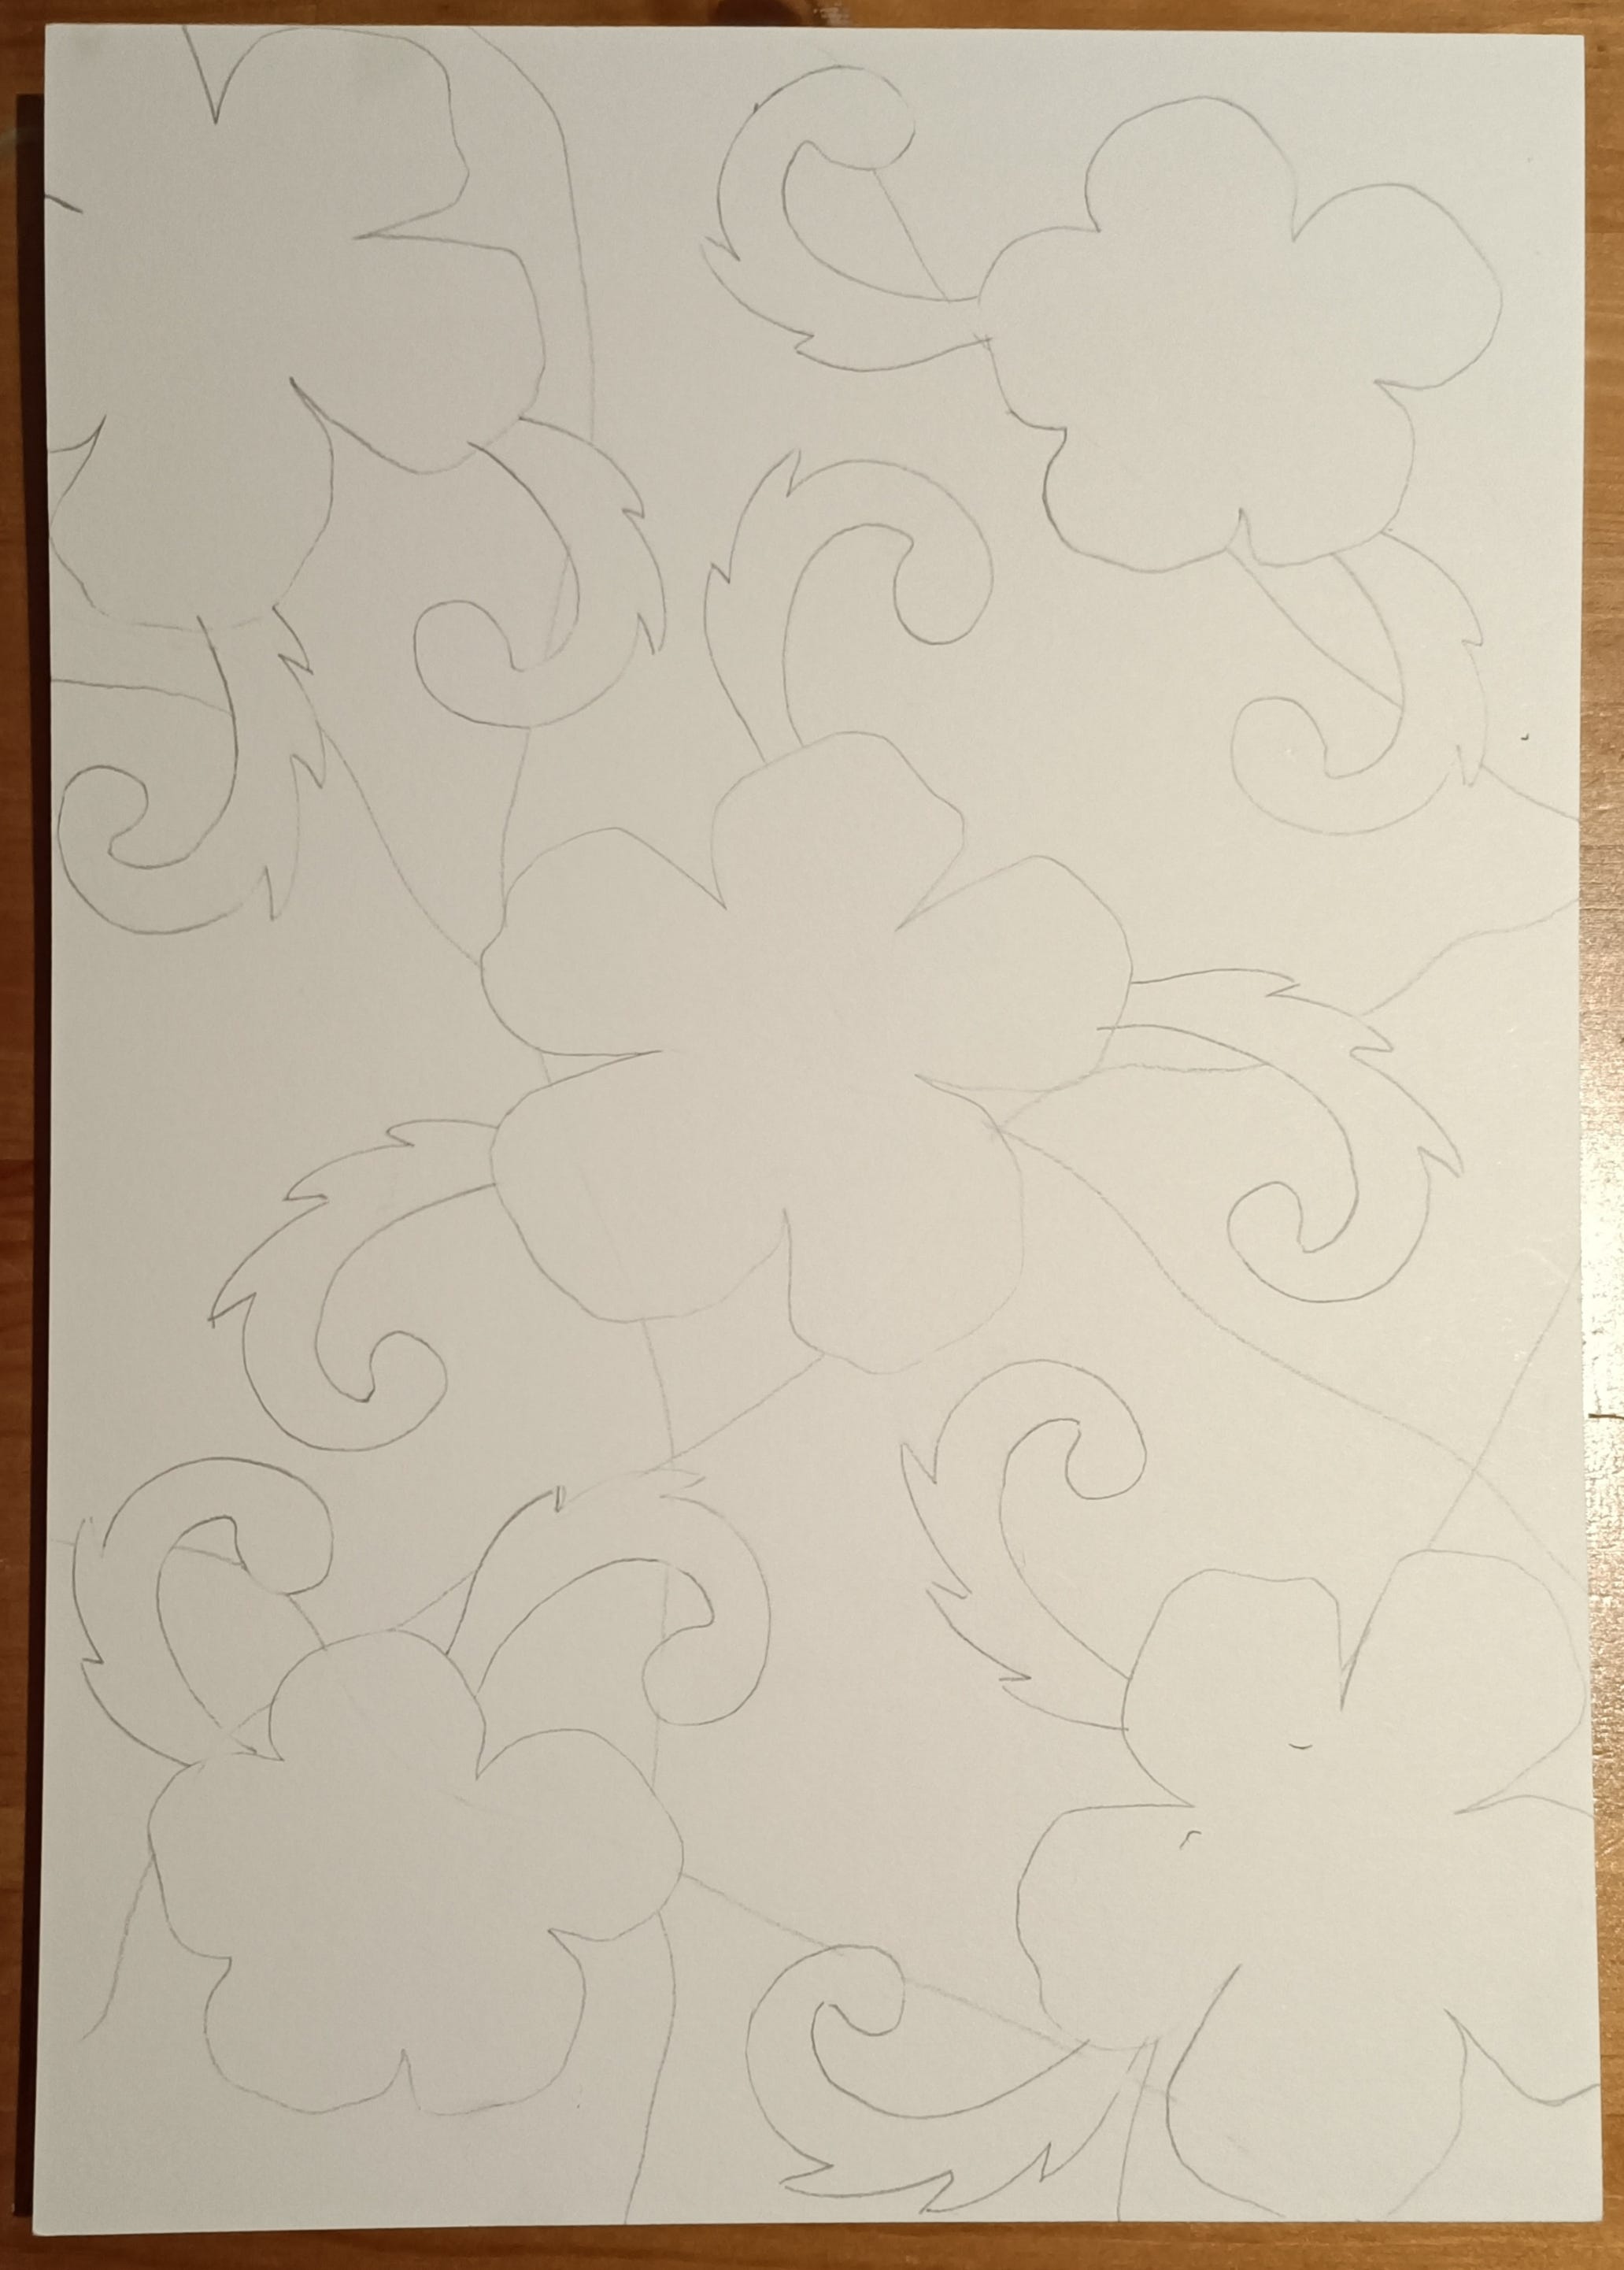
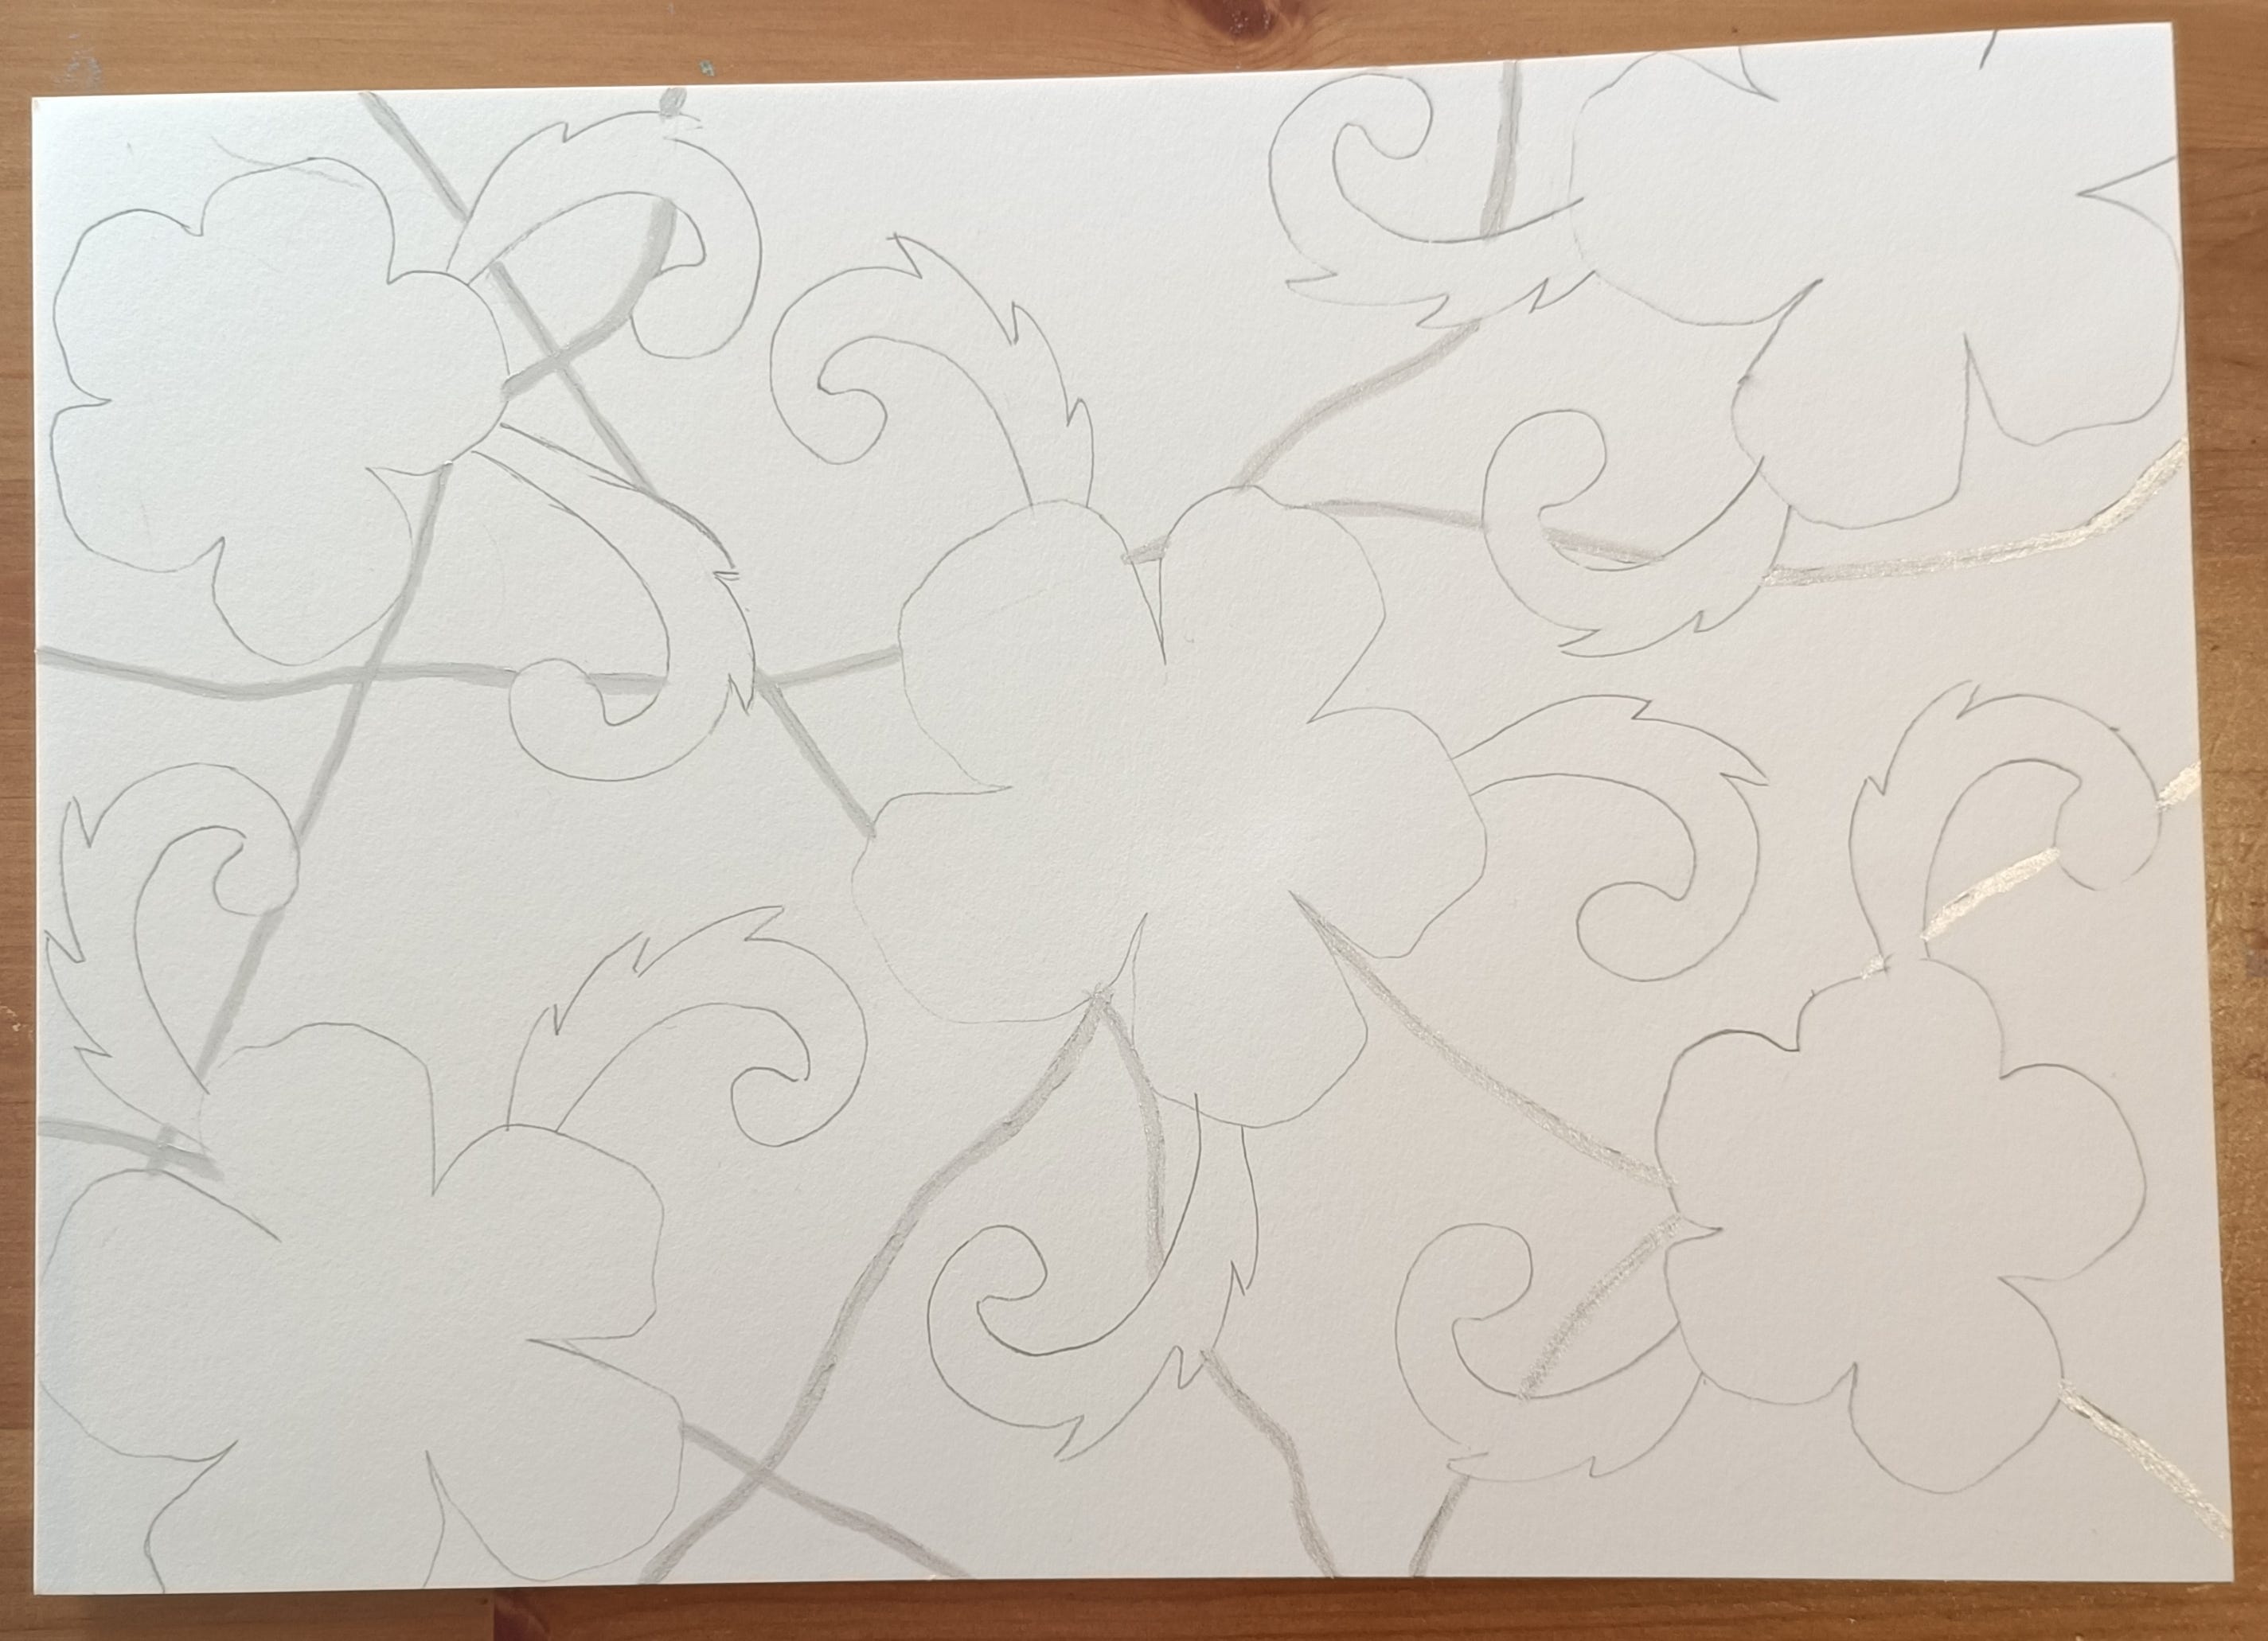
11) I transferred flowers and scrolls on the art paper, A 4 size.
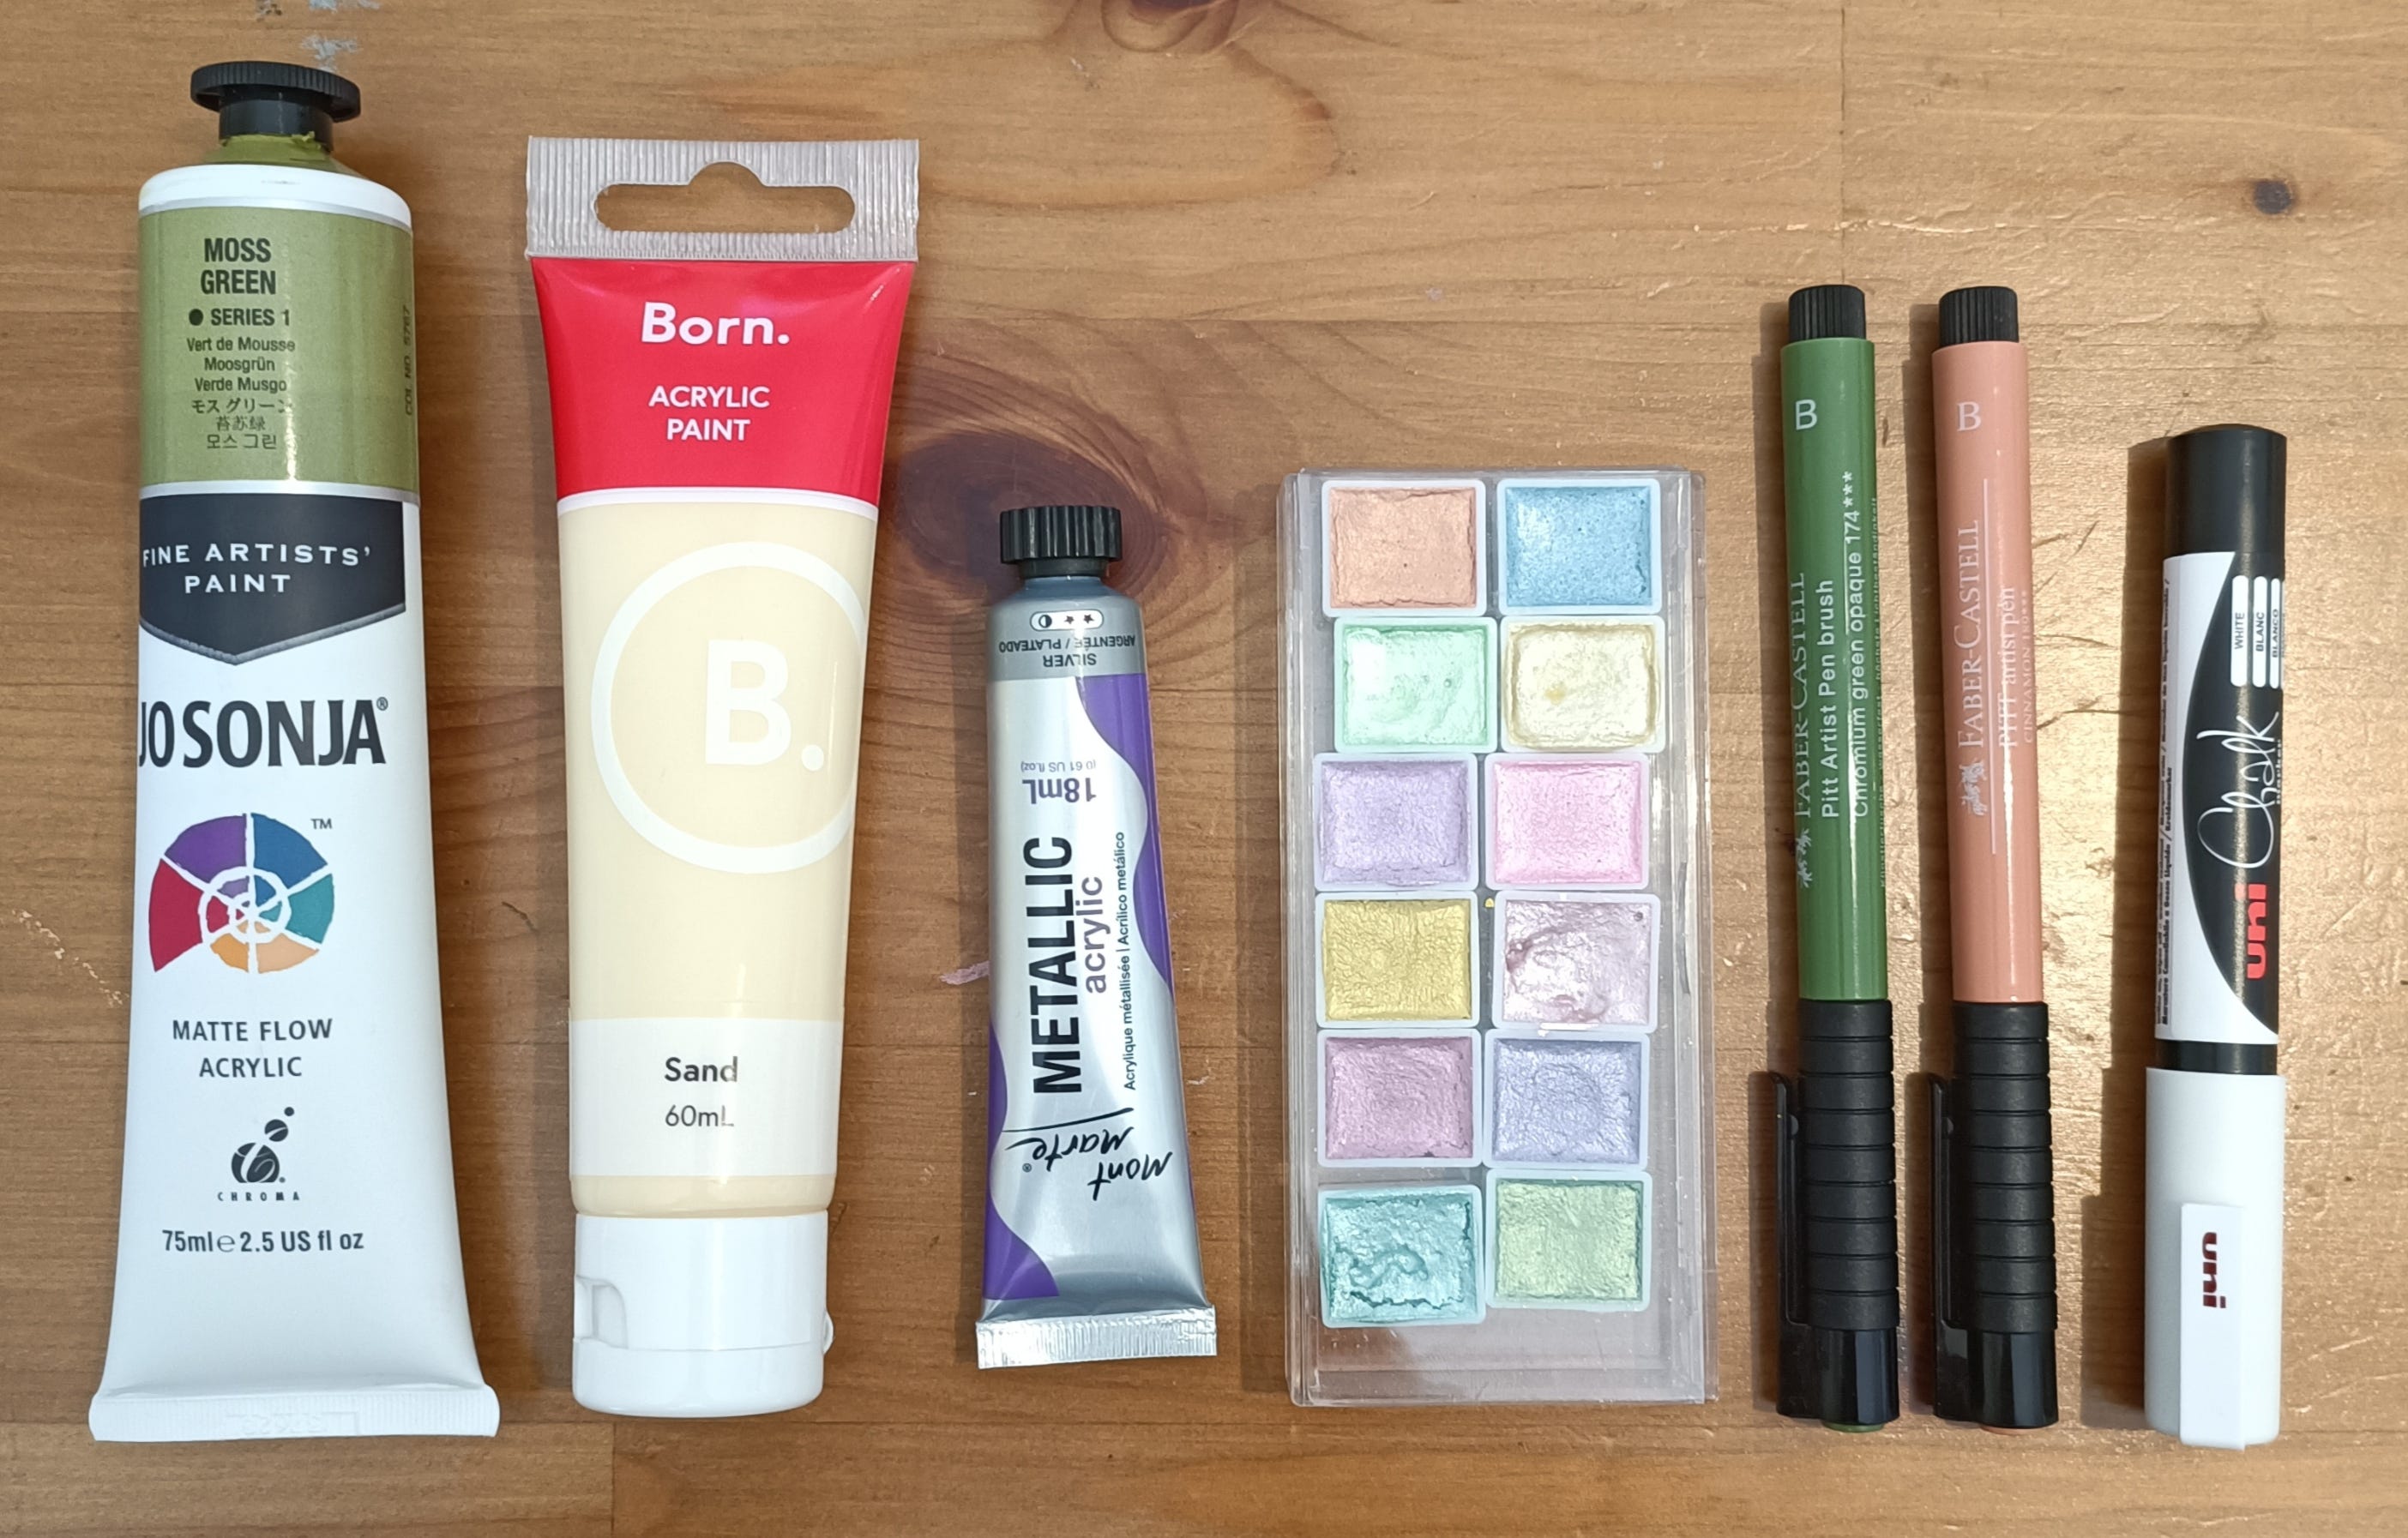
12) Next I will use acrylic paints in 3 shades, metallic watercolours, 2 markers in 2 shades and white marker.
13) I drew at the background using silver metallic acrylic paint random lines.
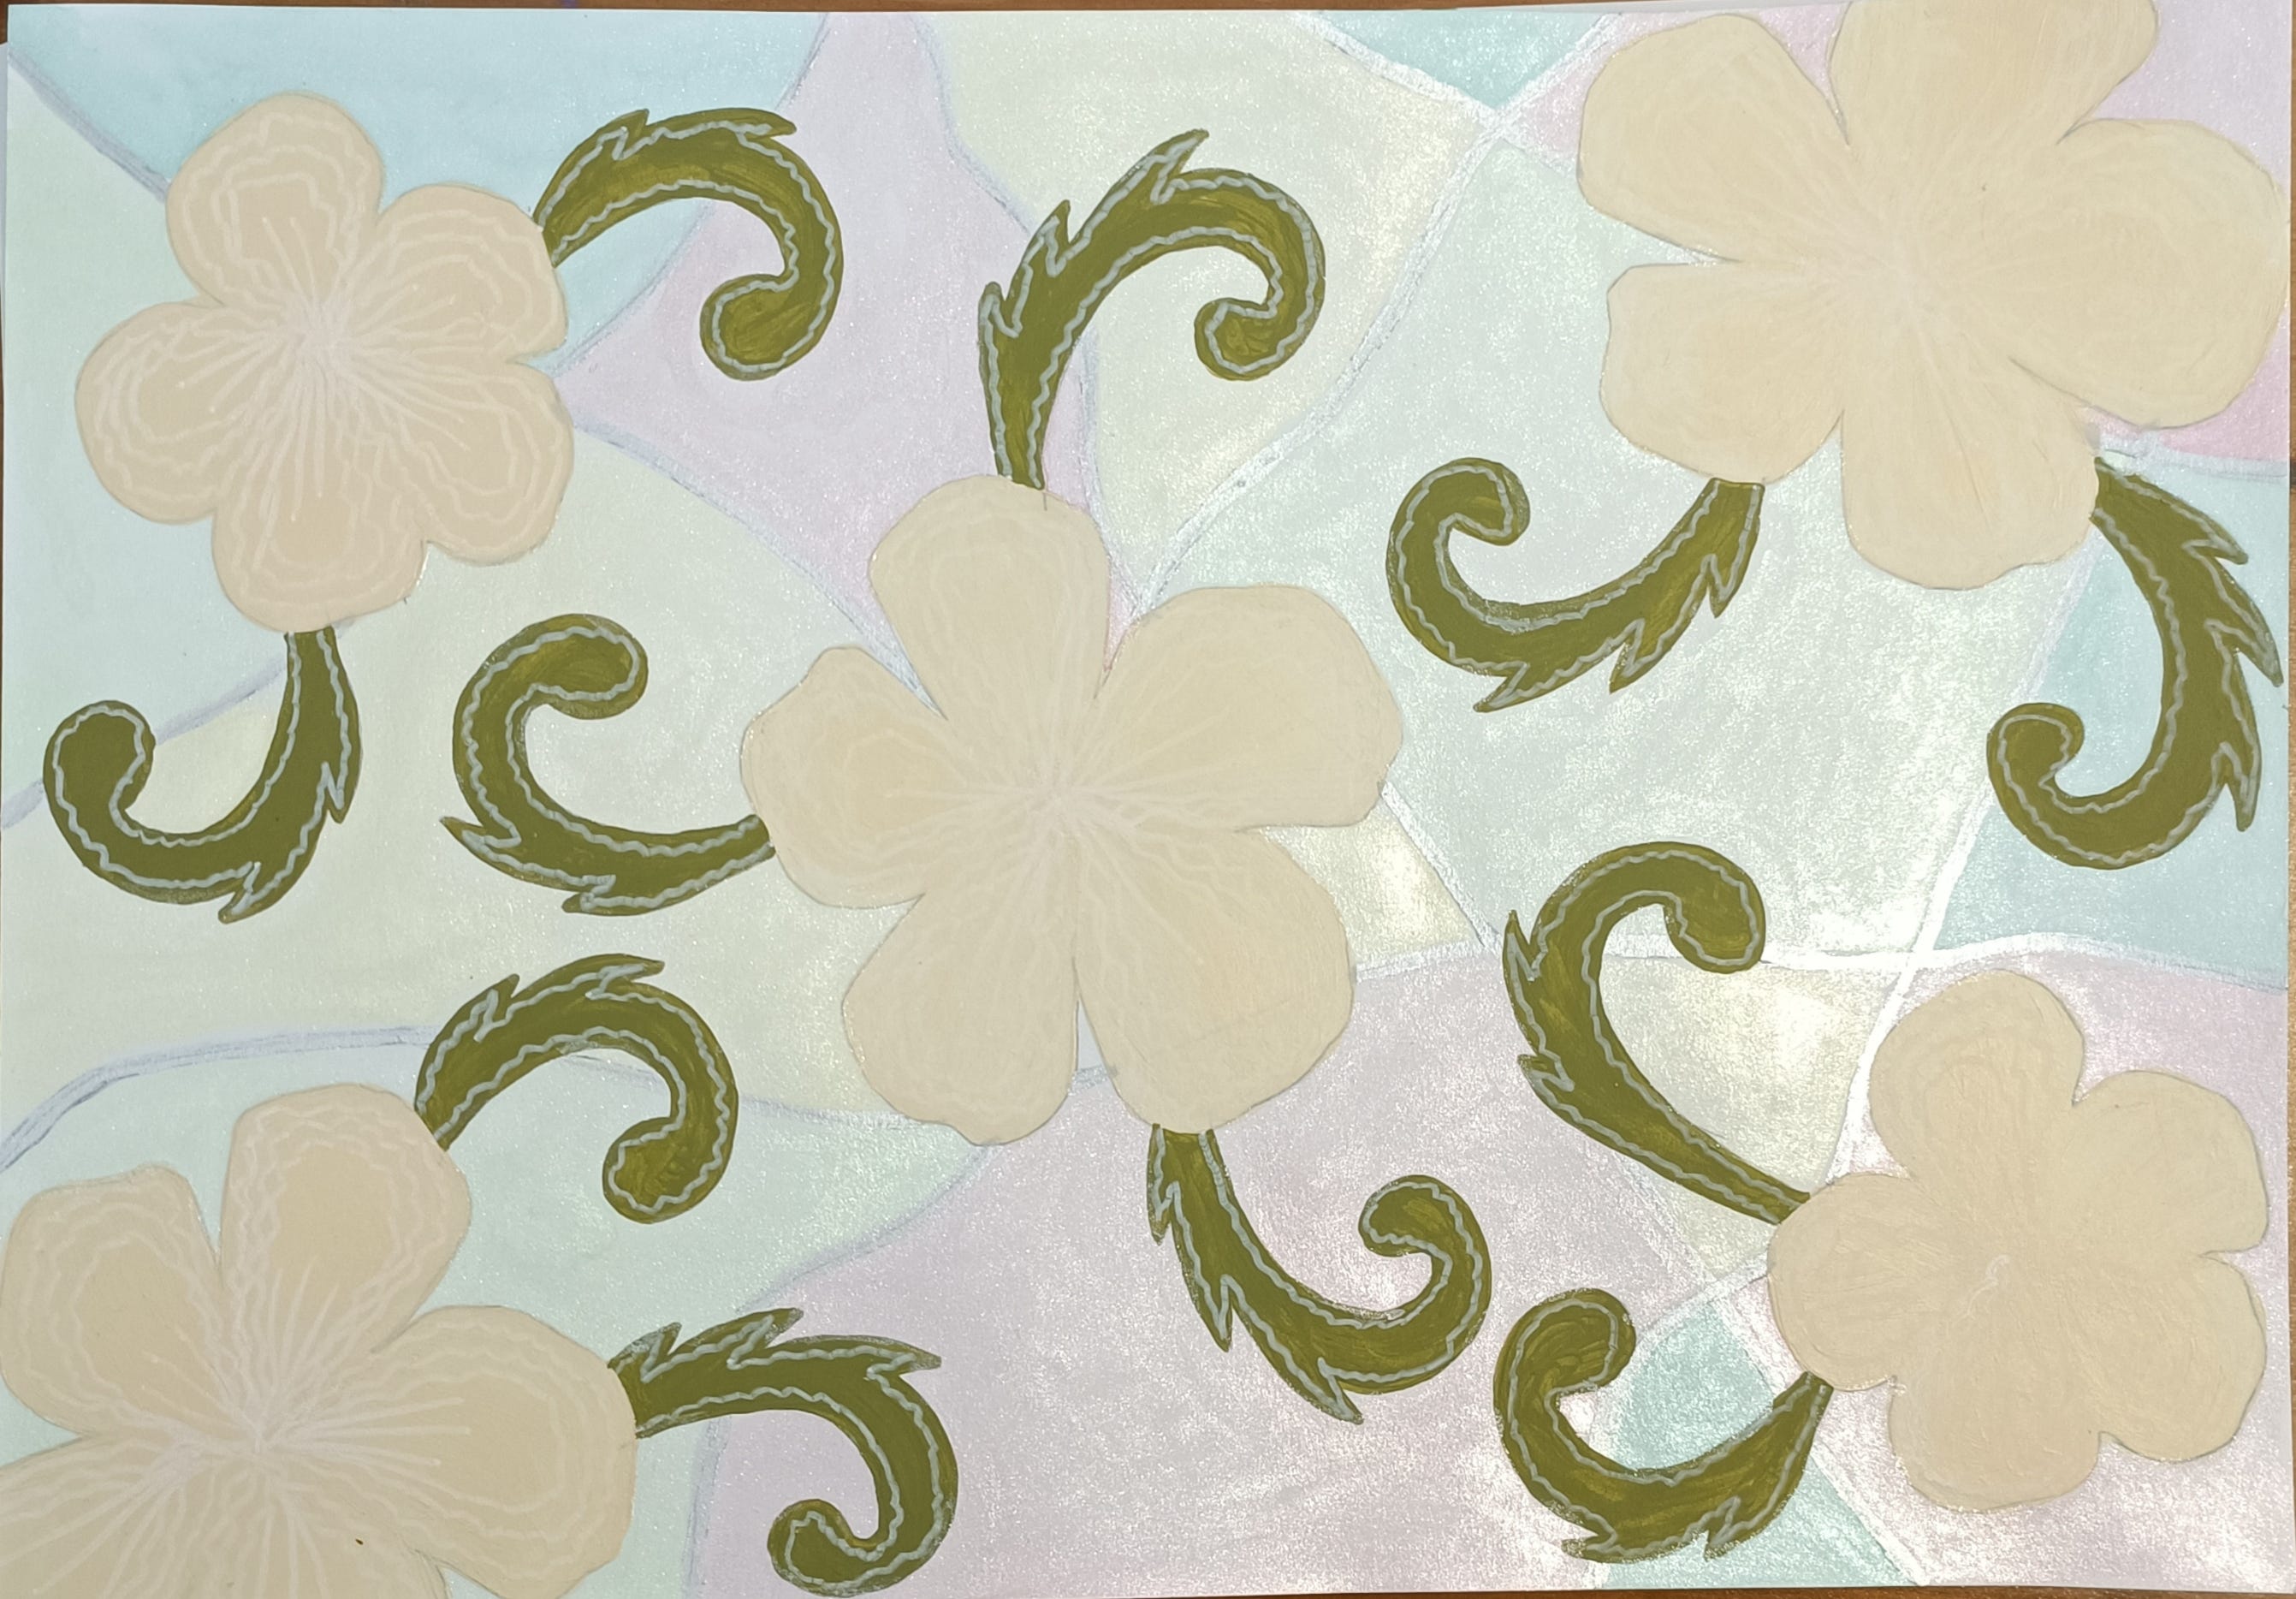
14) Next I’ve added beige coloured flowers.
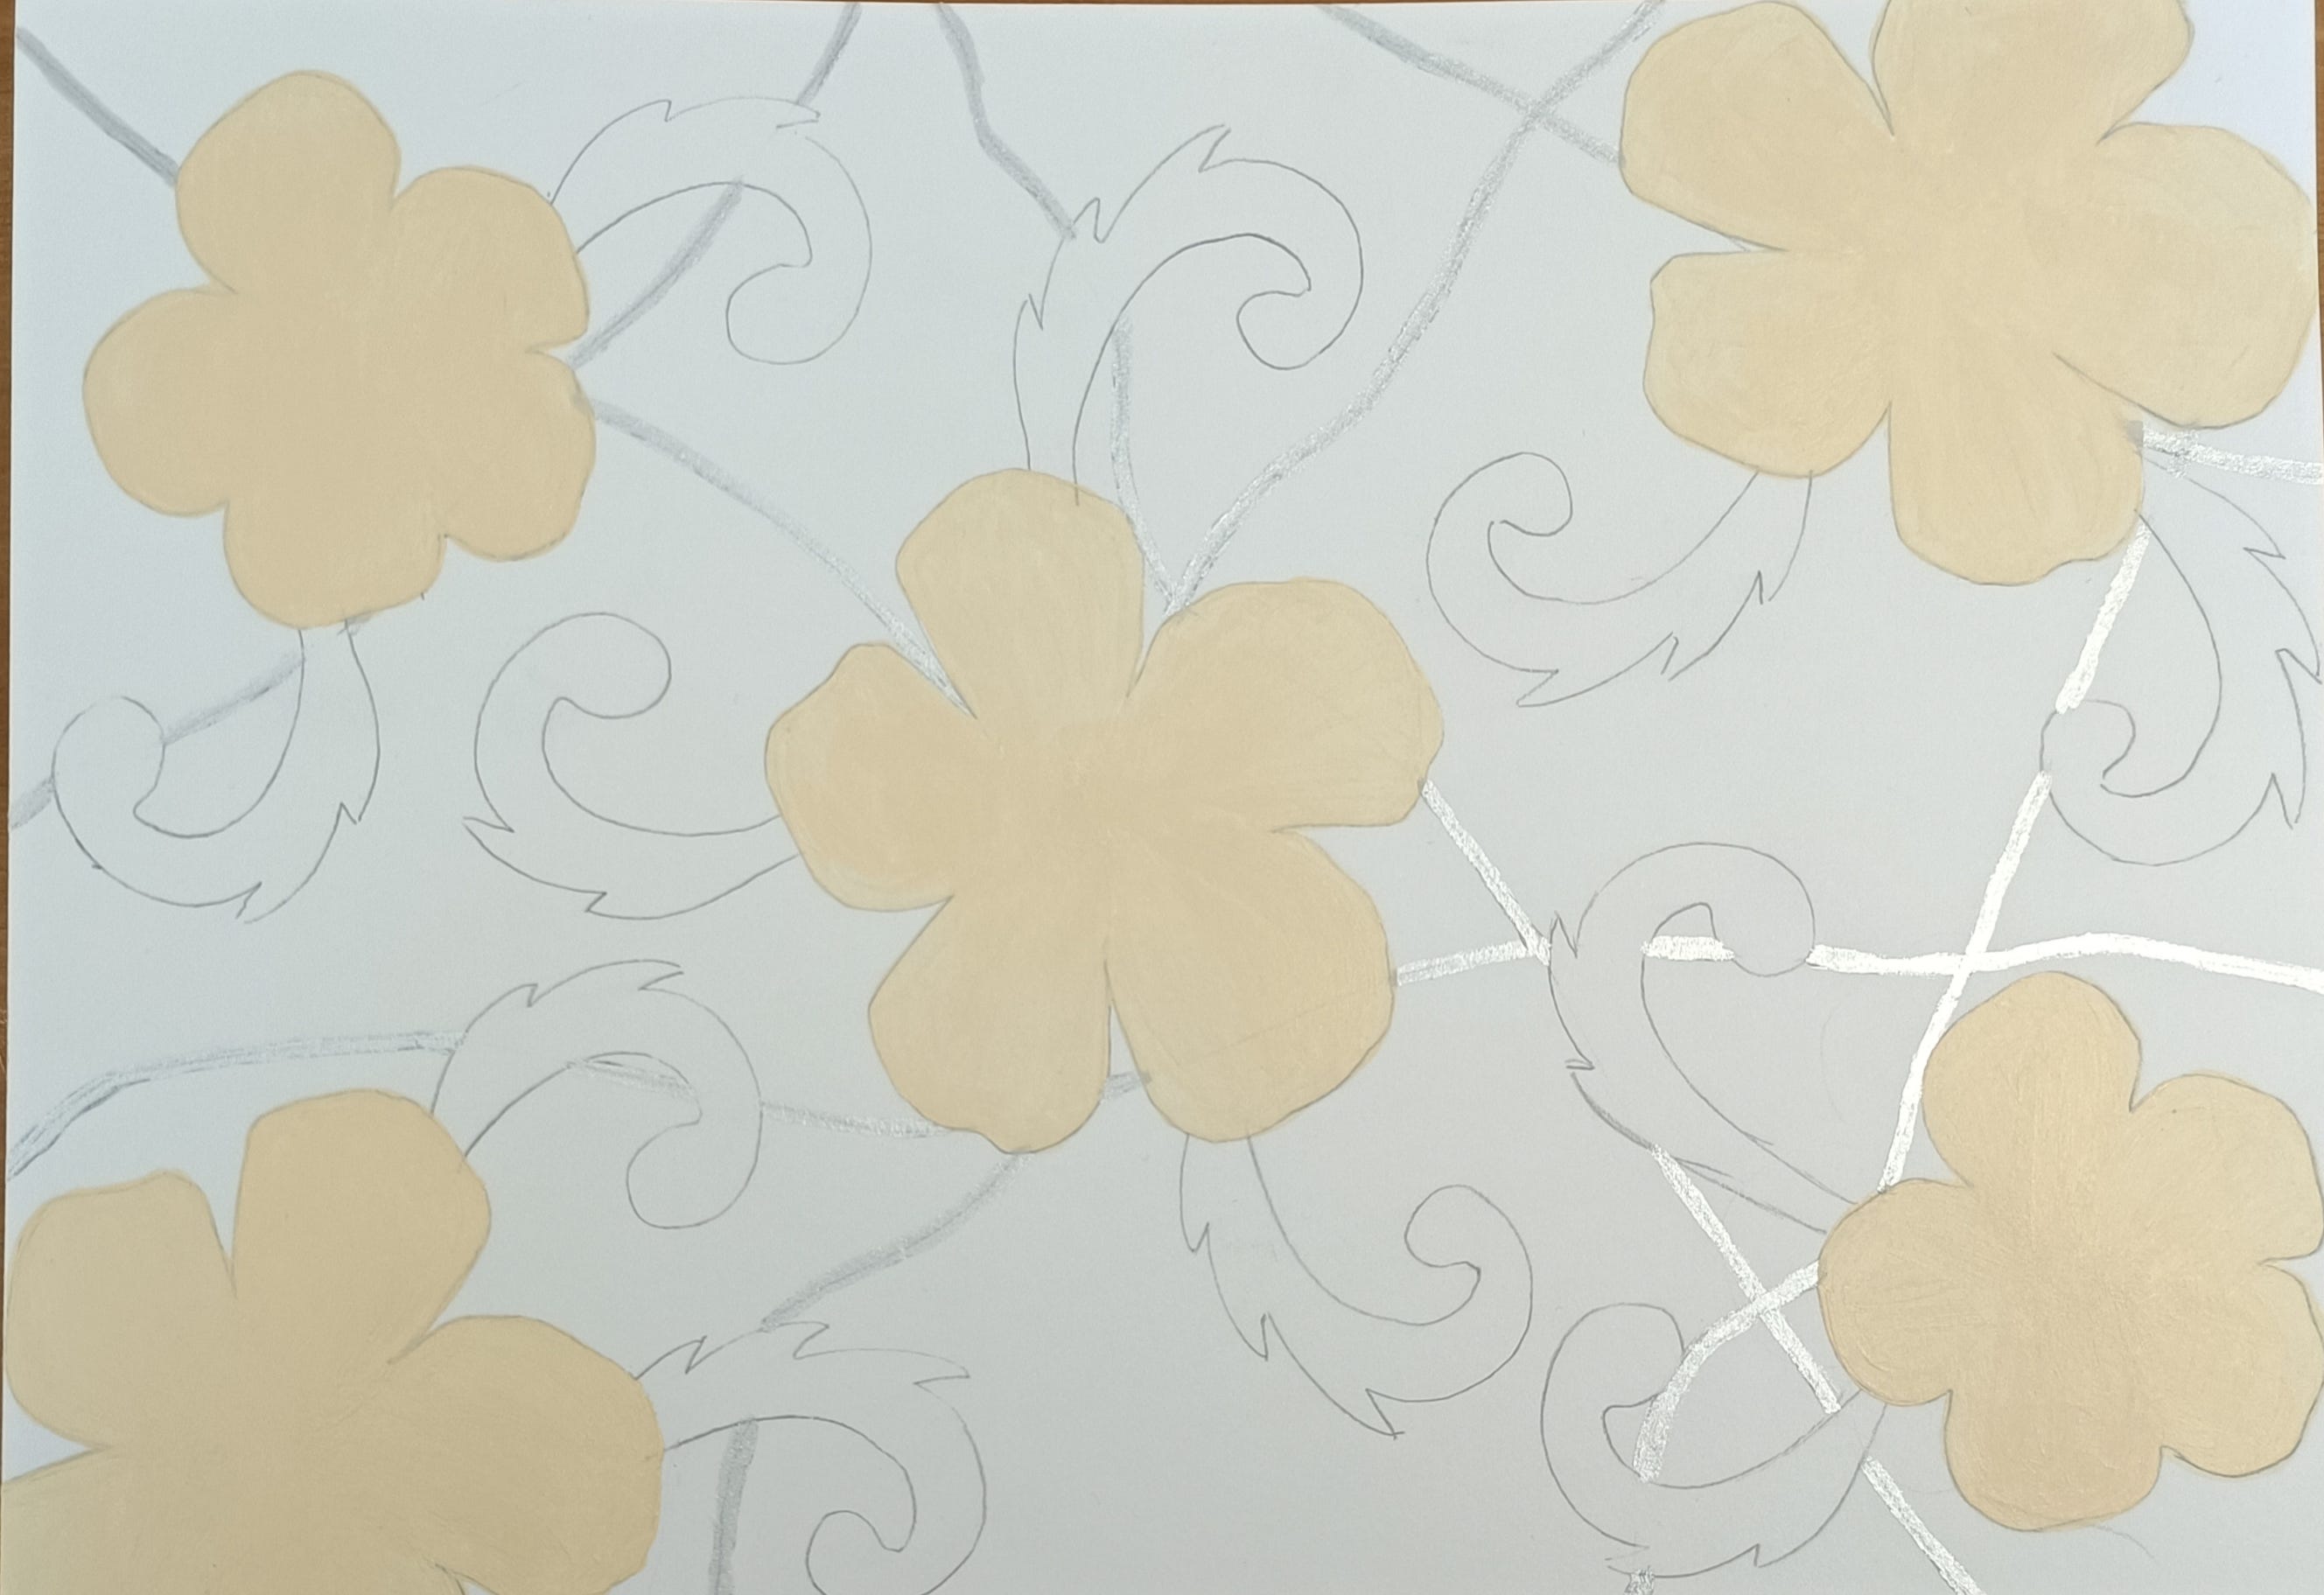
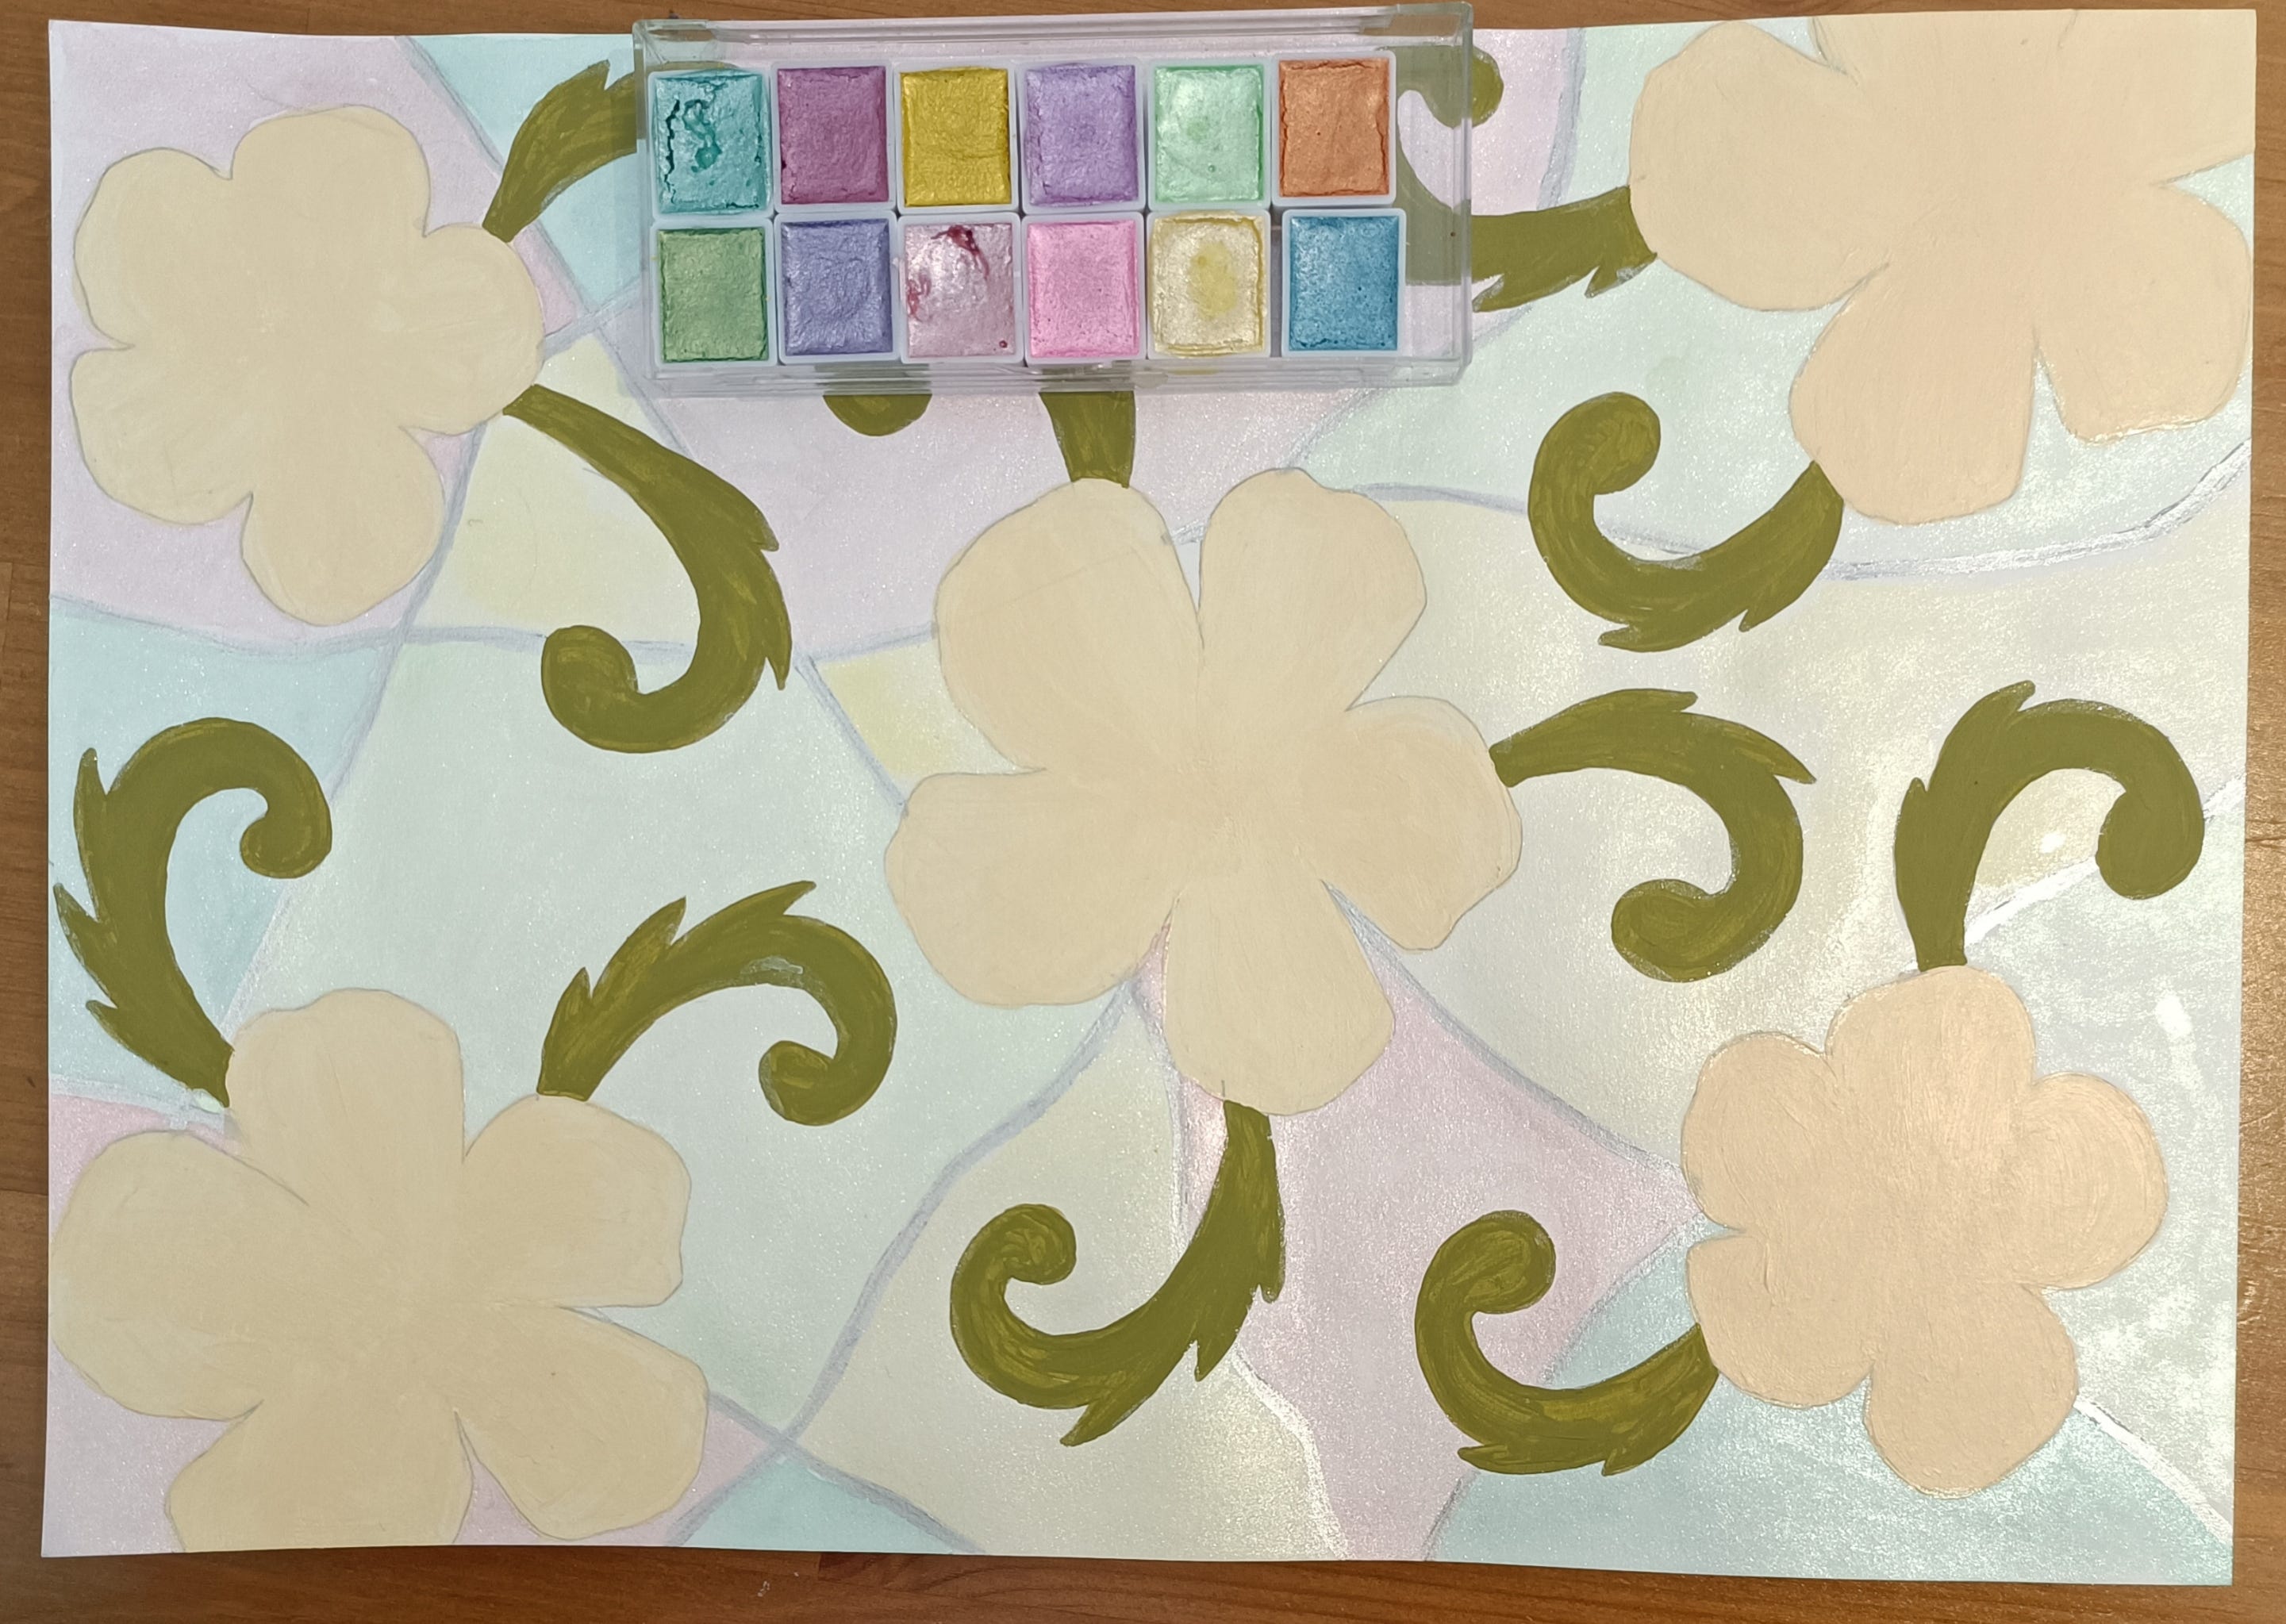
15) Using green colour acrylic paint I’ve added scrolls.

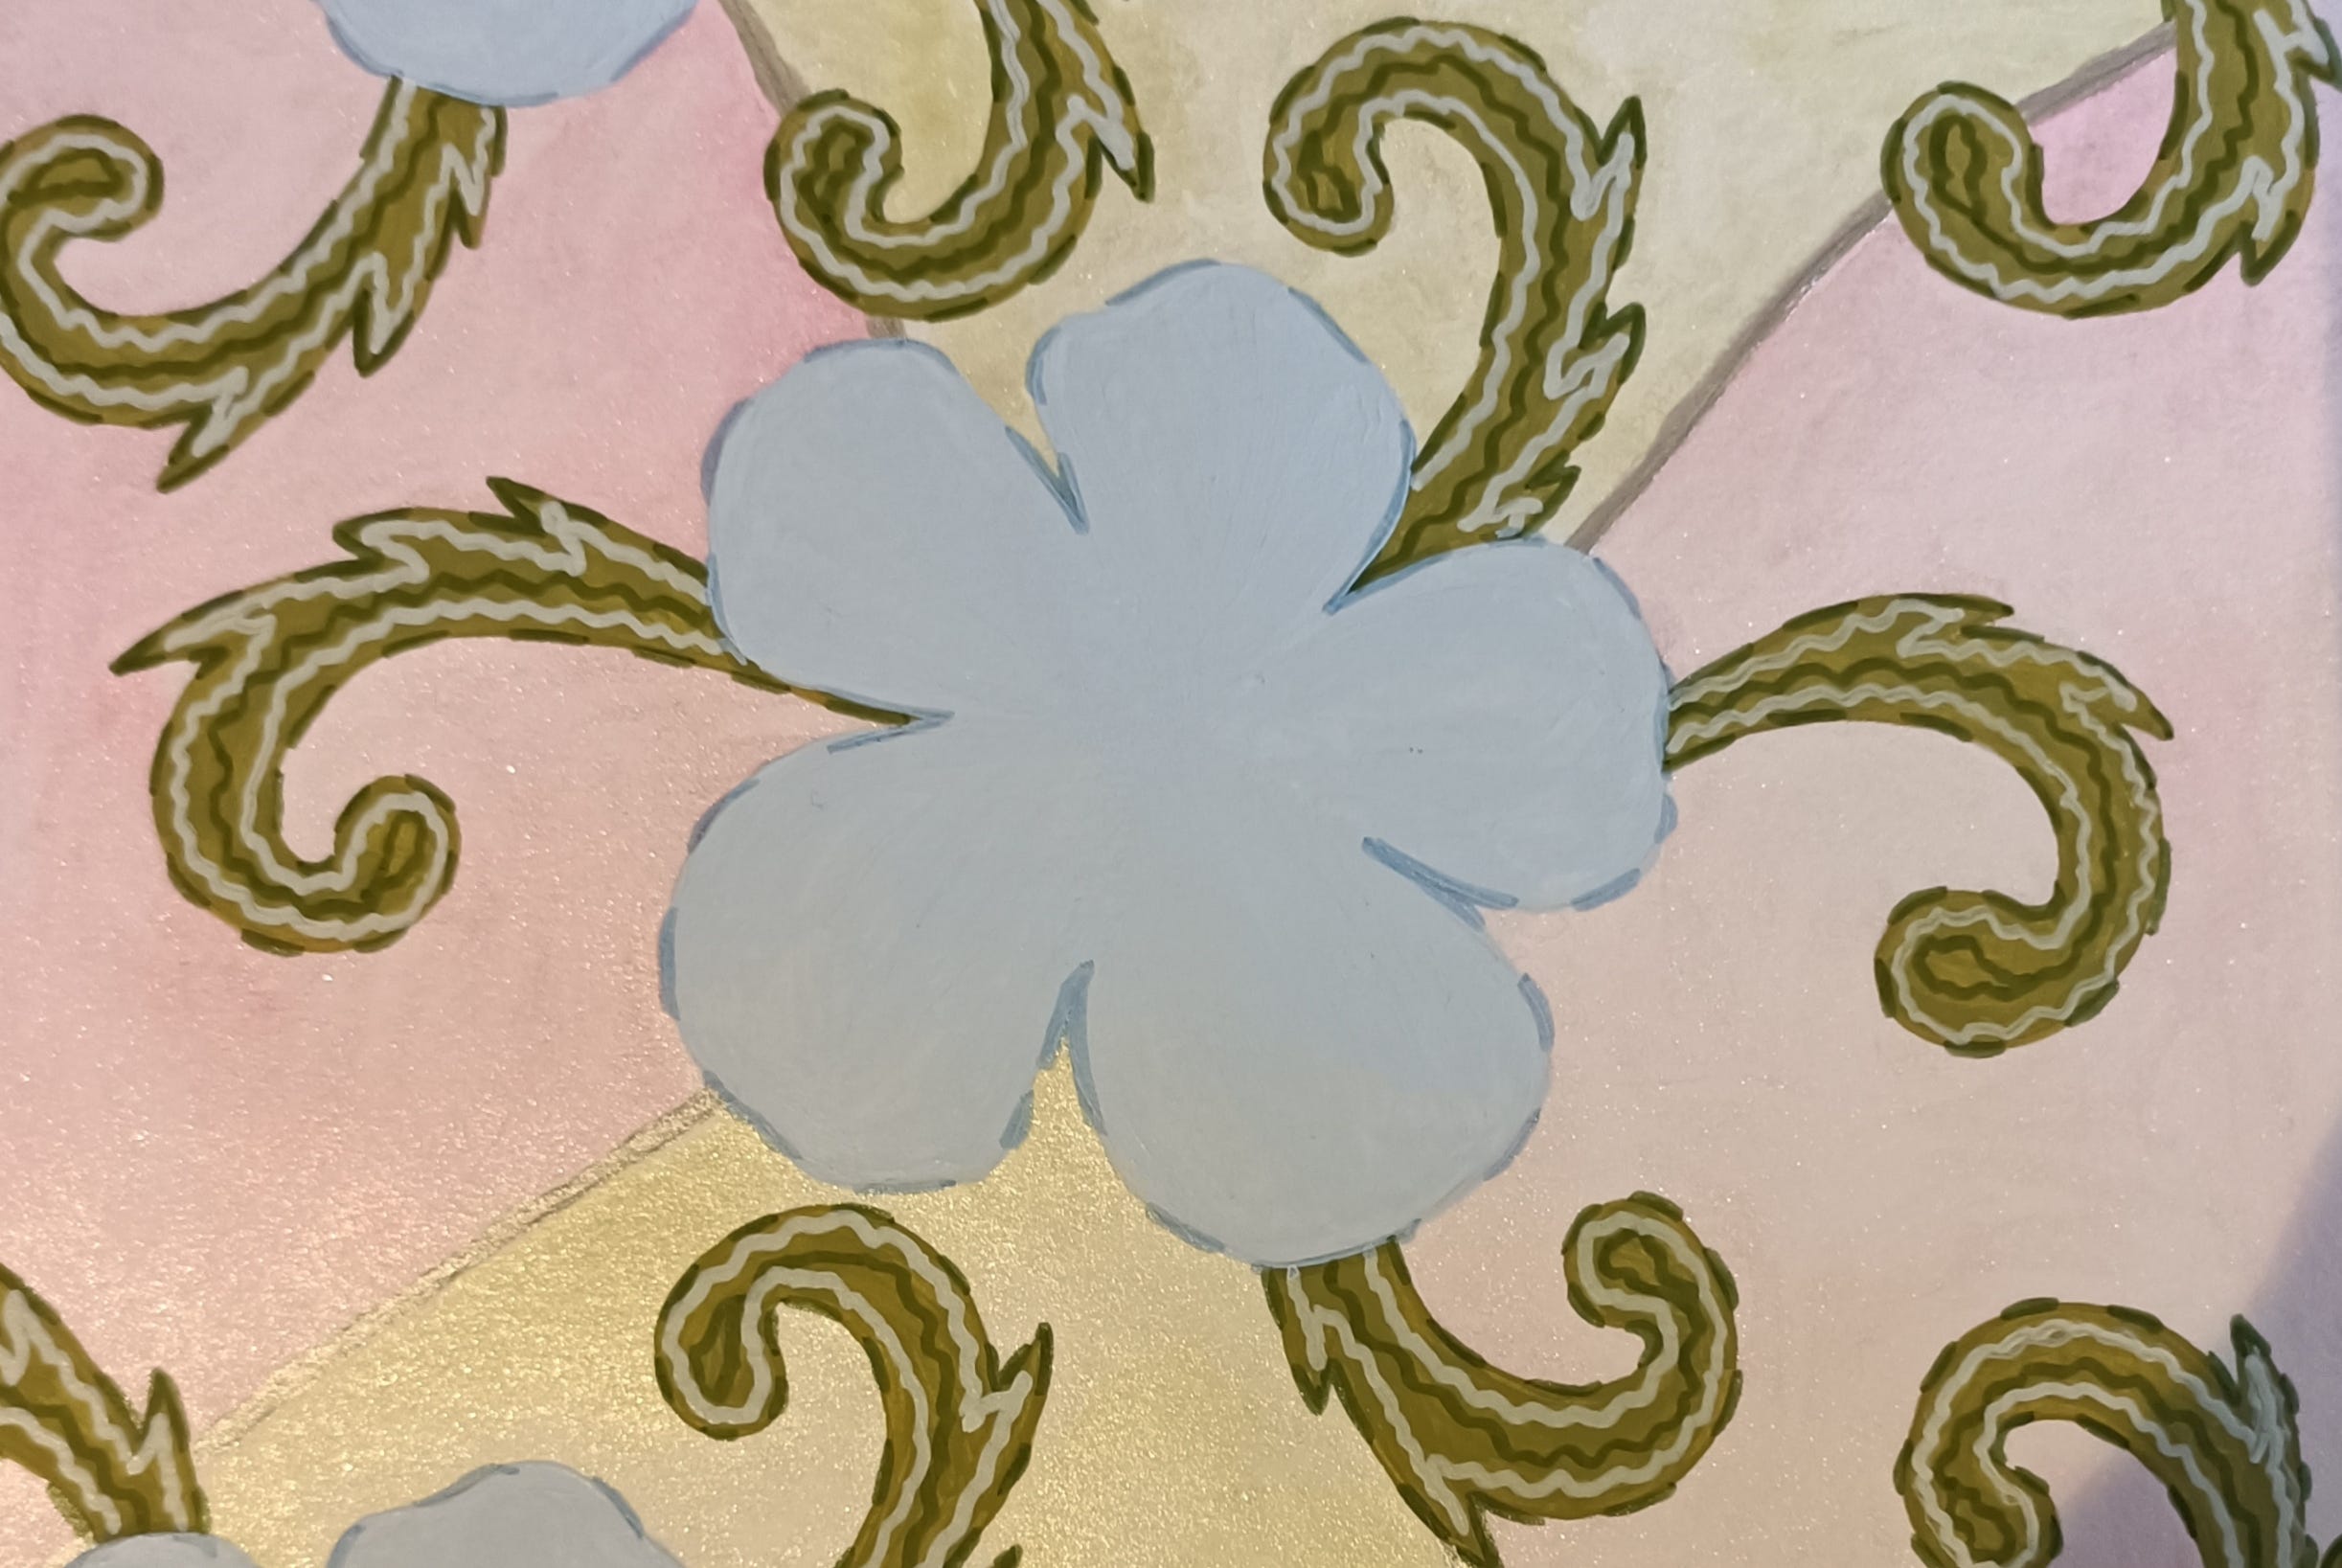
16) Next I will use light green, light yellow, light pink and light blue metallic watercolours to fill in uneven shapes at the background.
17) Next I will use white marker to highlight green scrolls and petals on the flowers. This is the result.
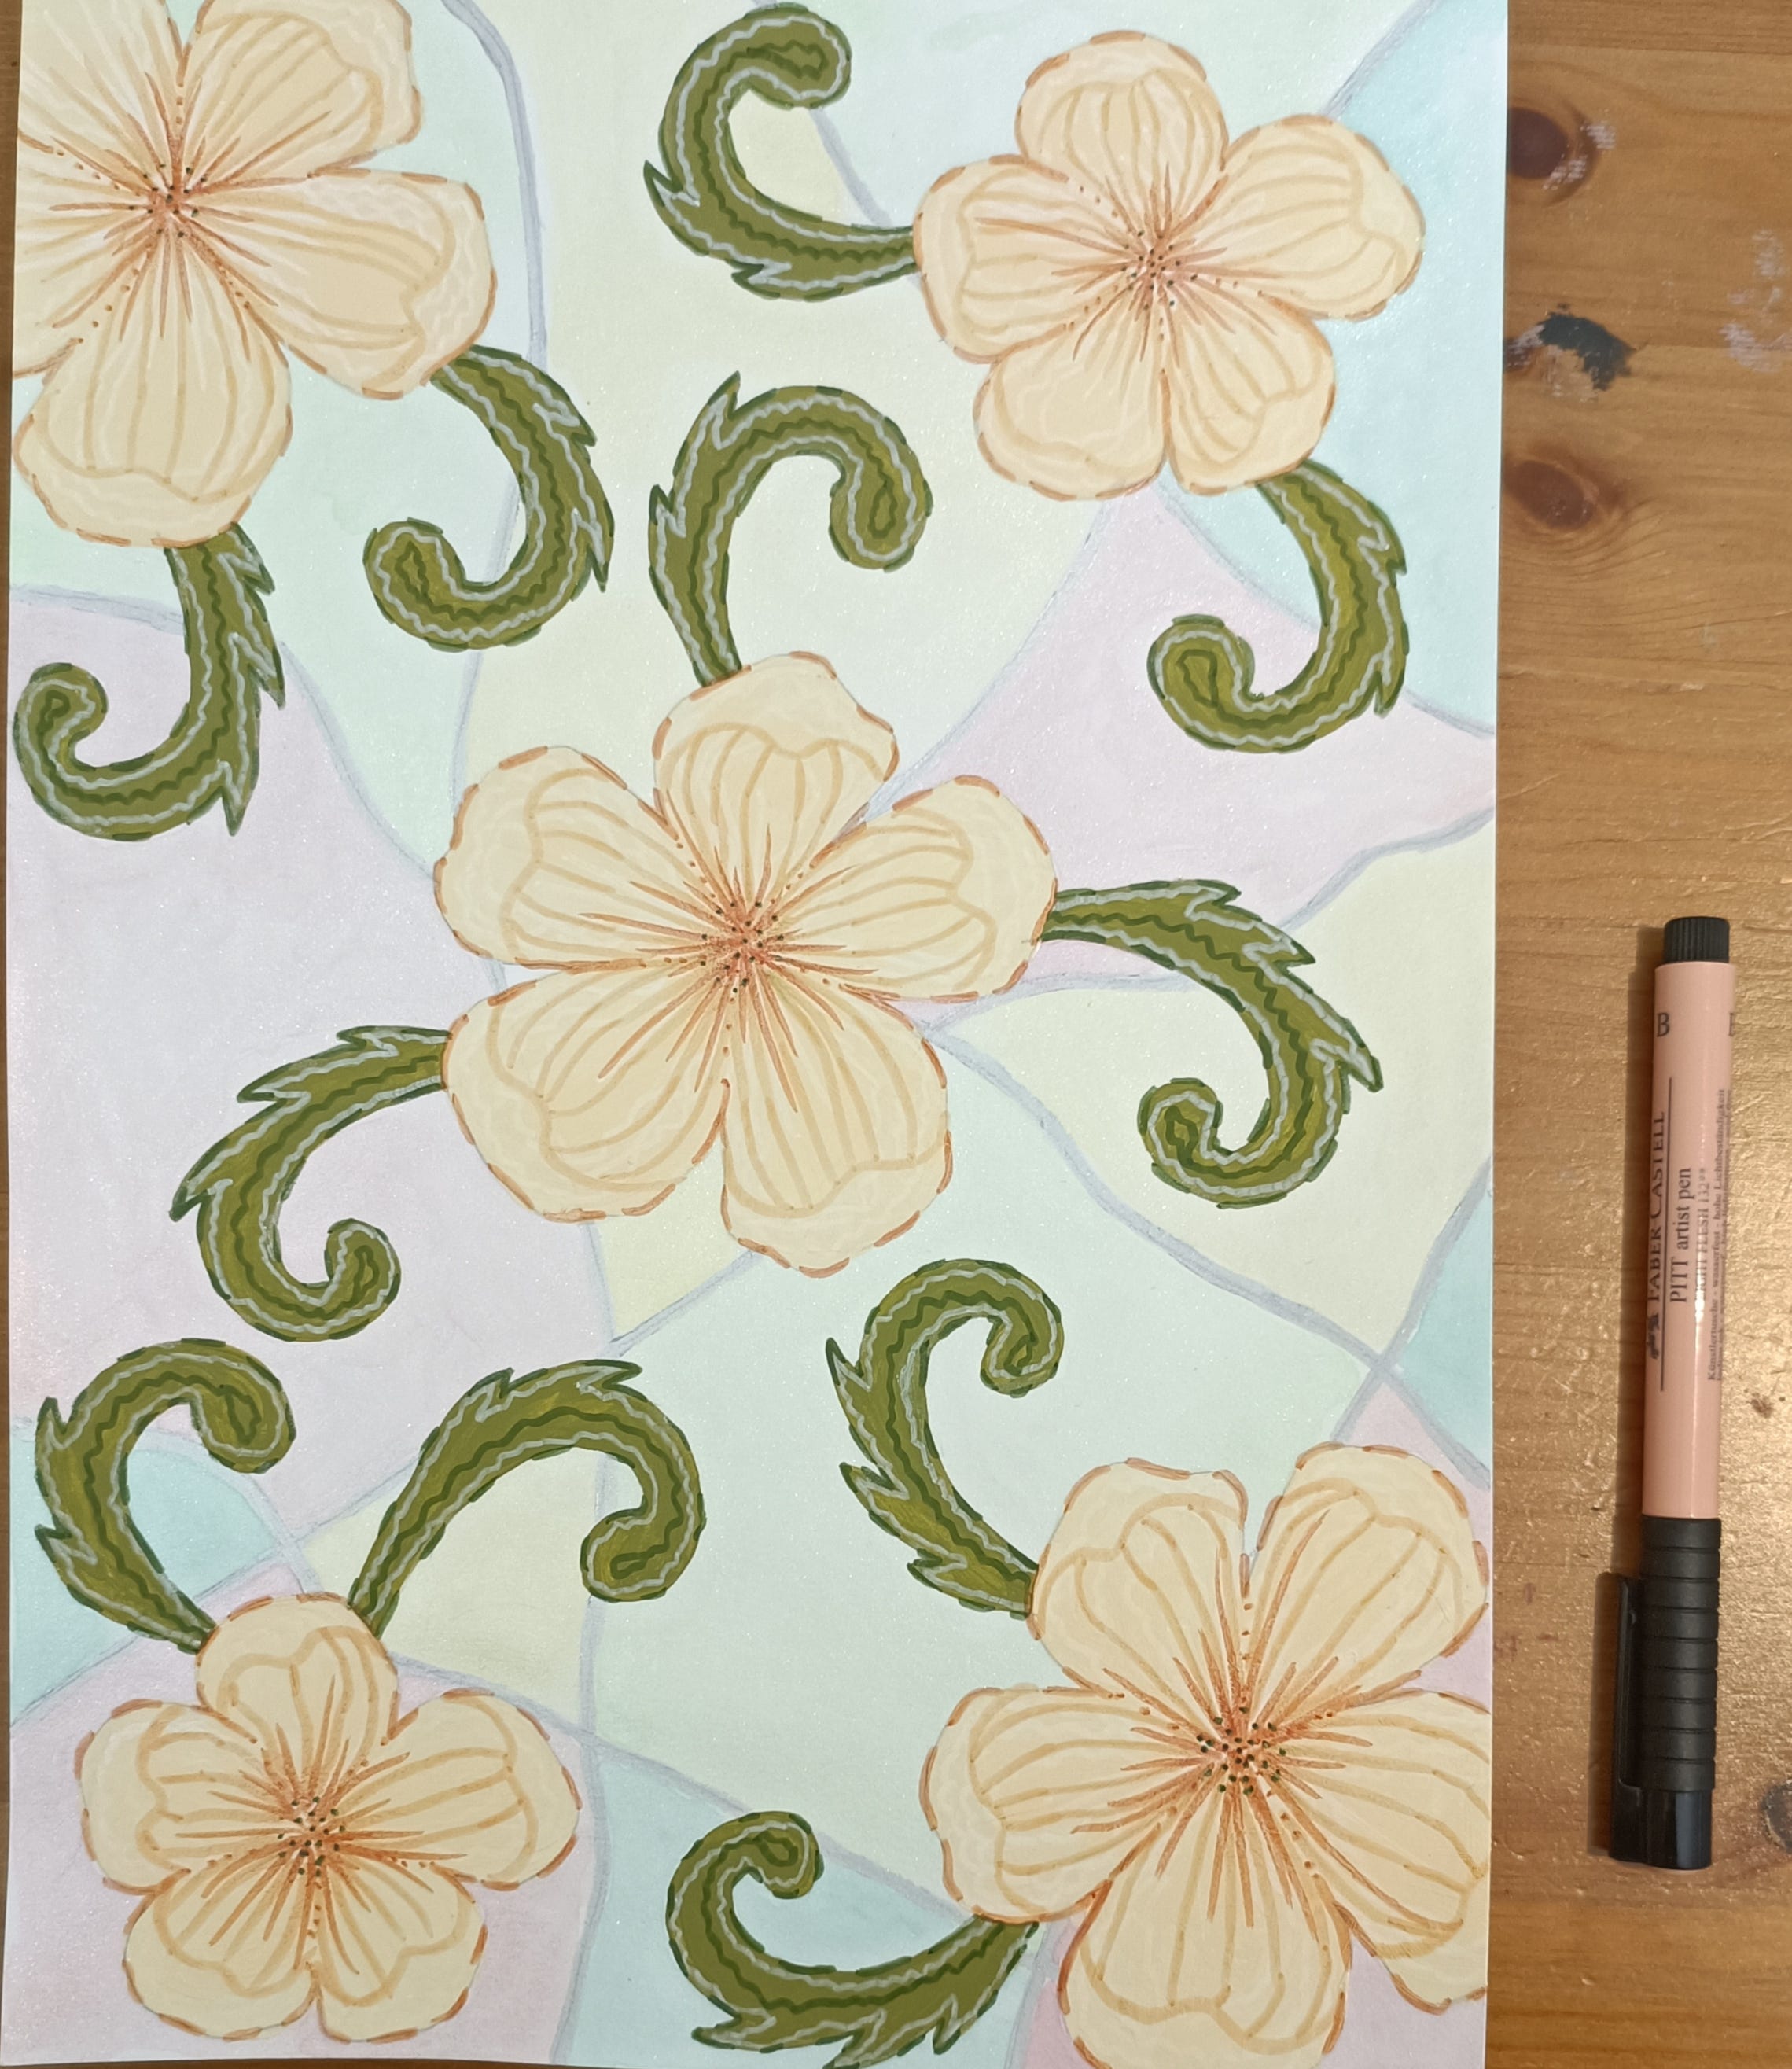
18) Next I’ve highlighted green scrolls with green marker and flowers with light brown marker.
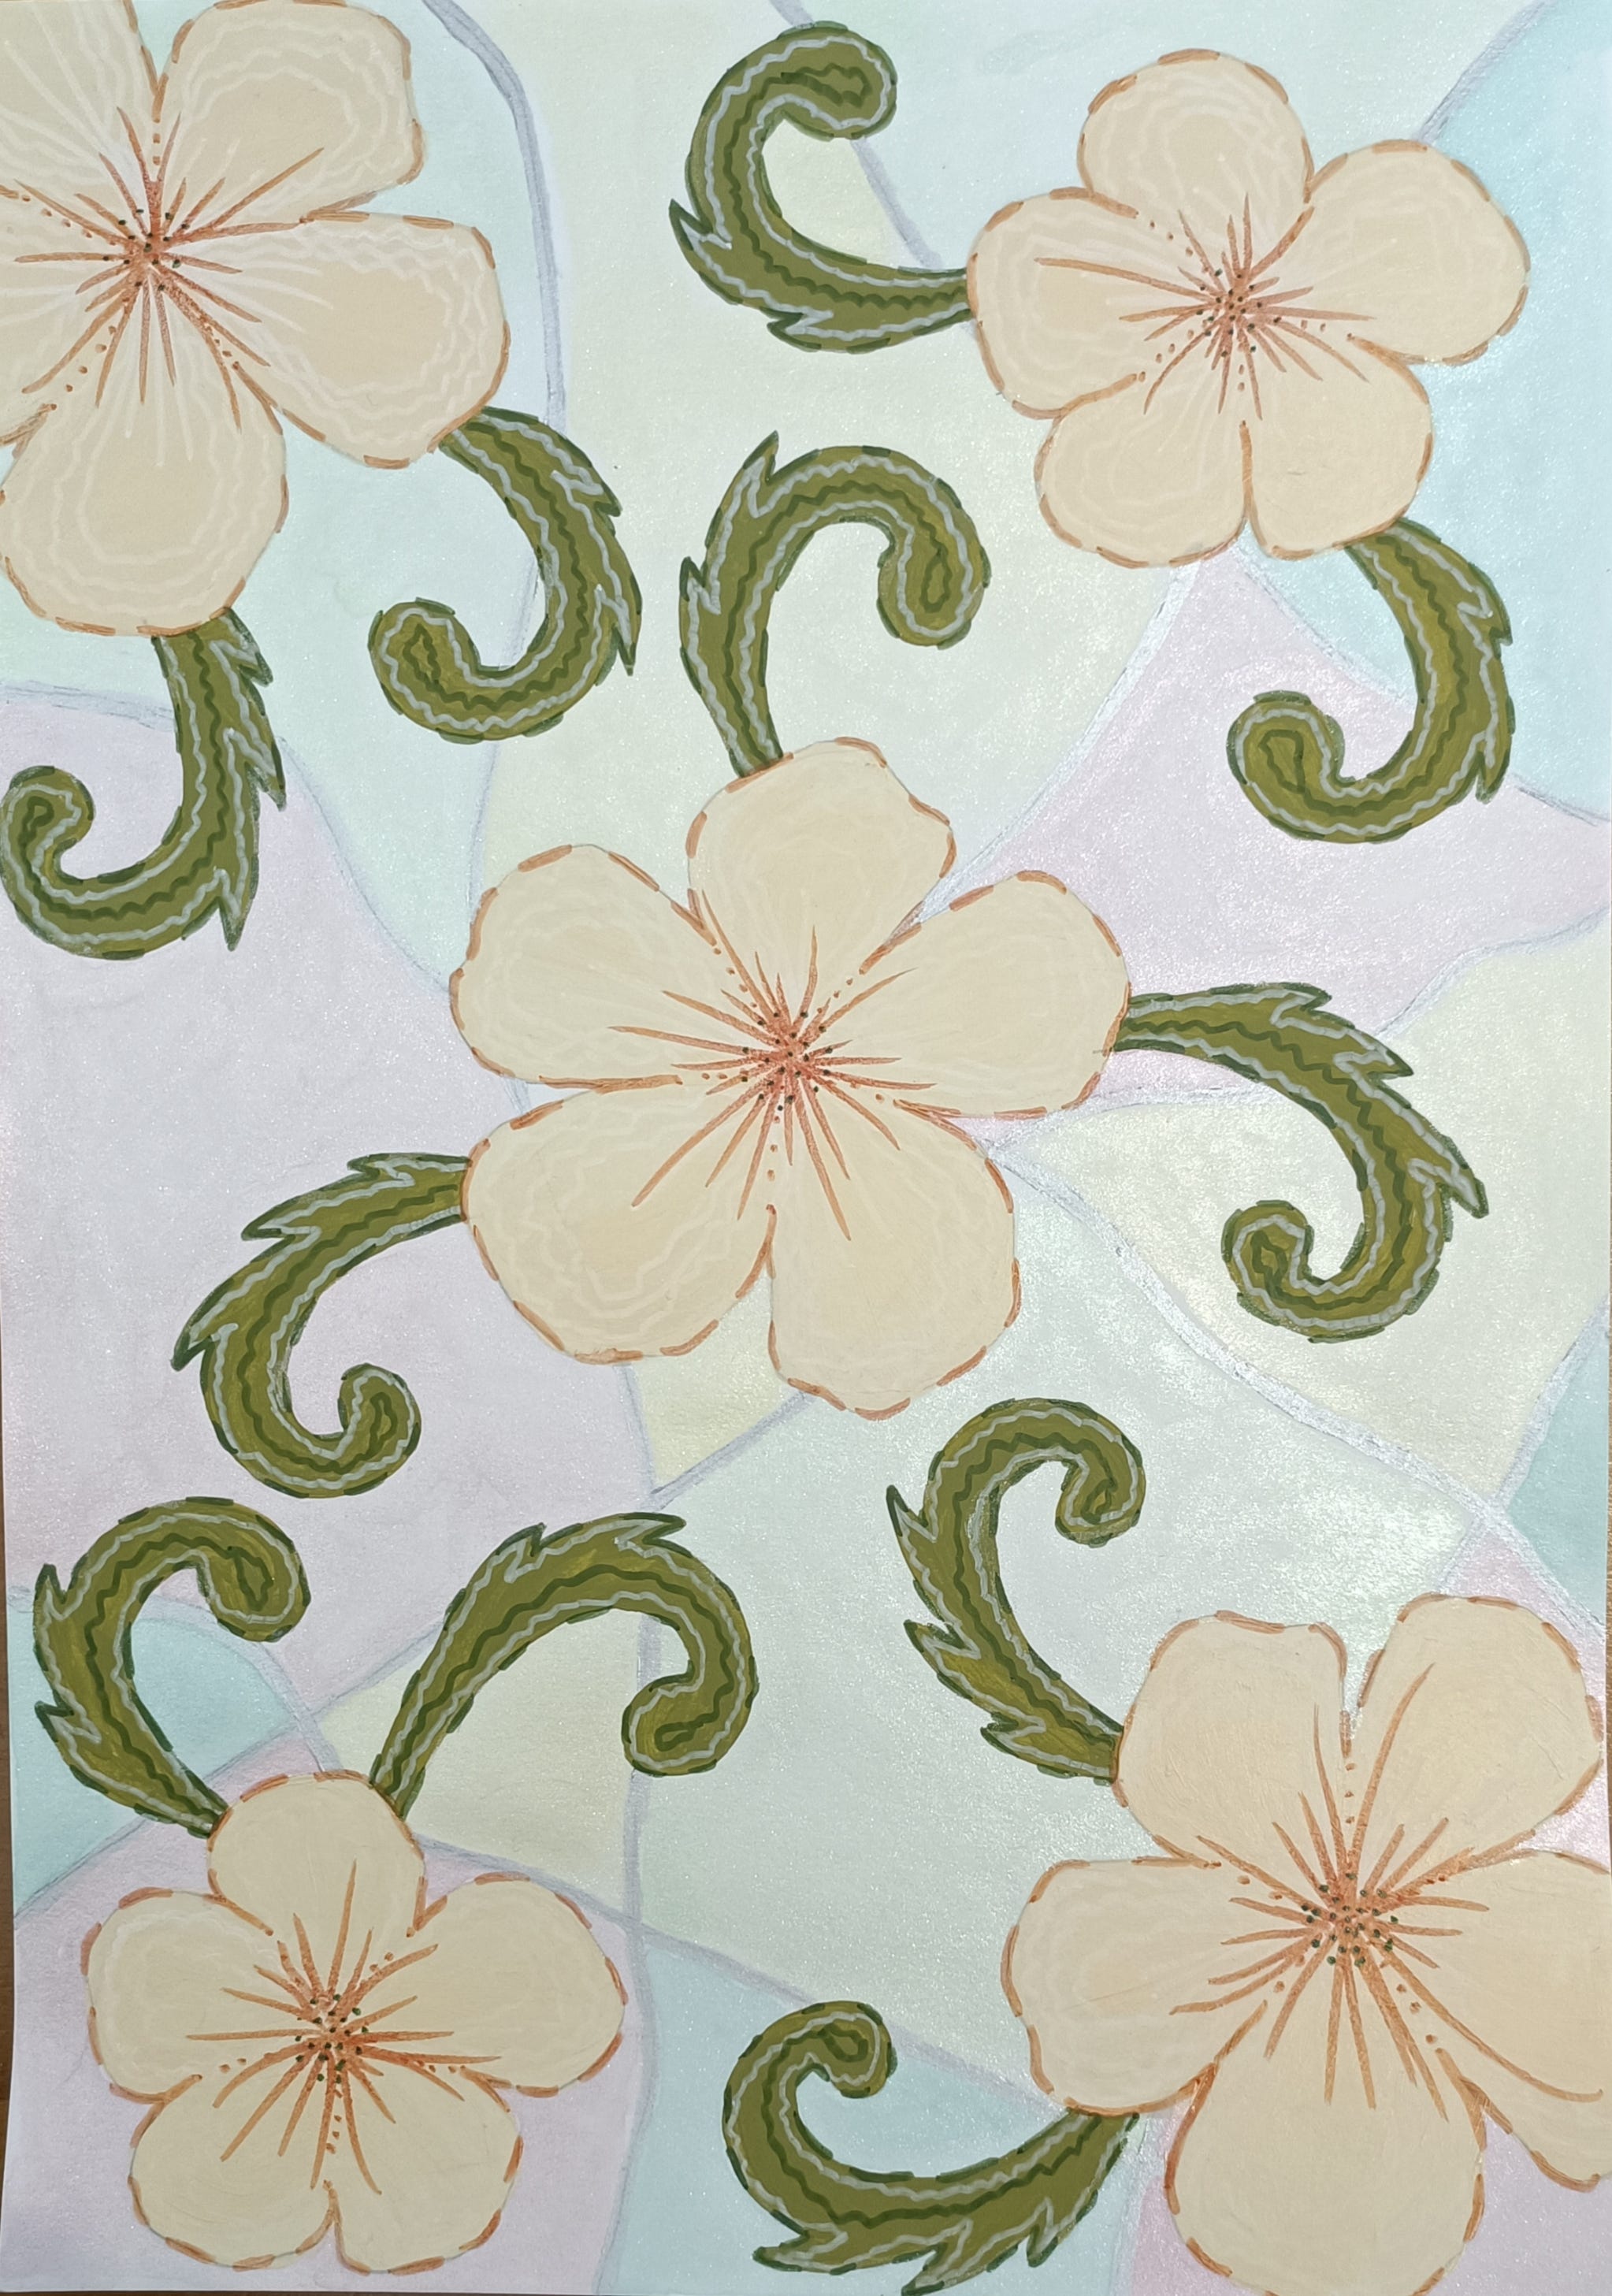
19) Next I added more highlights onto flowers with light brown marker.
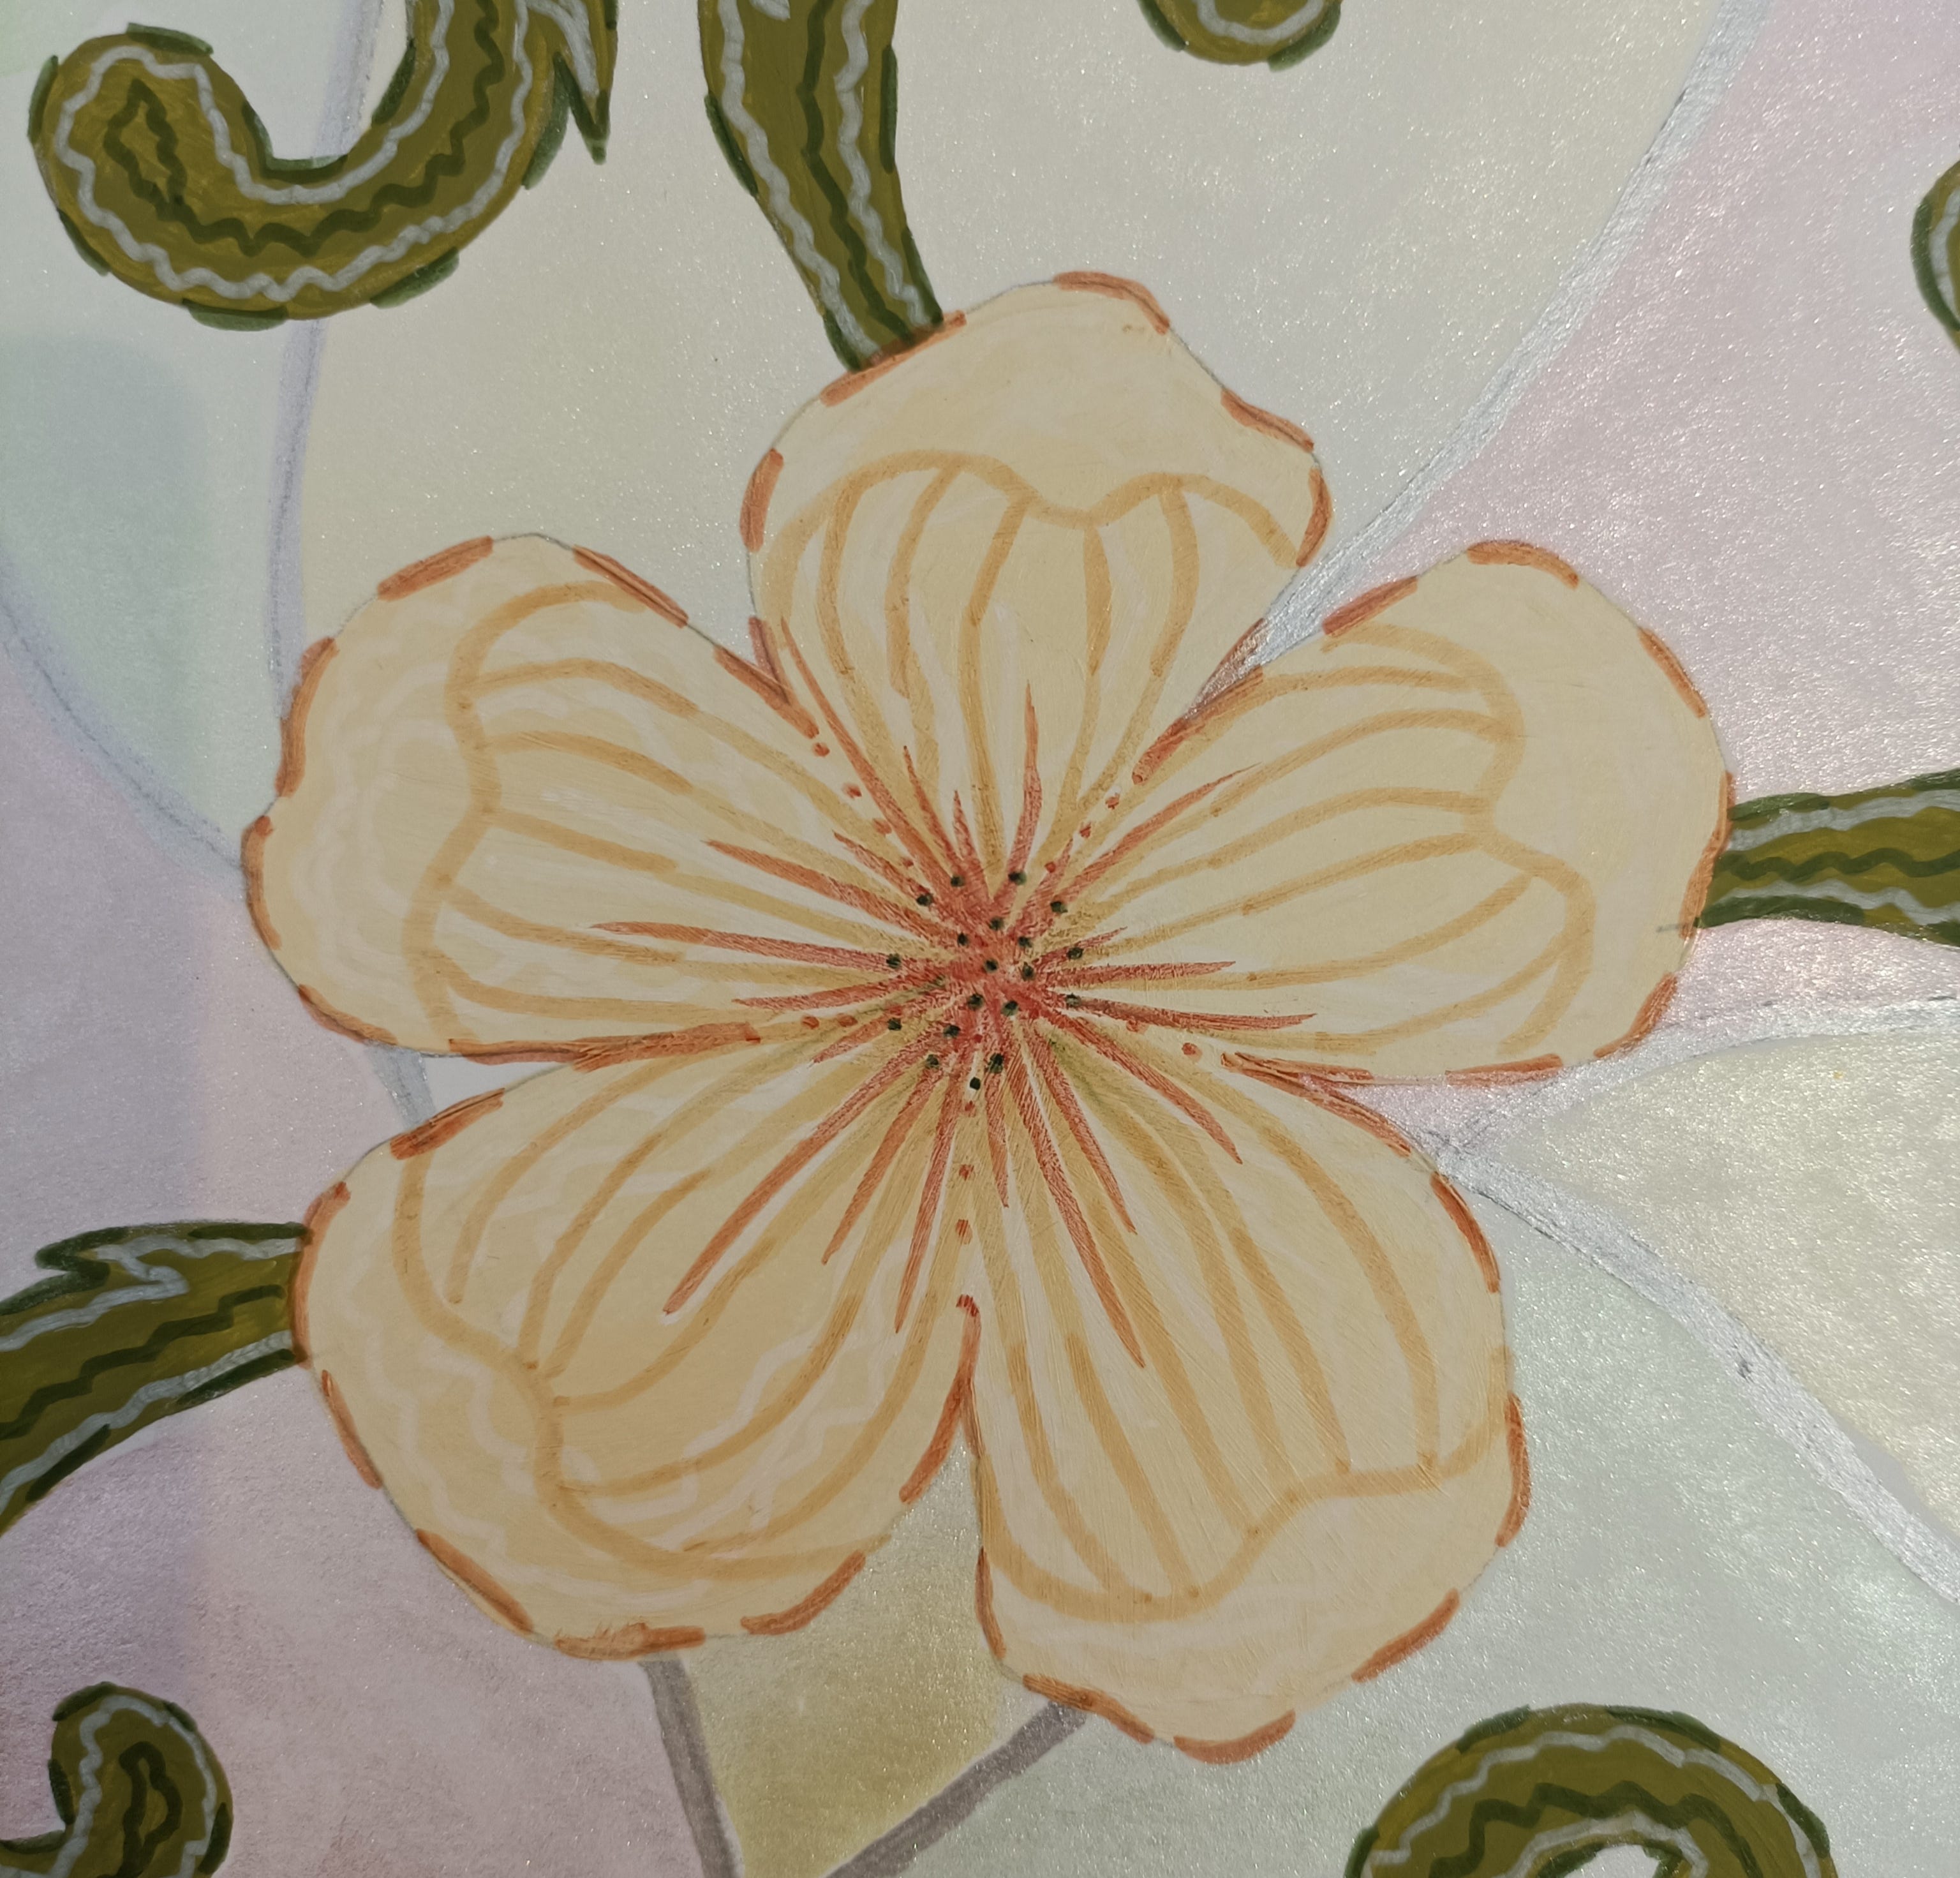
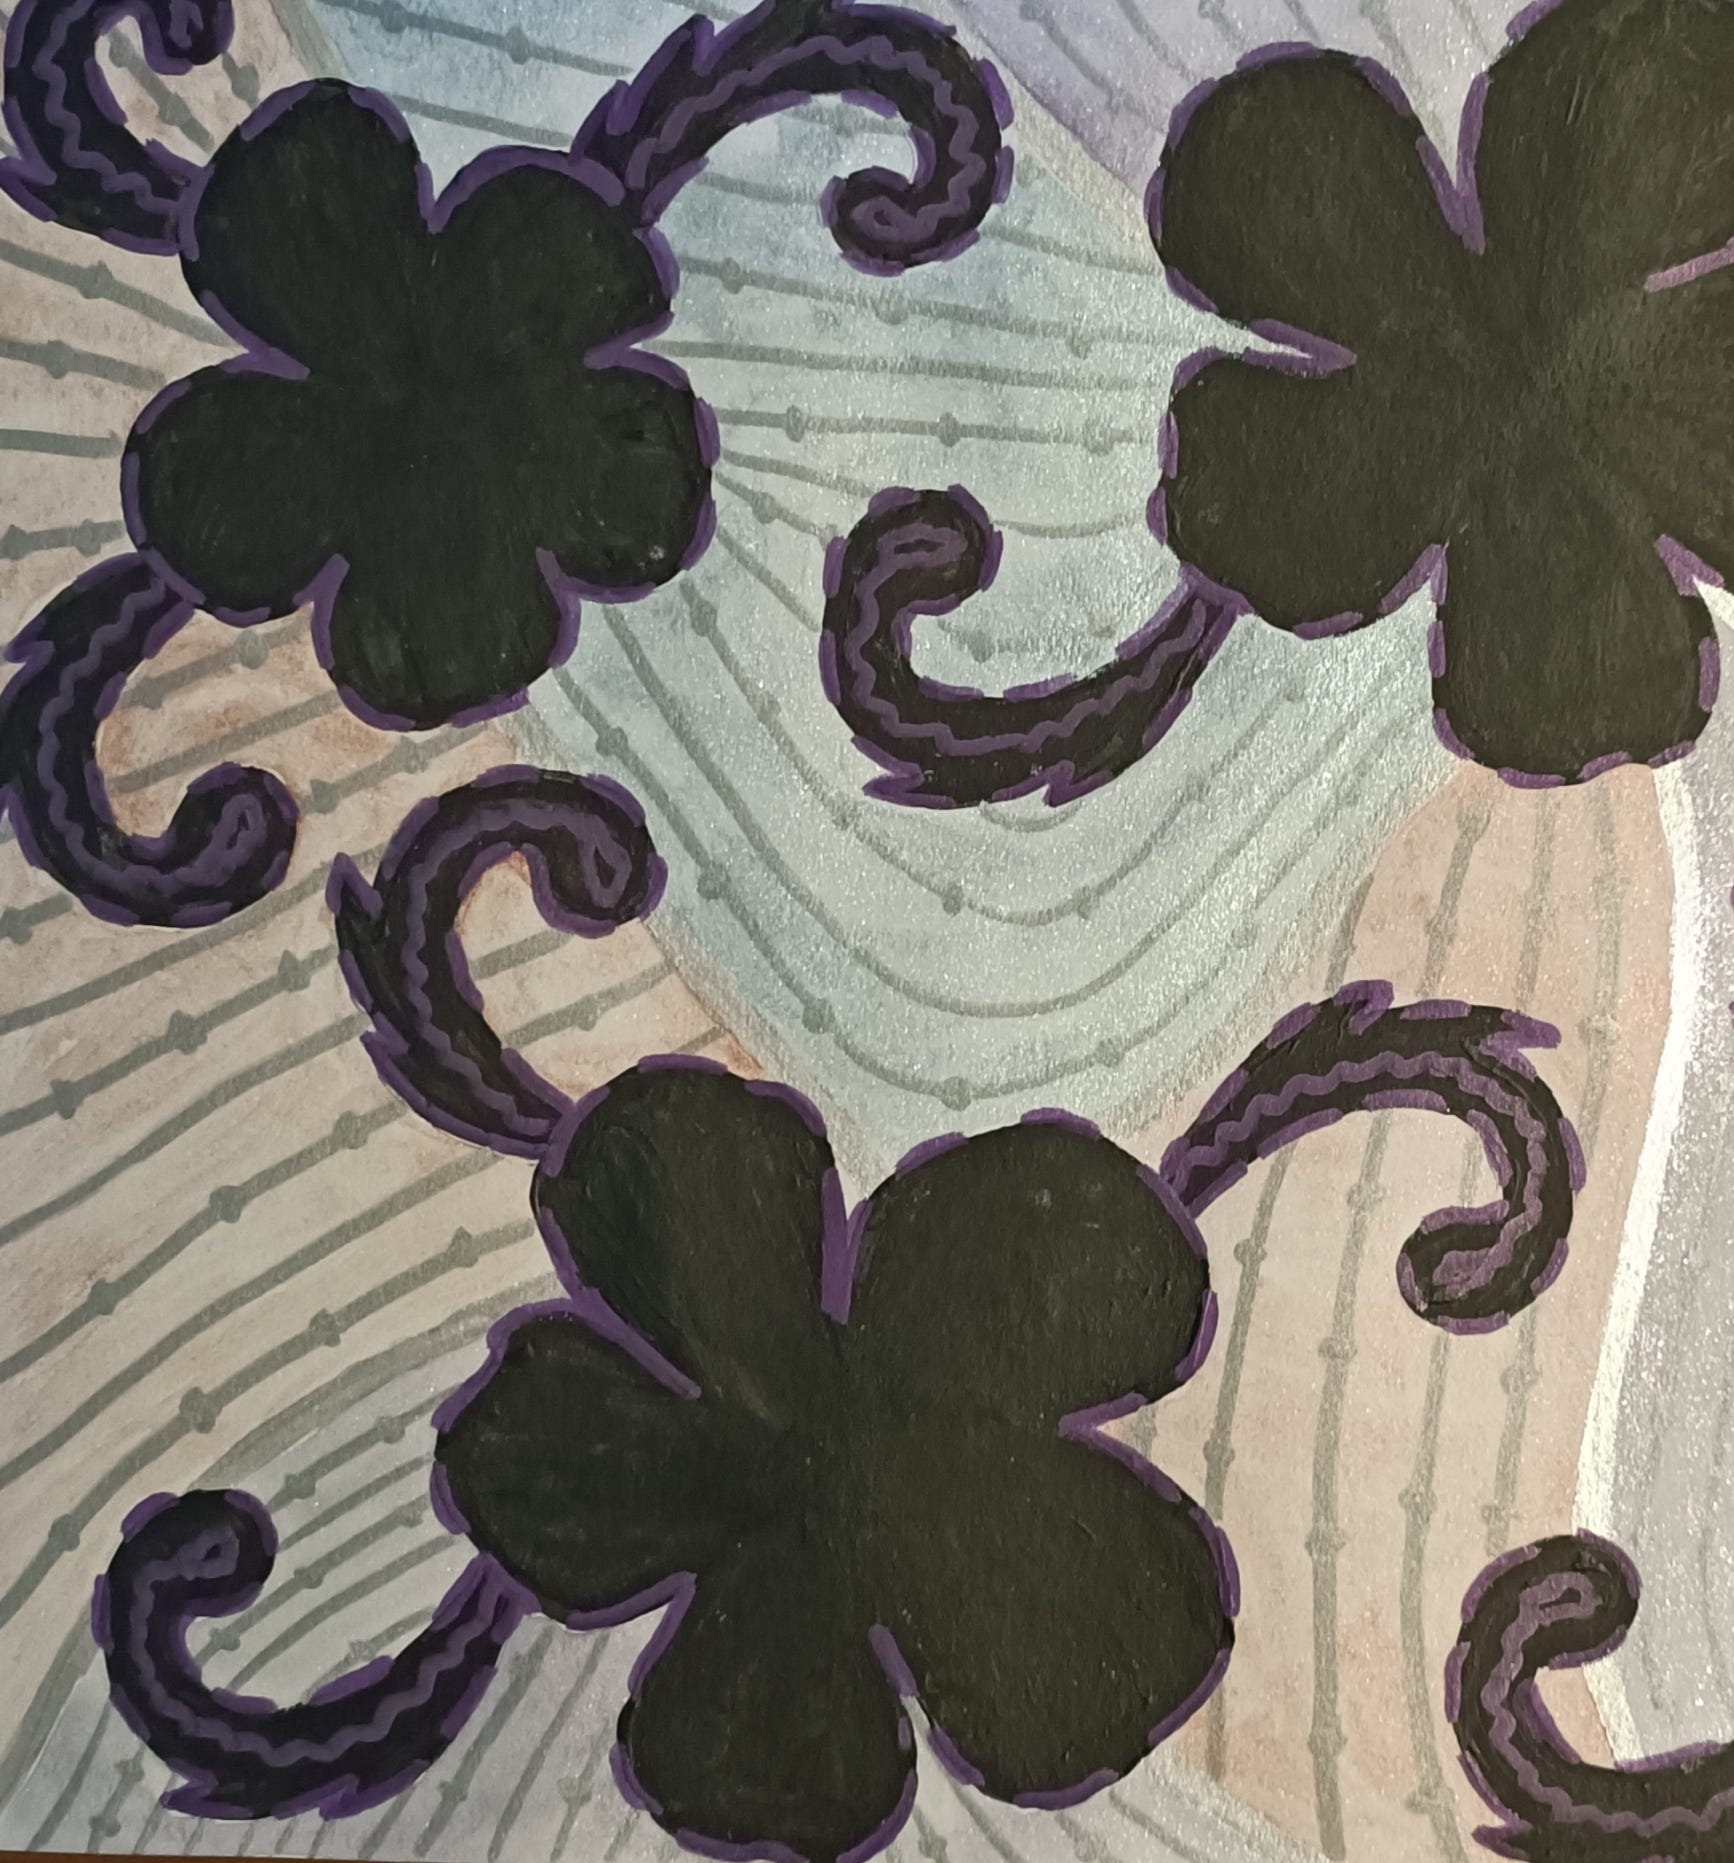
20) Here is a close up.
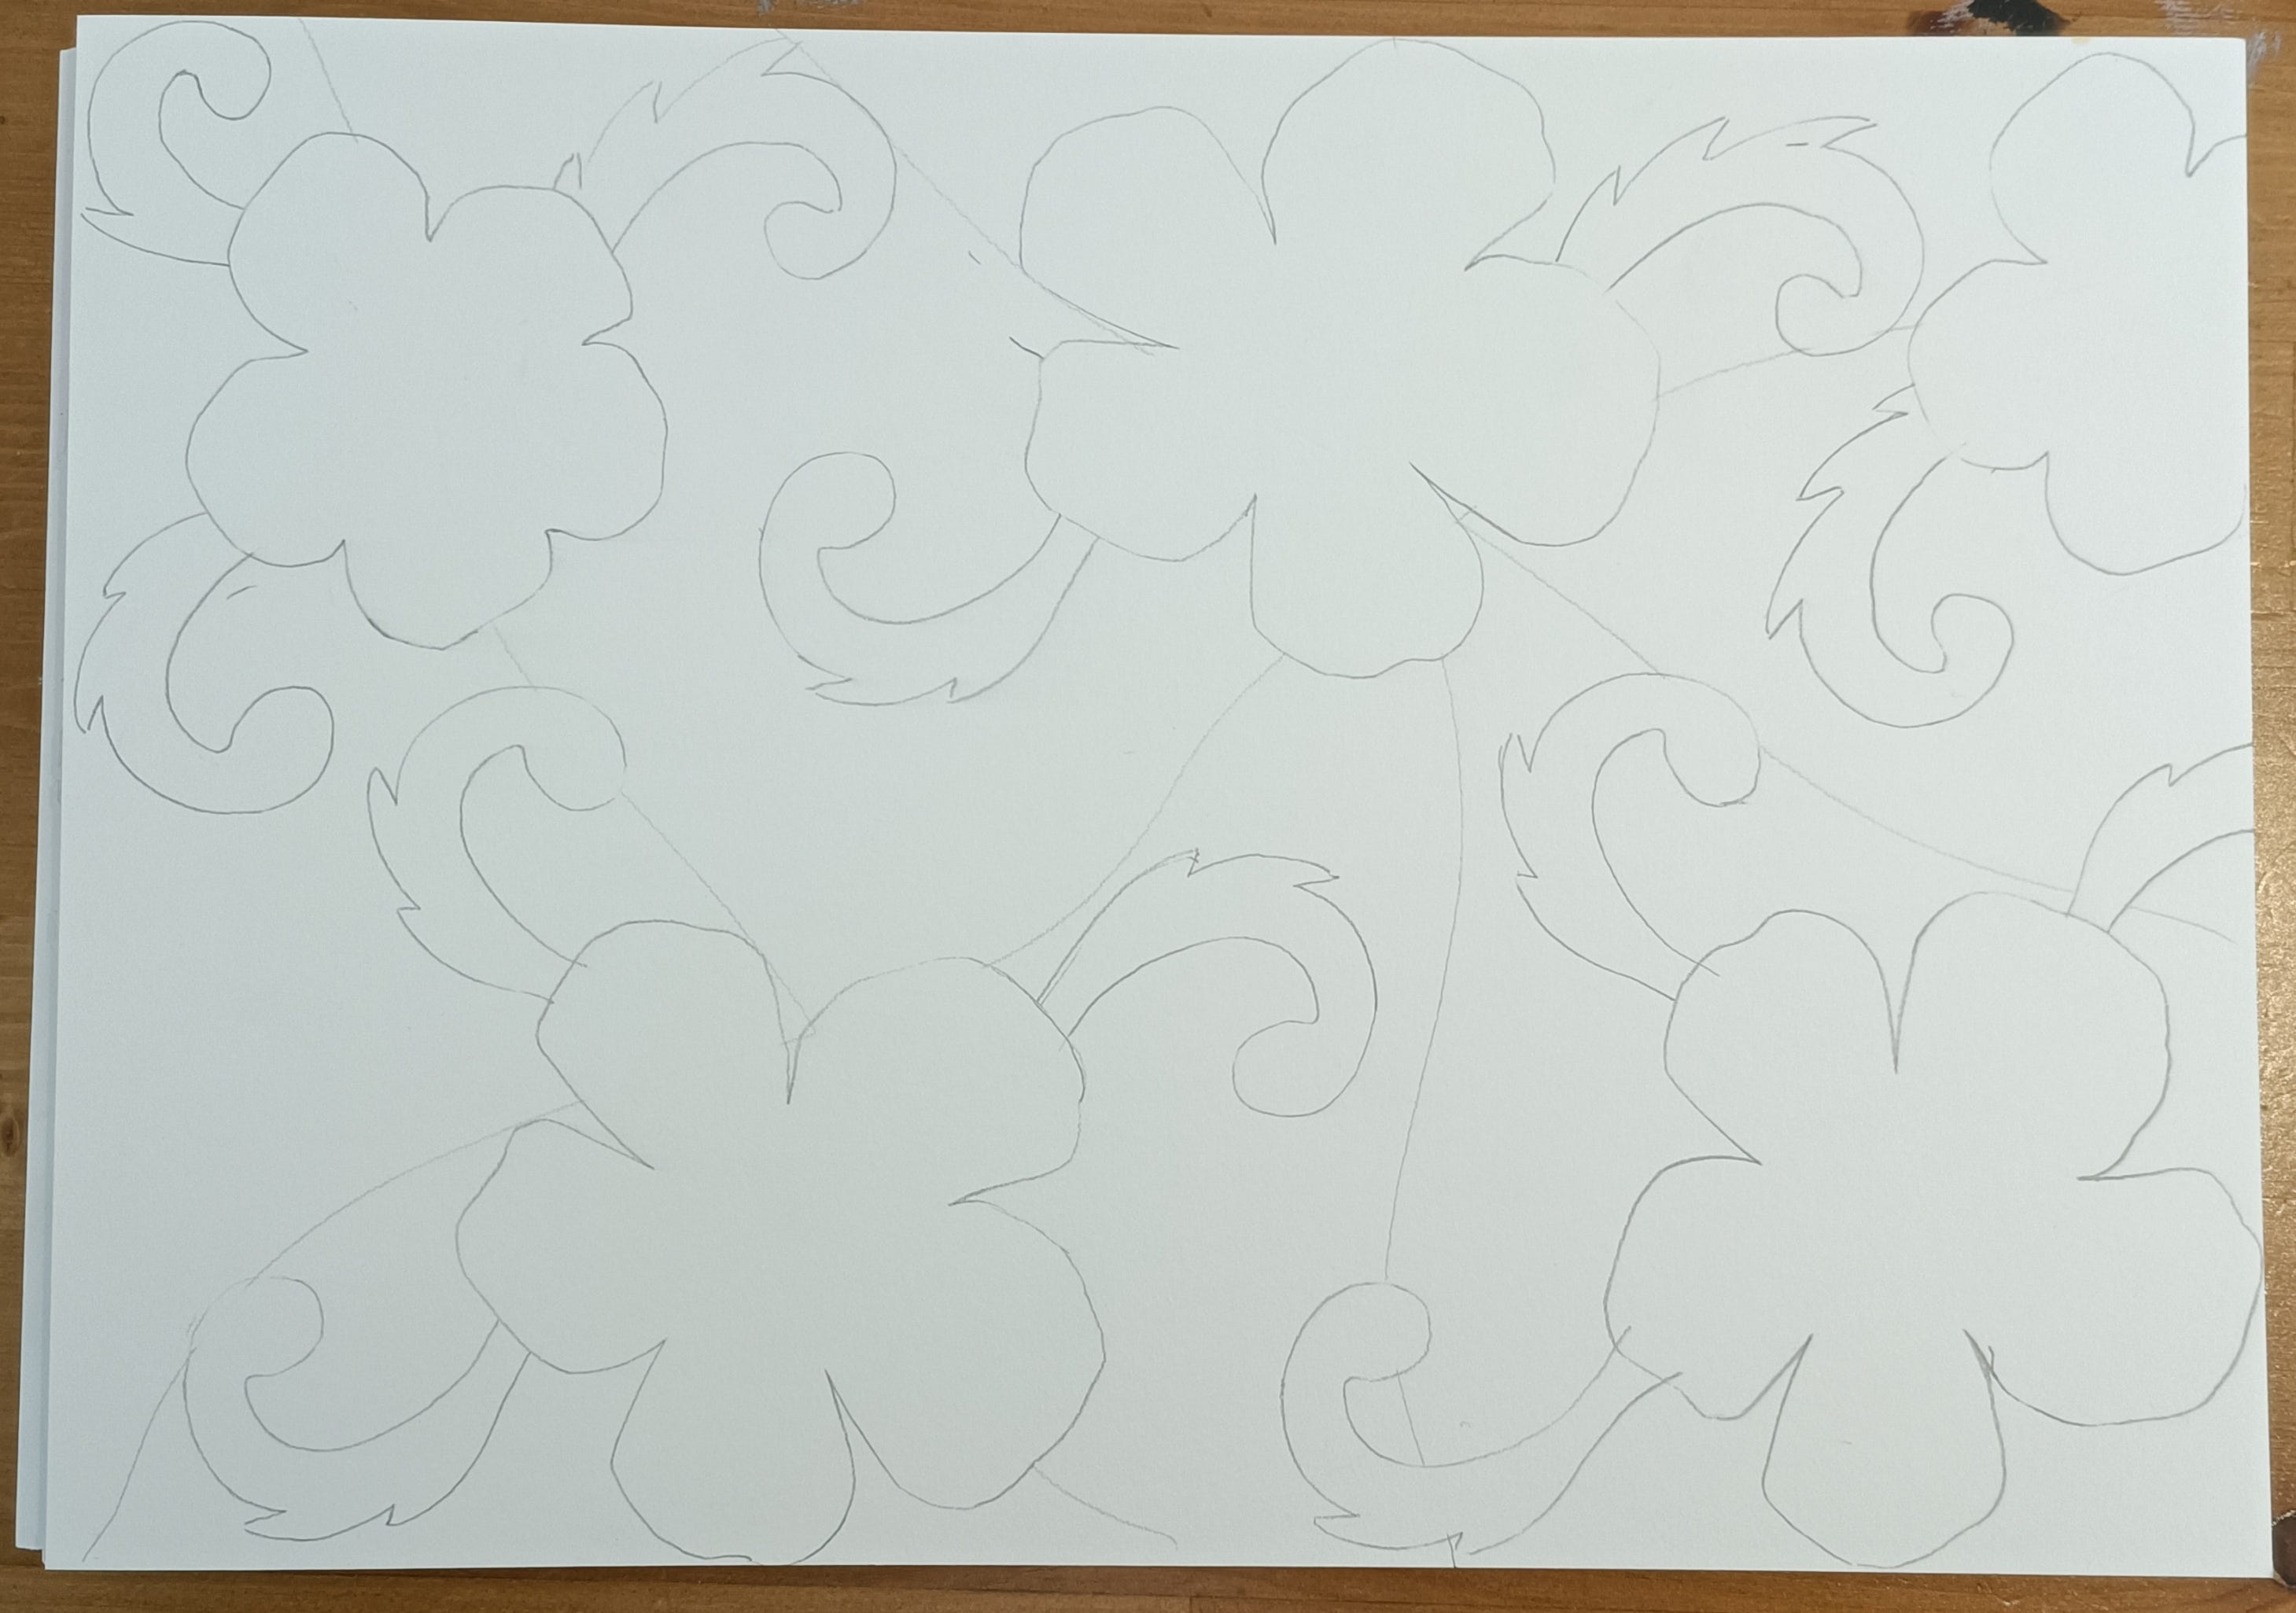
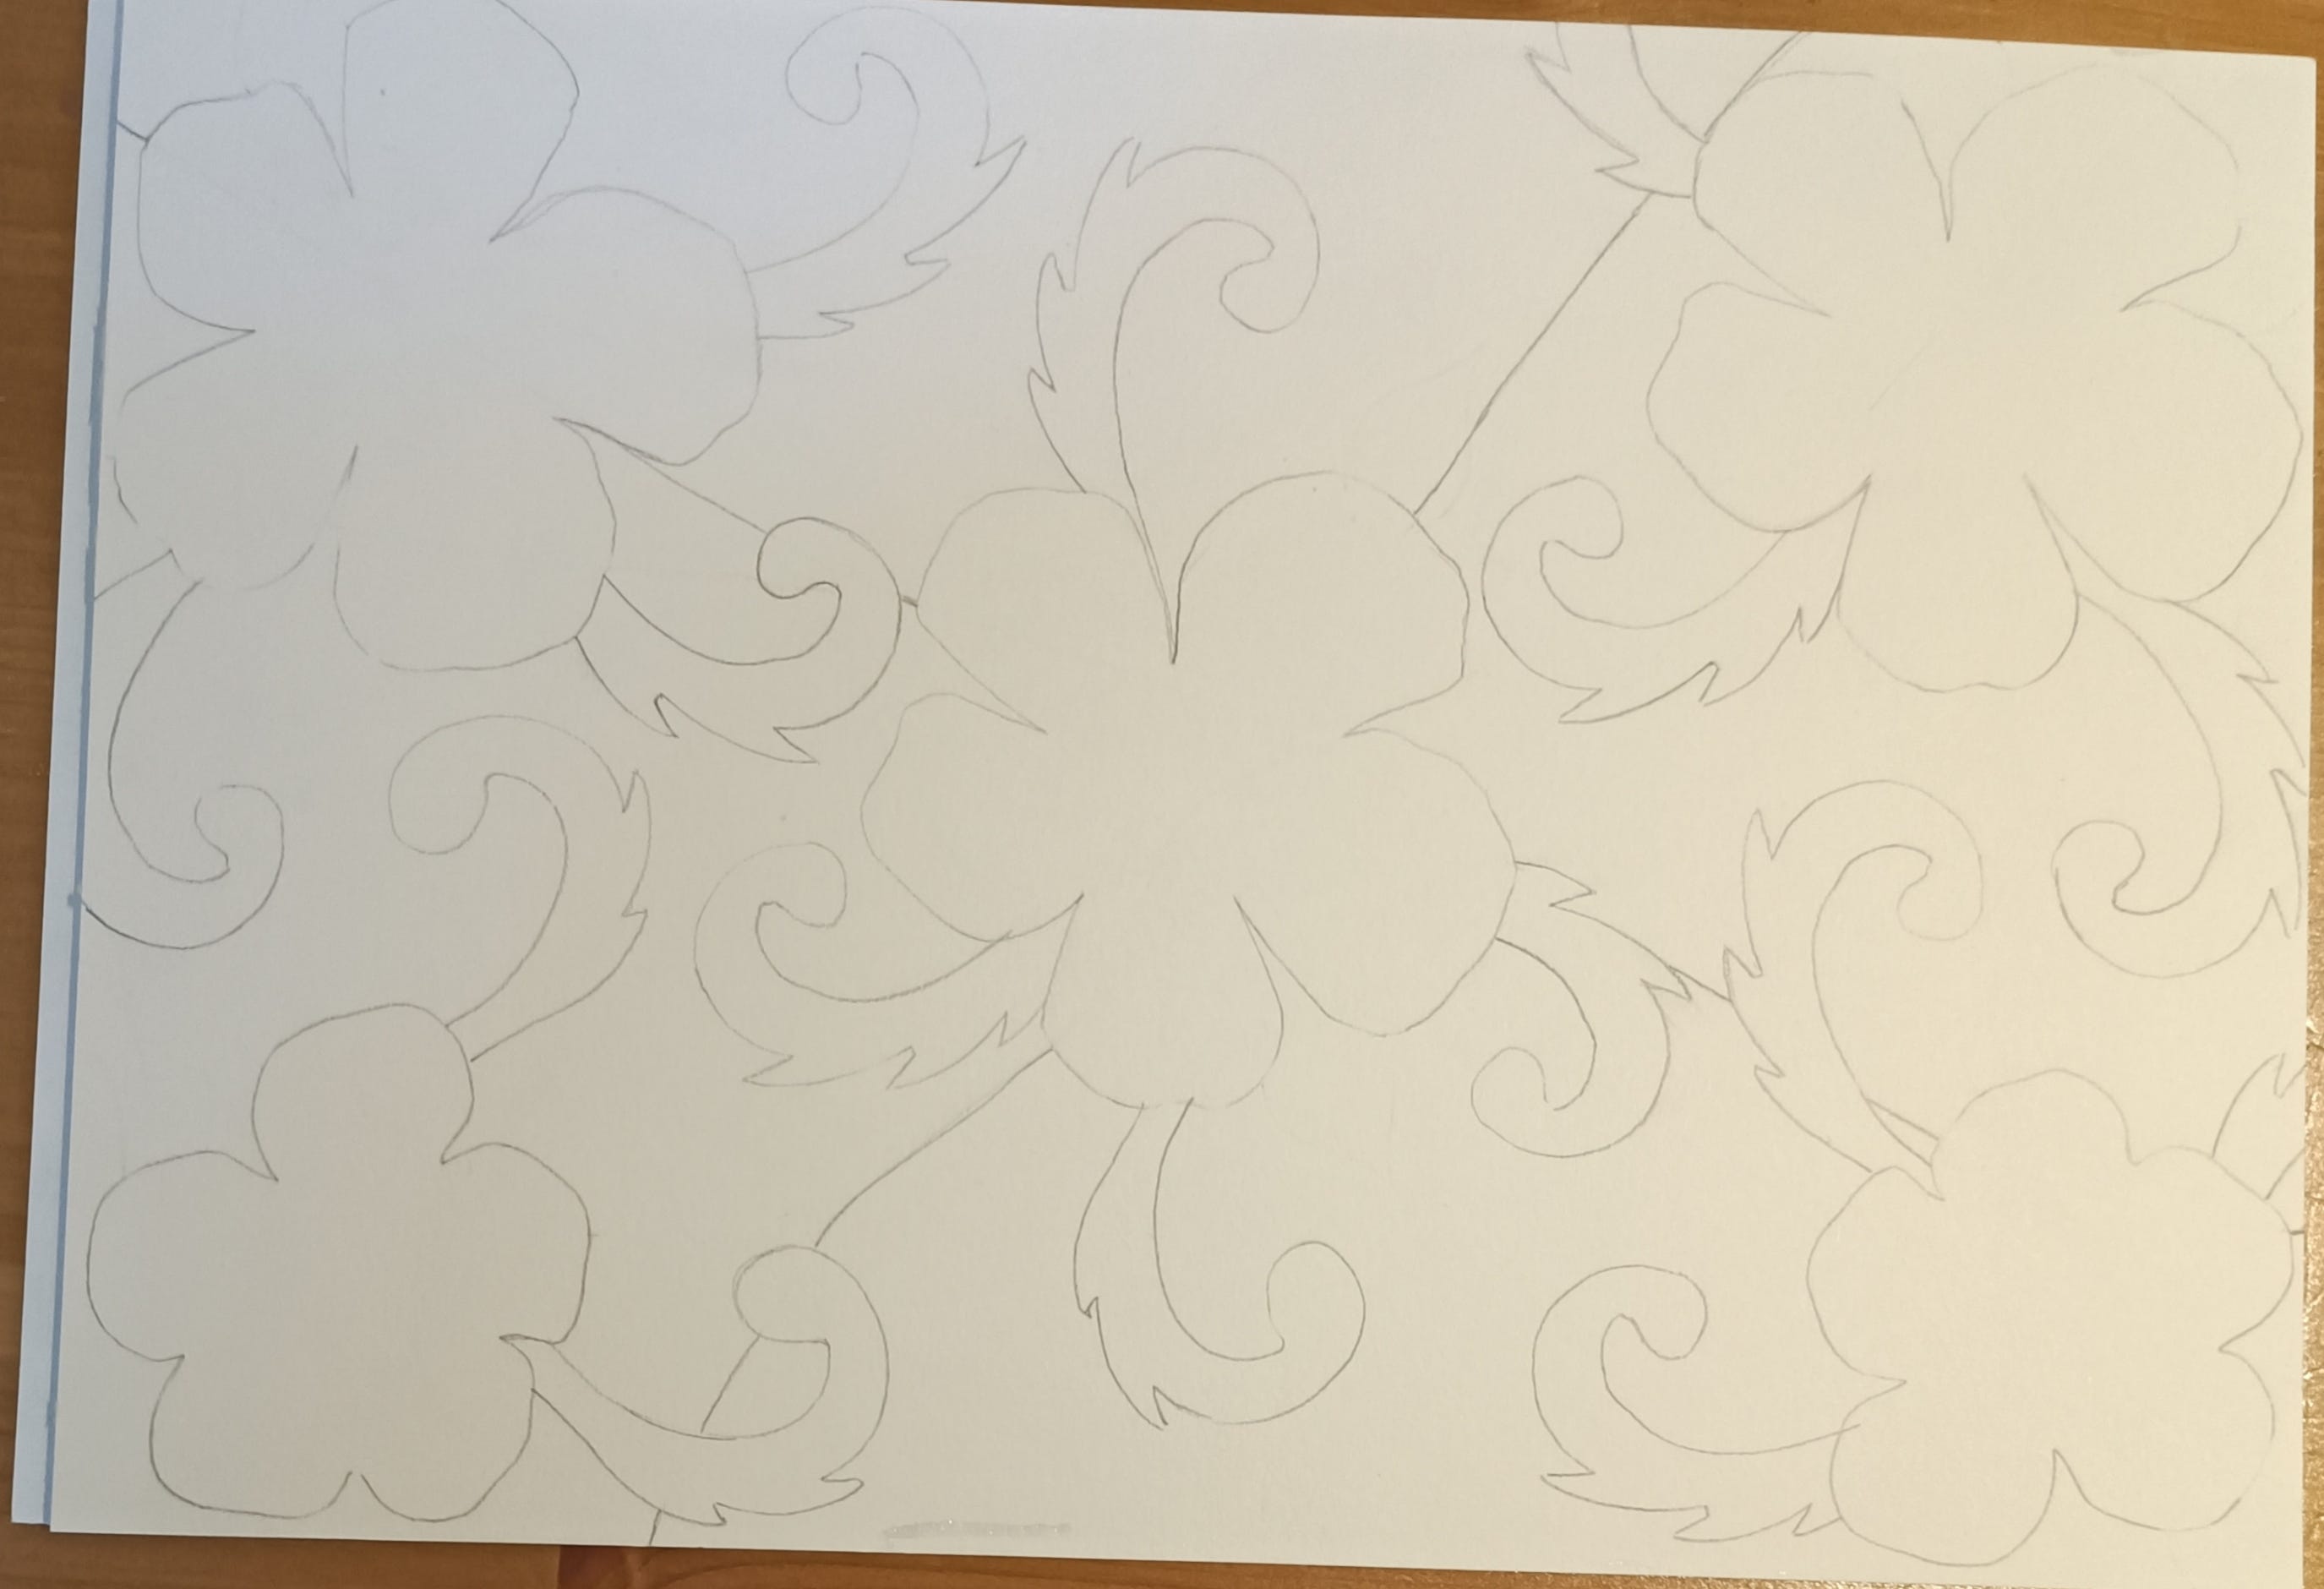
21) Next I’ve decided to make this design in black colours, so I drew first flowers and scrolls on the part paper as well uneven lines in the background.
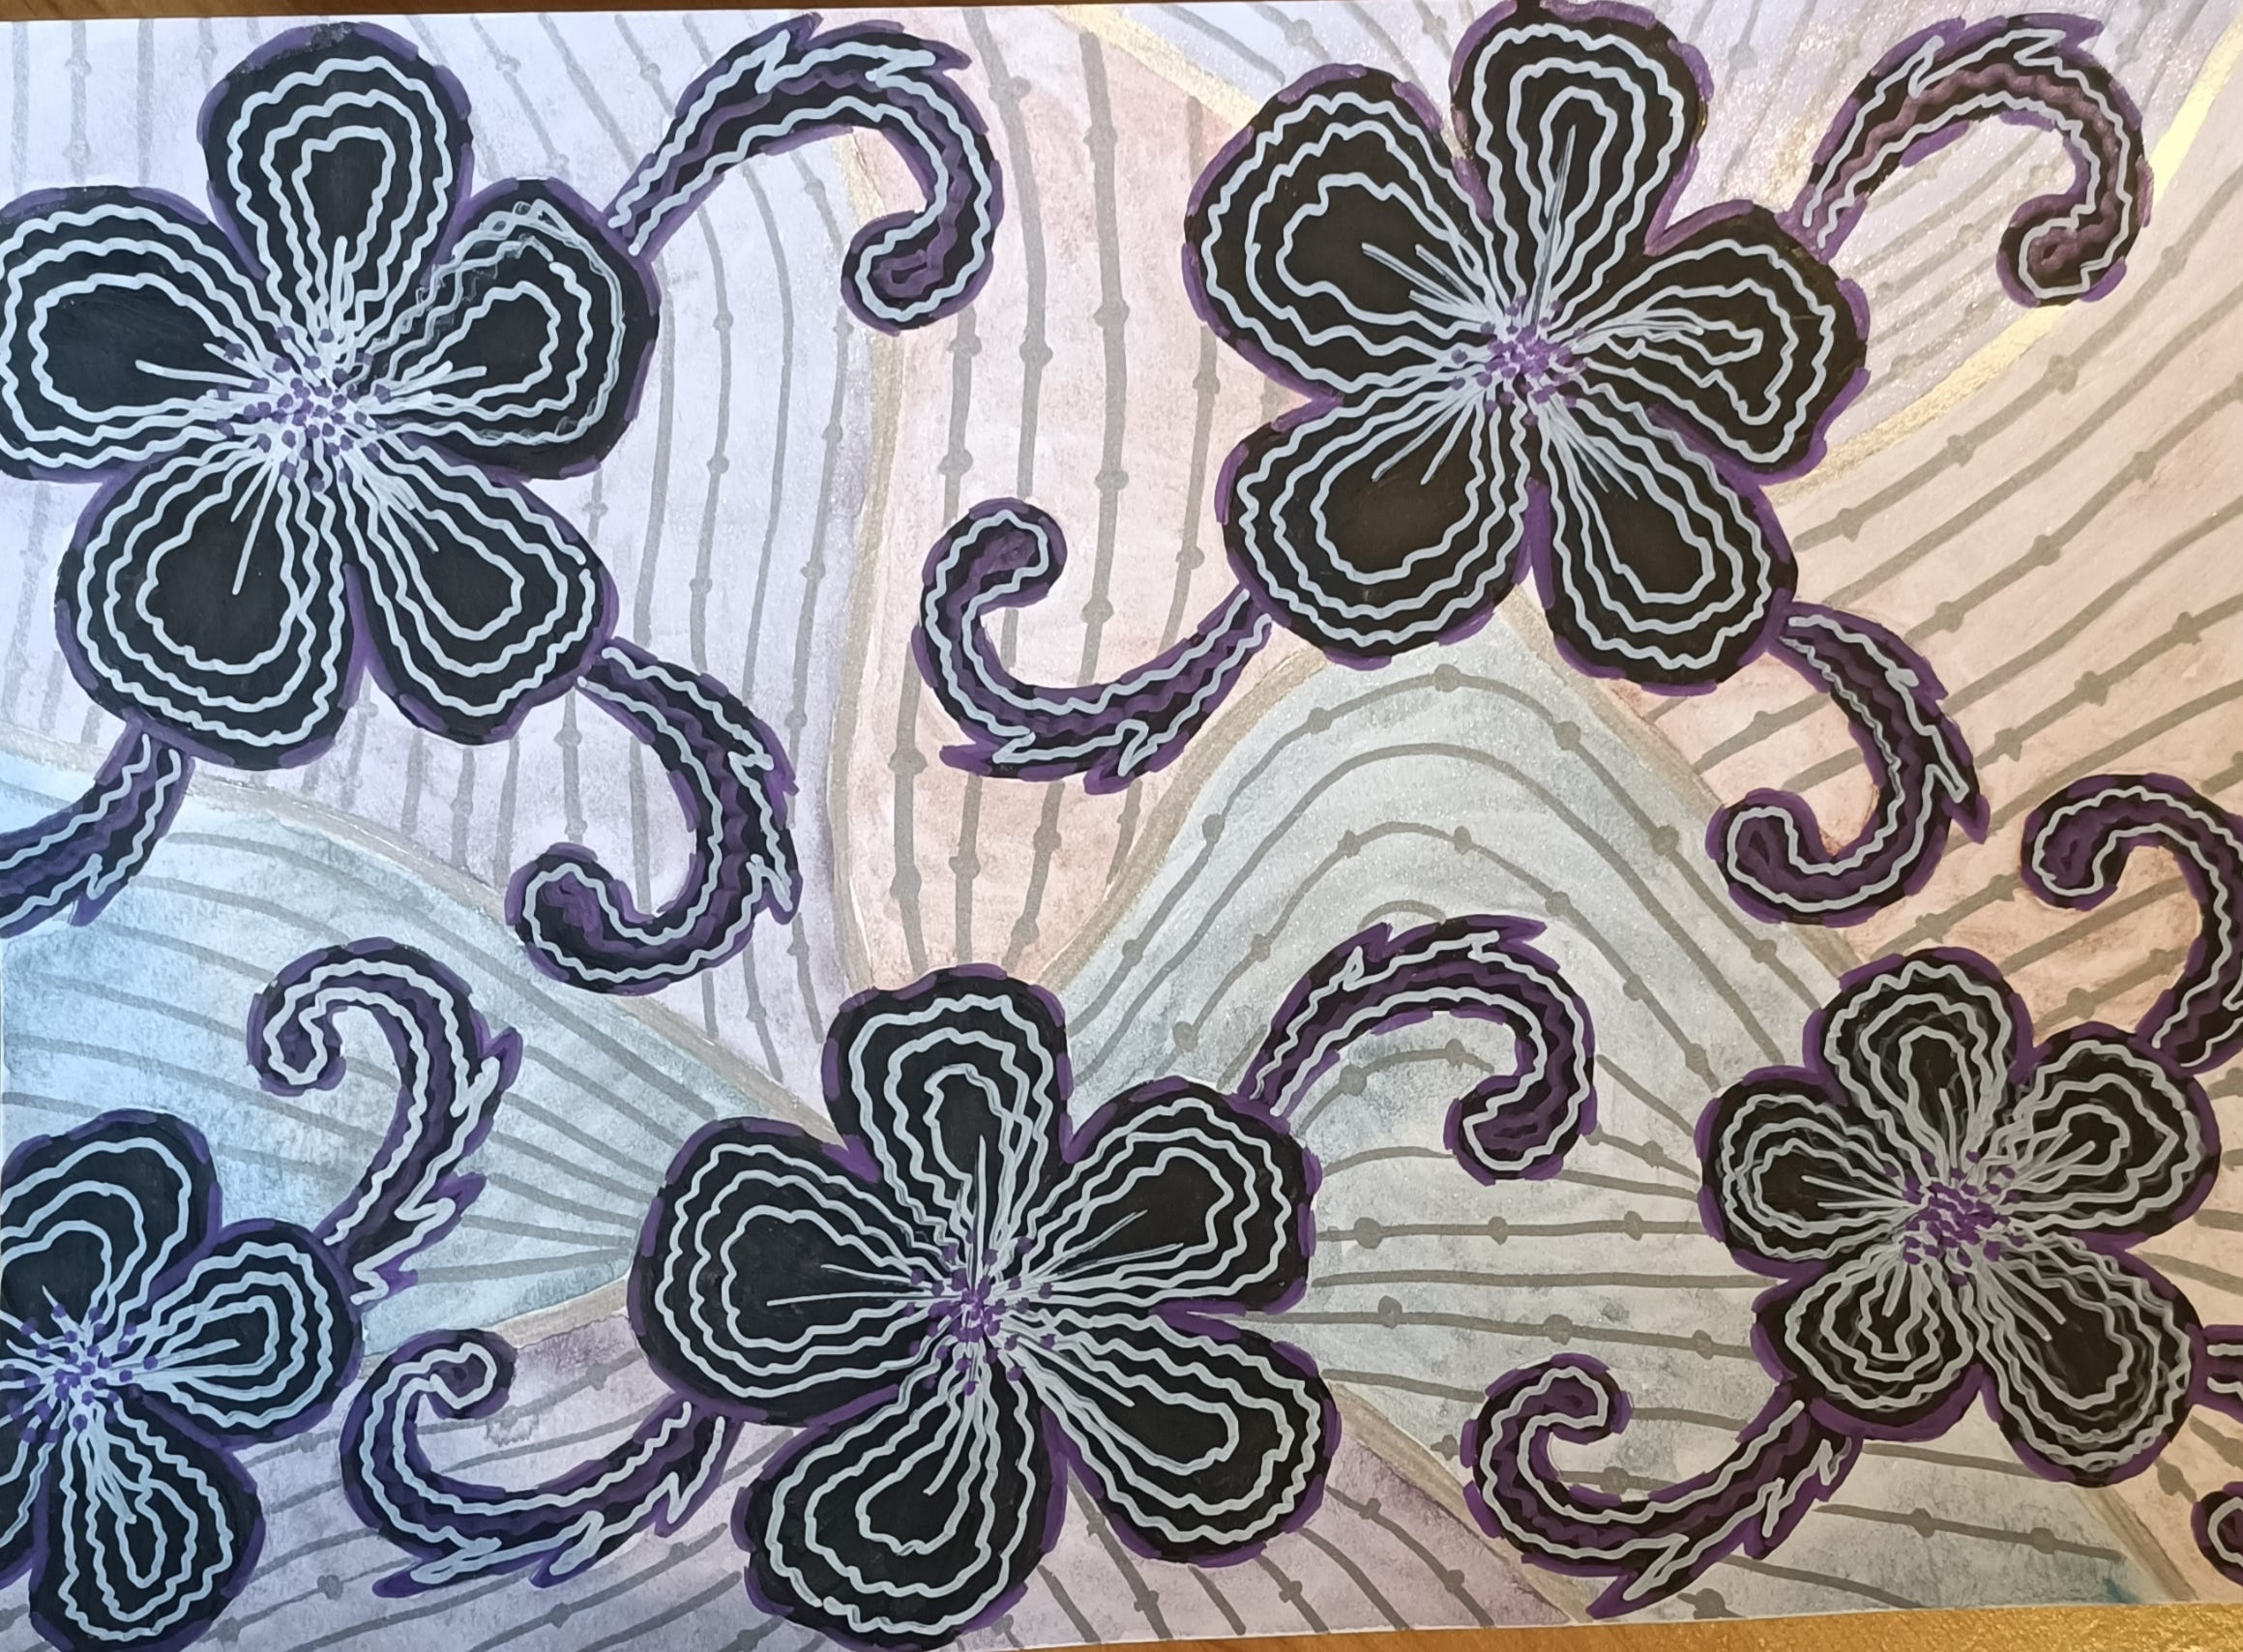
22) I will use 2 shades of acrylic paints, metallic watercolours, 2 shades of metallic marker and white marker.

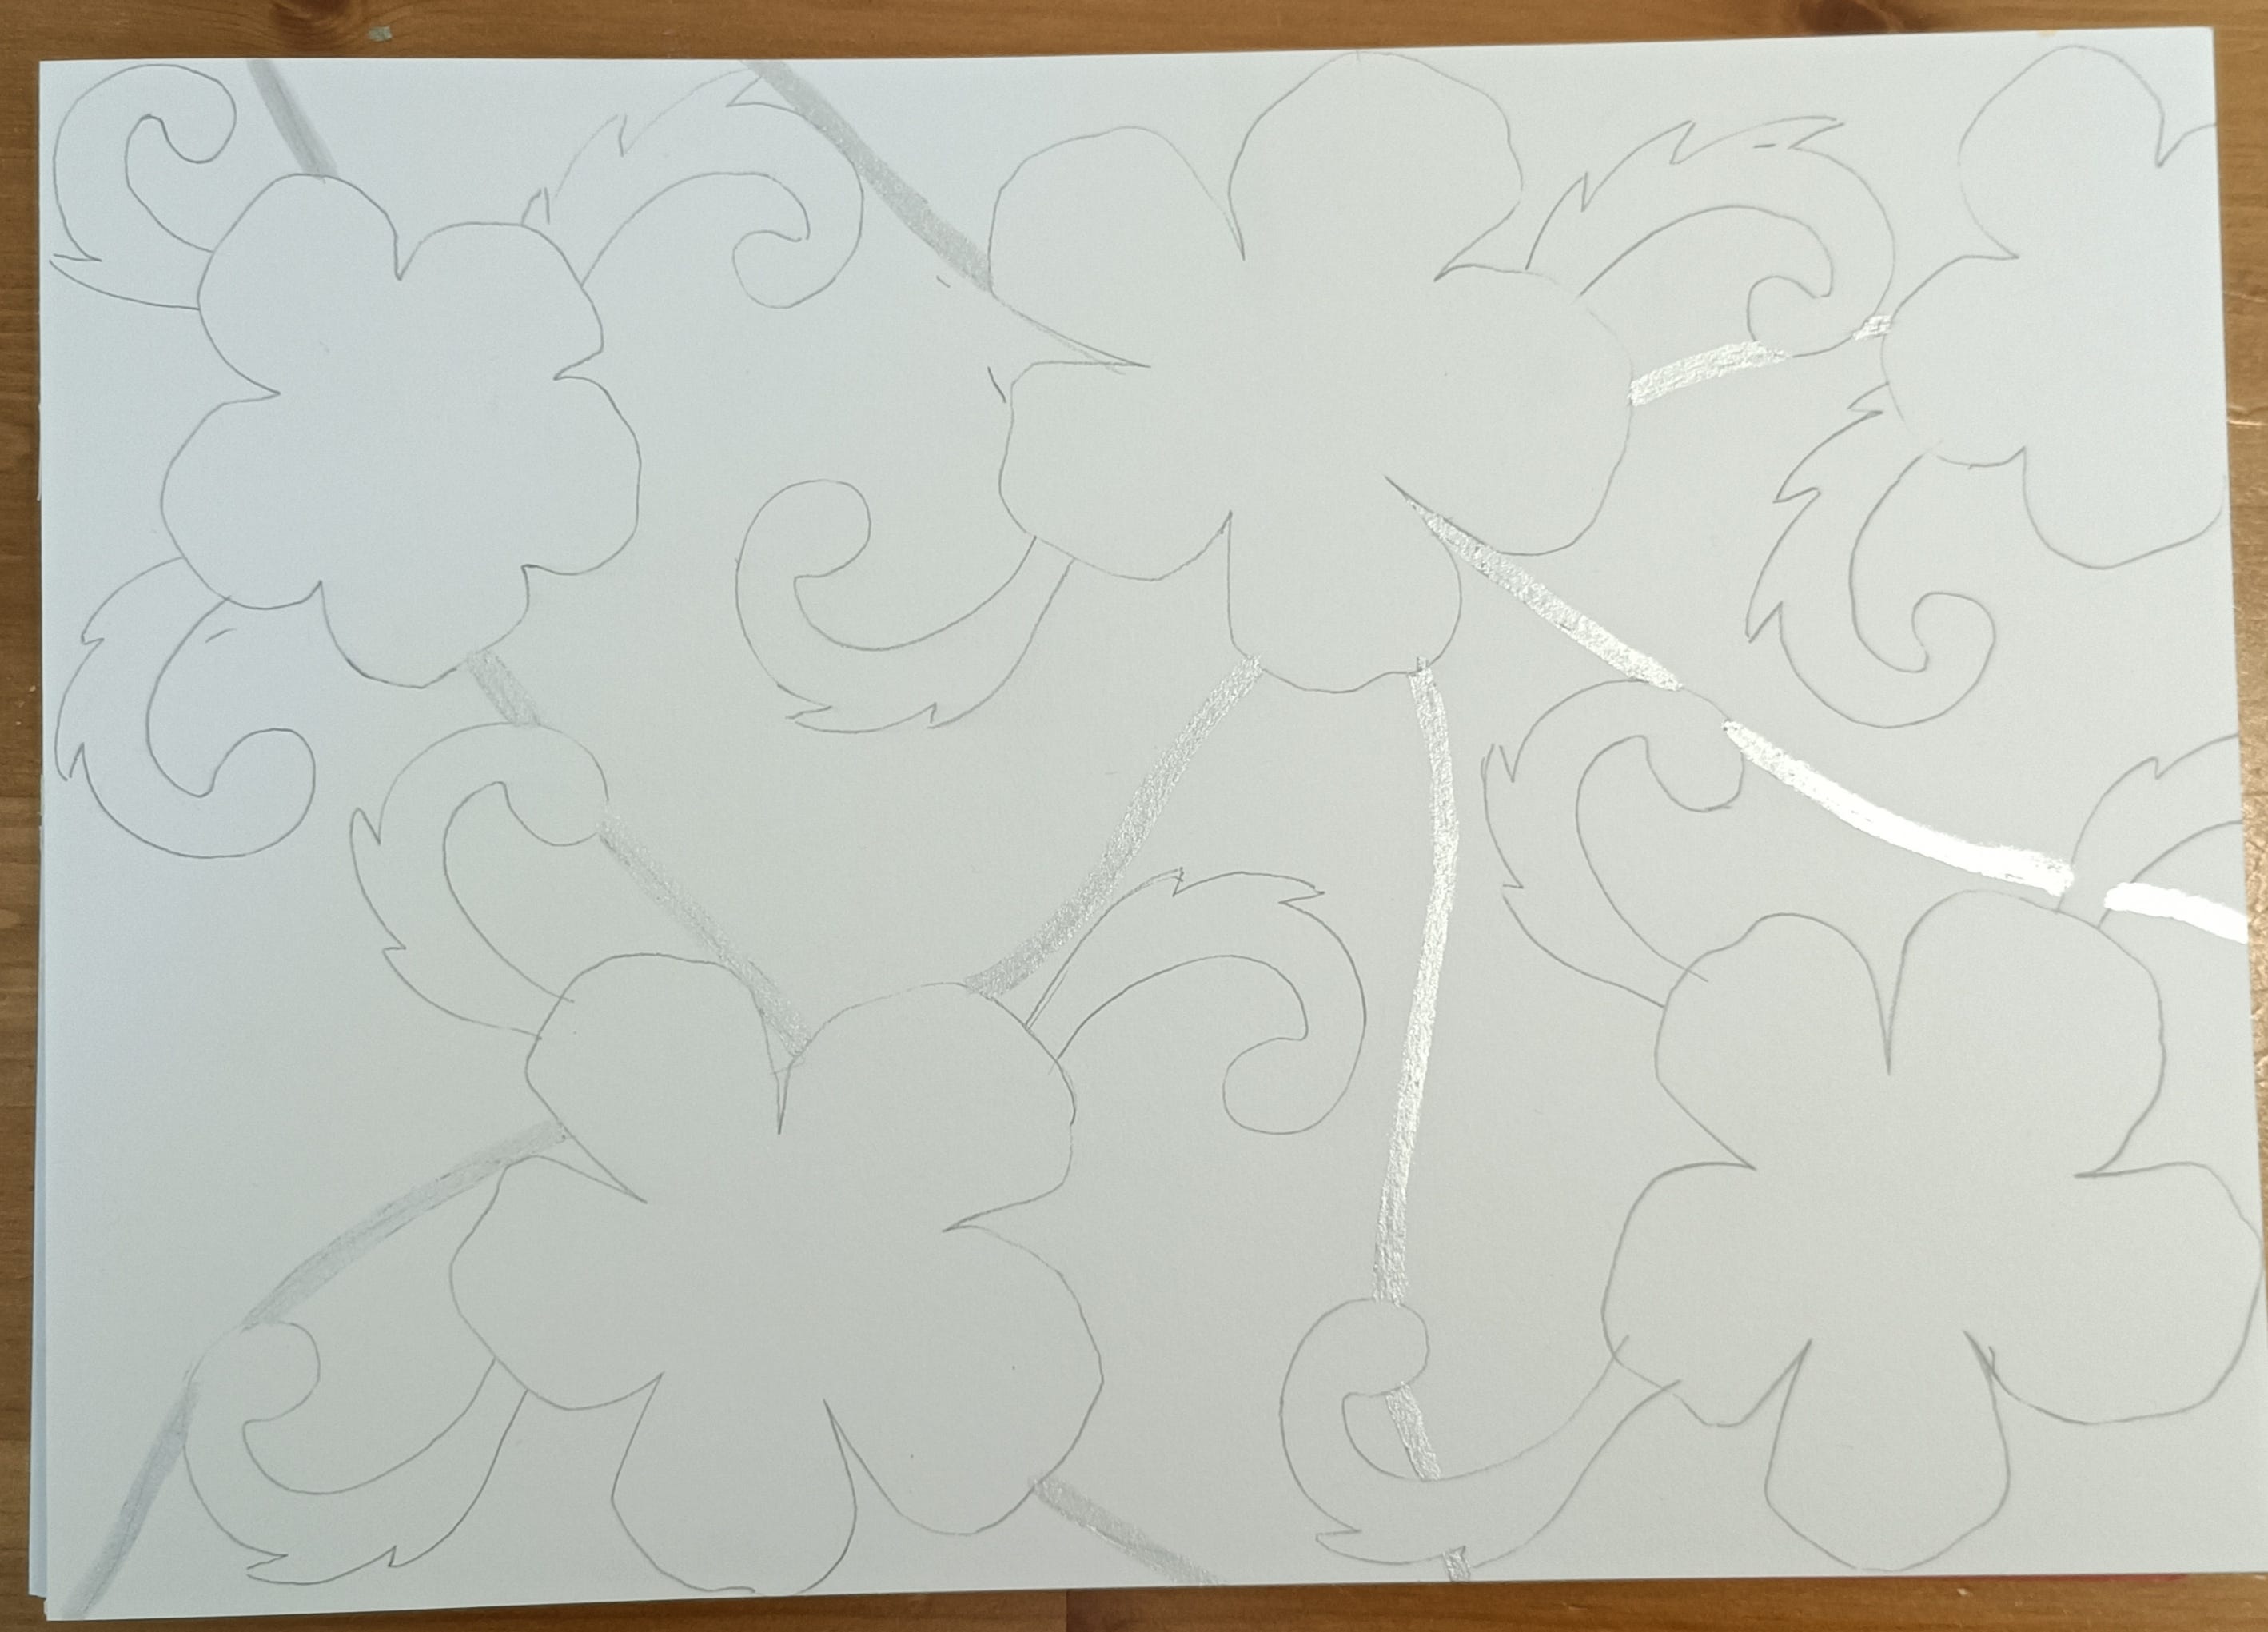
23) I drew with silver metallic acrylic marker uneven lines.
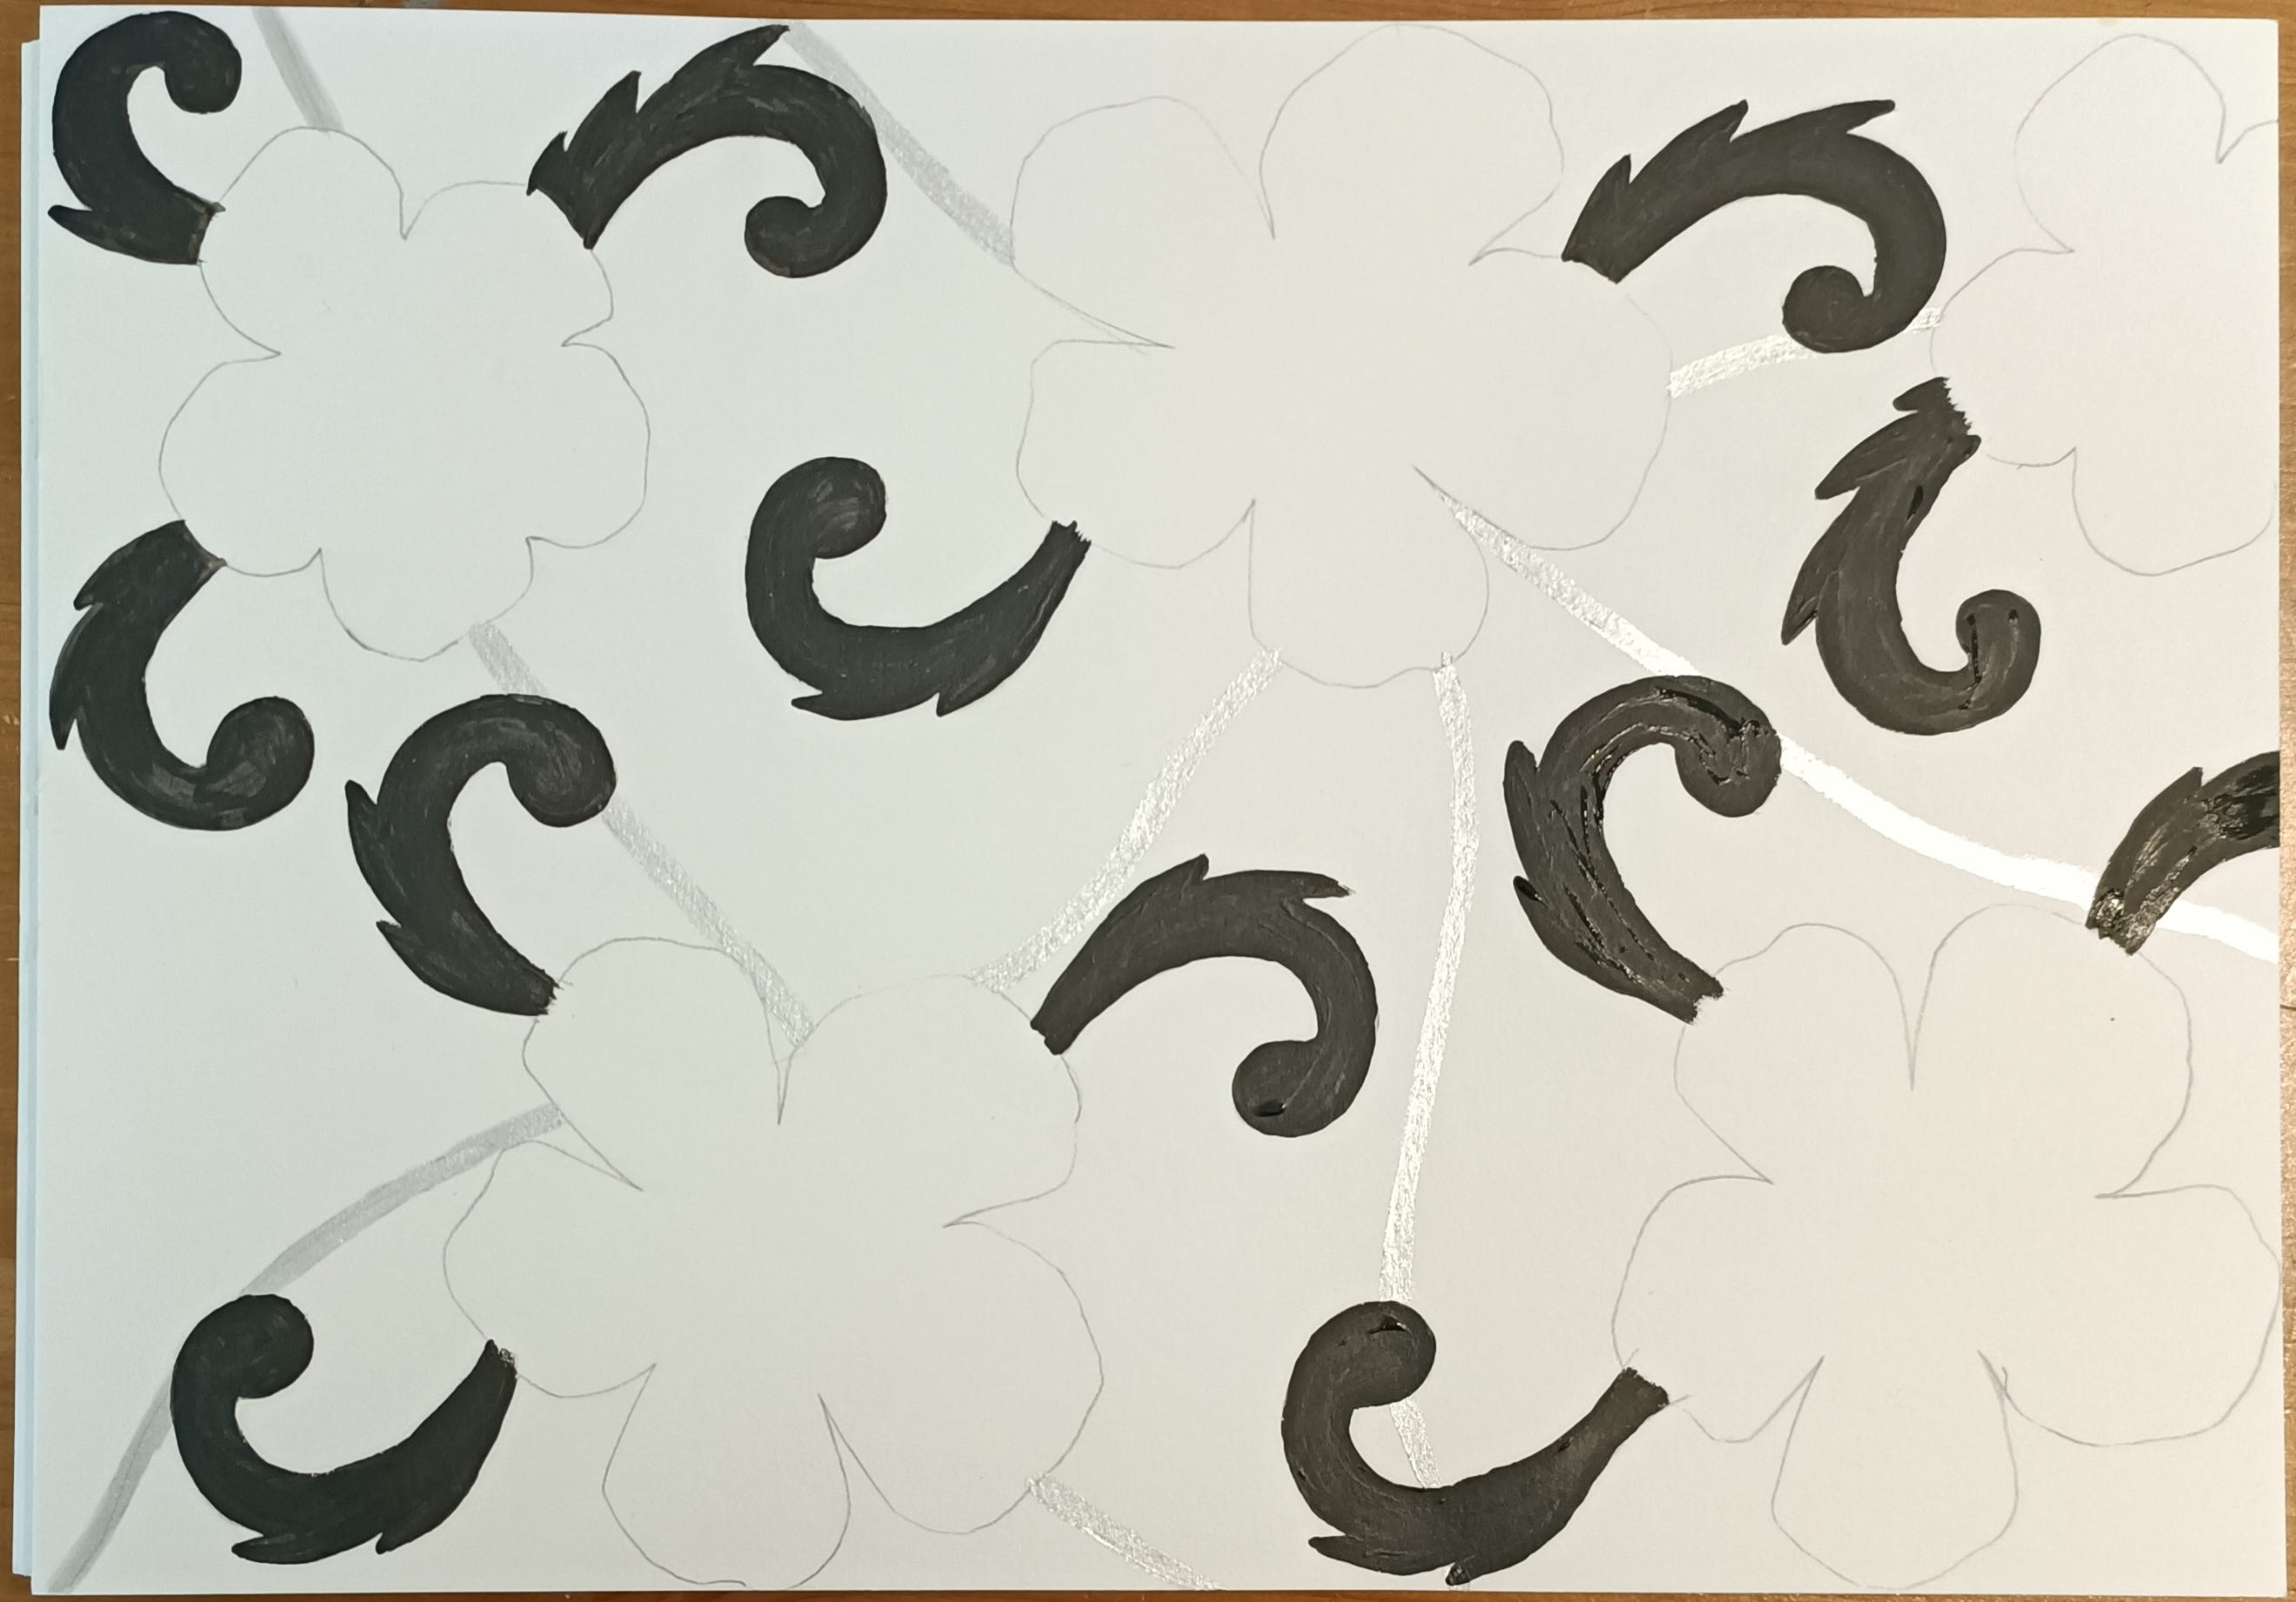
24) Next I drew black scrolls.
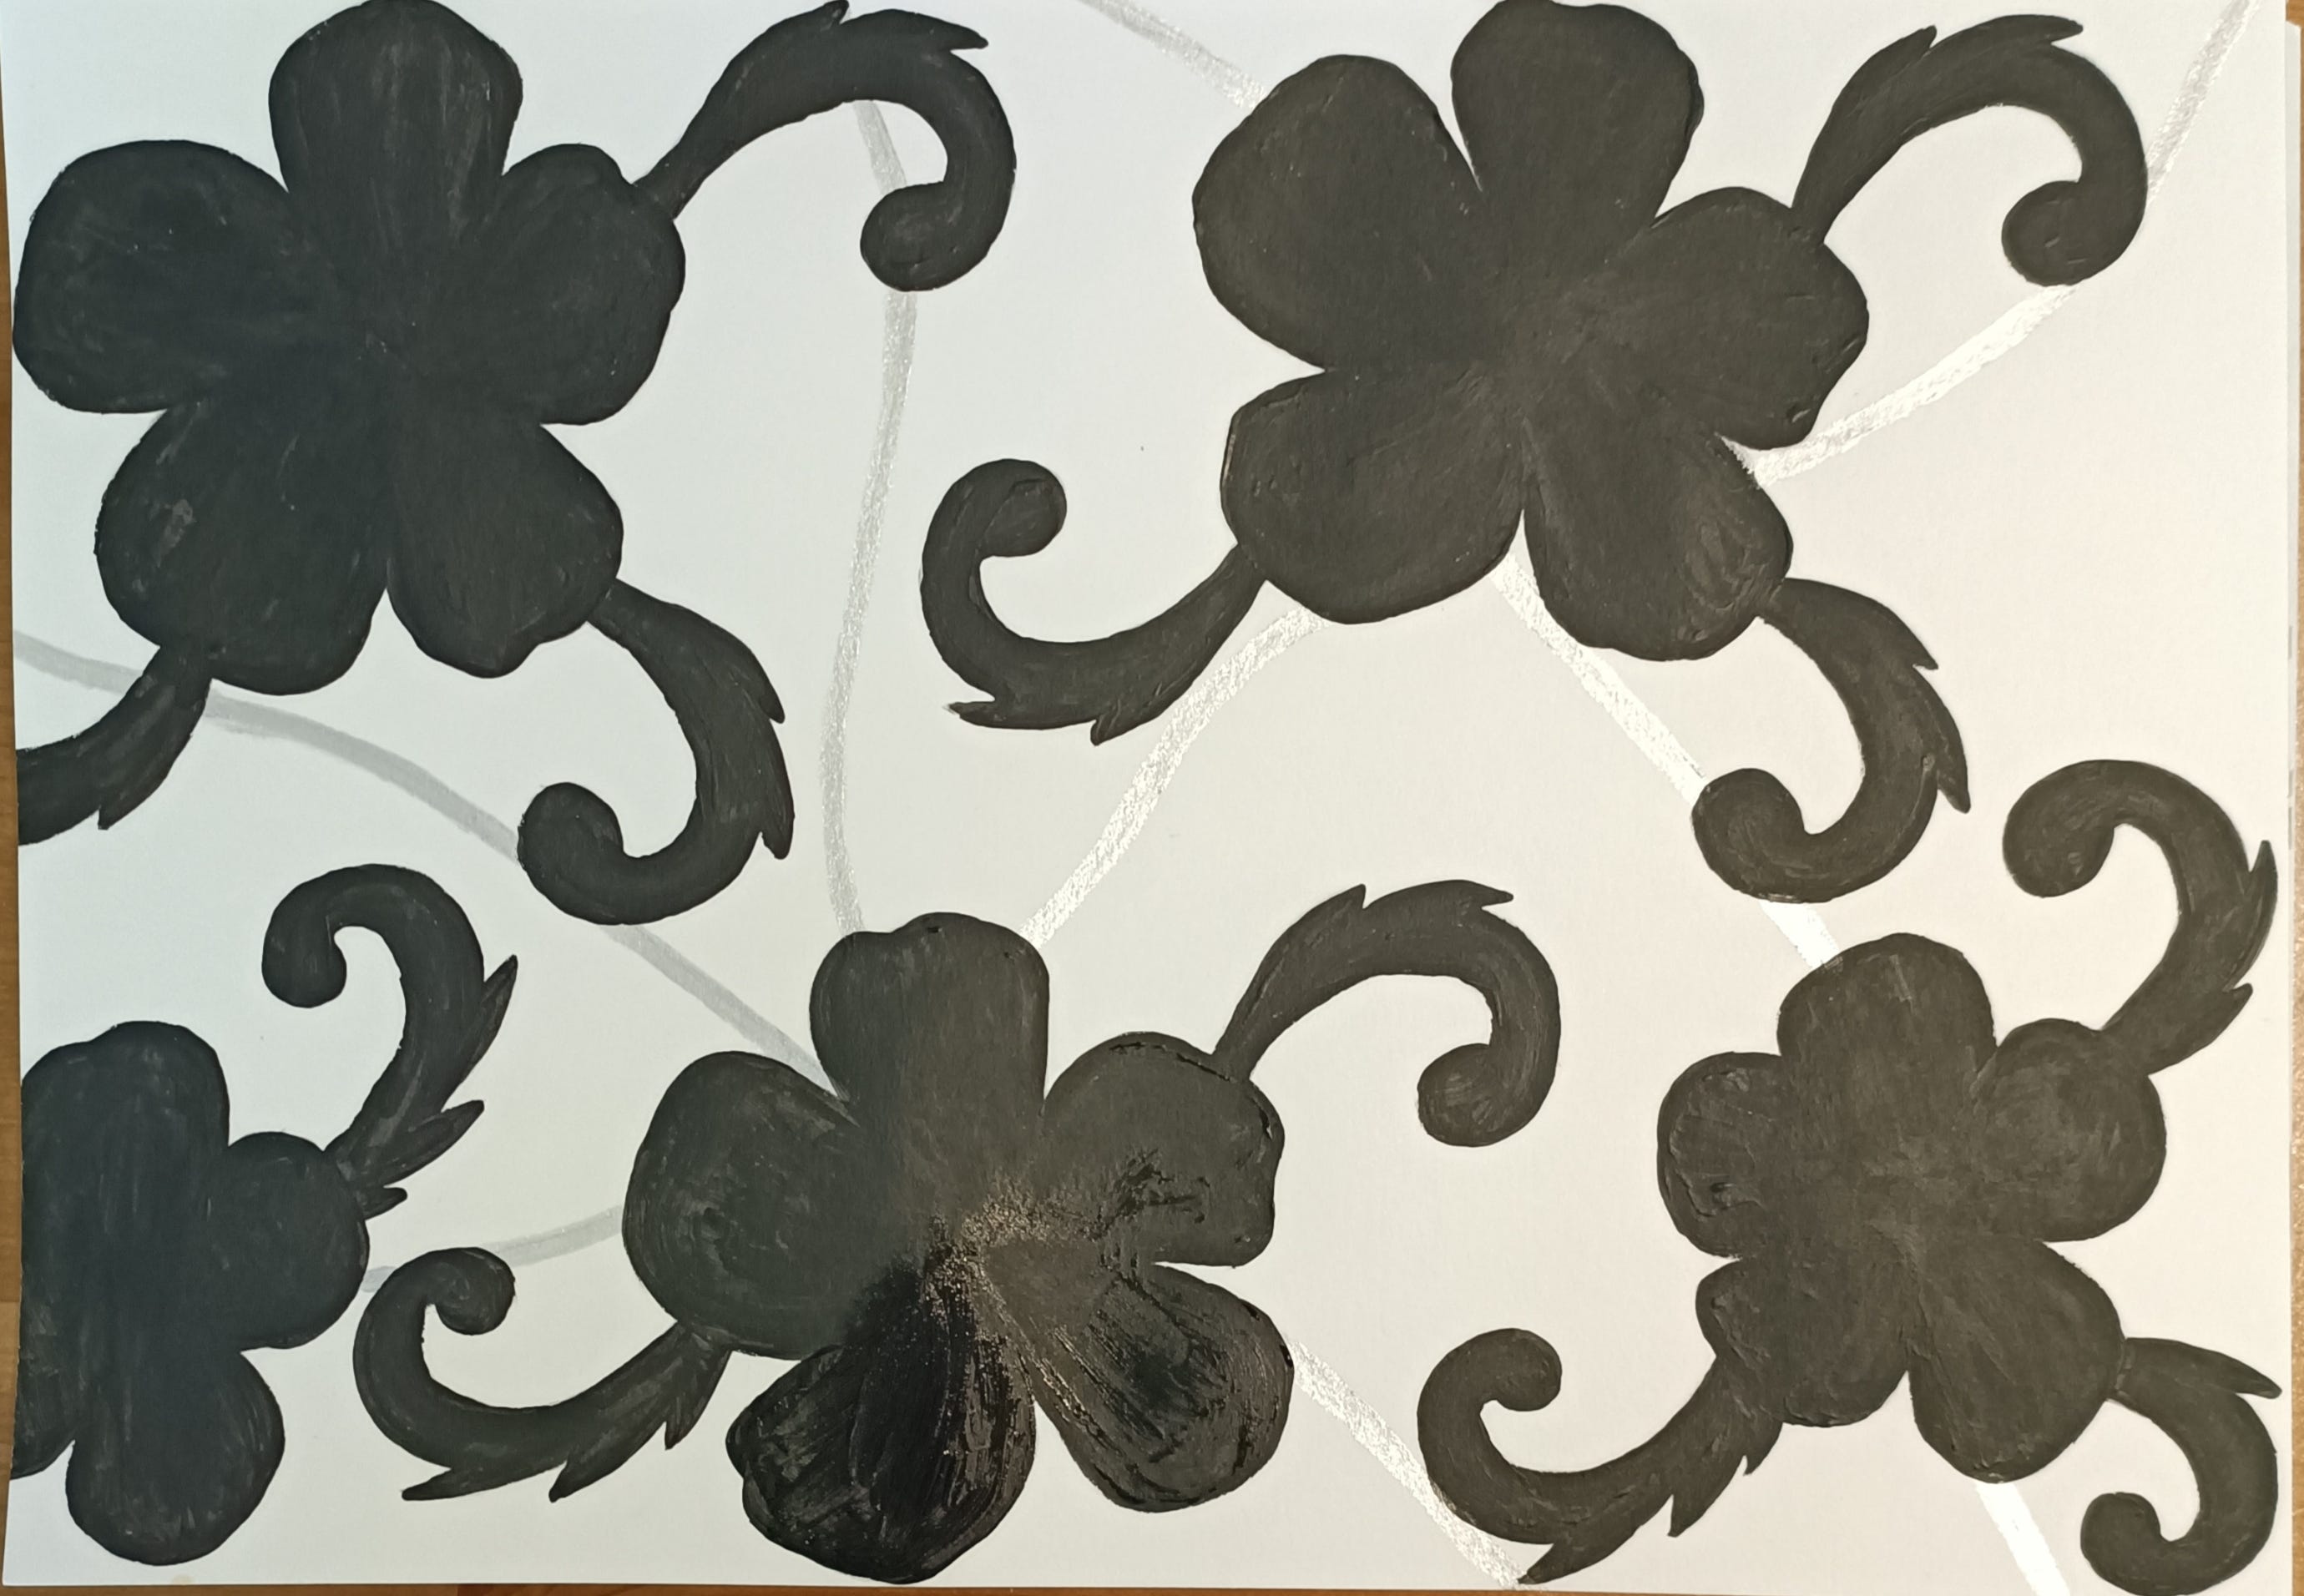
25) And black flowers.
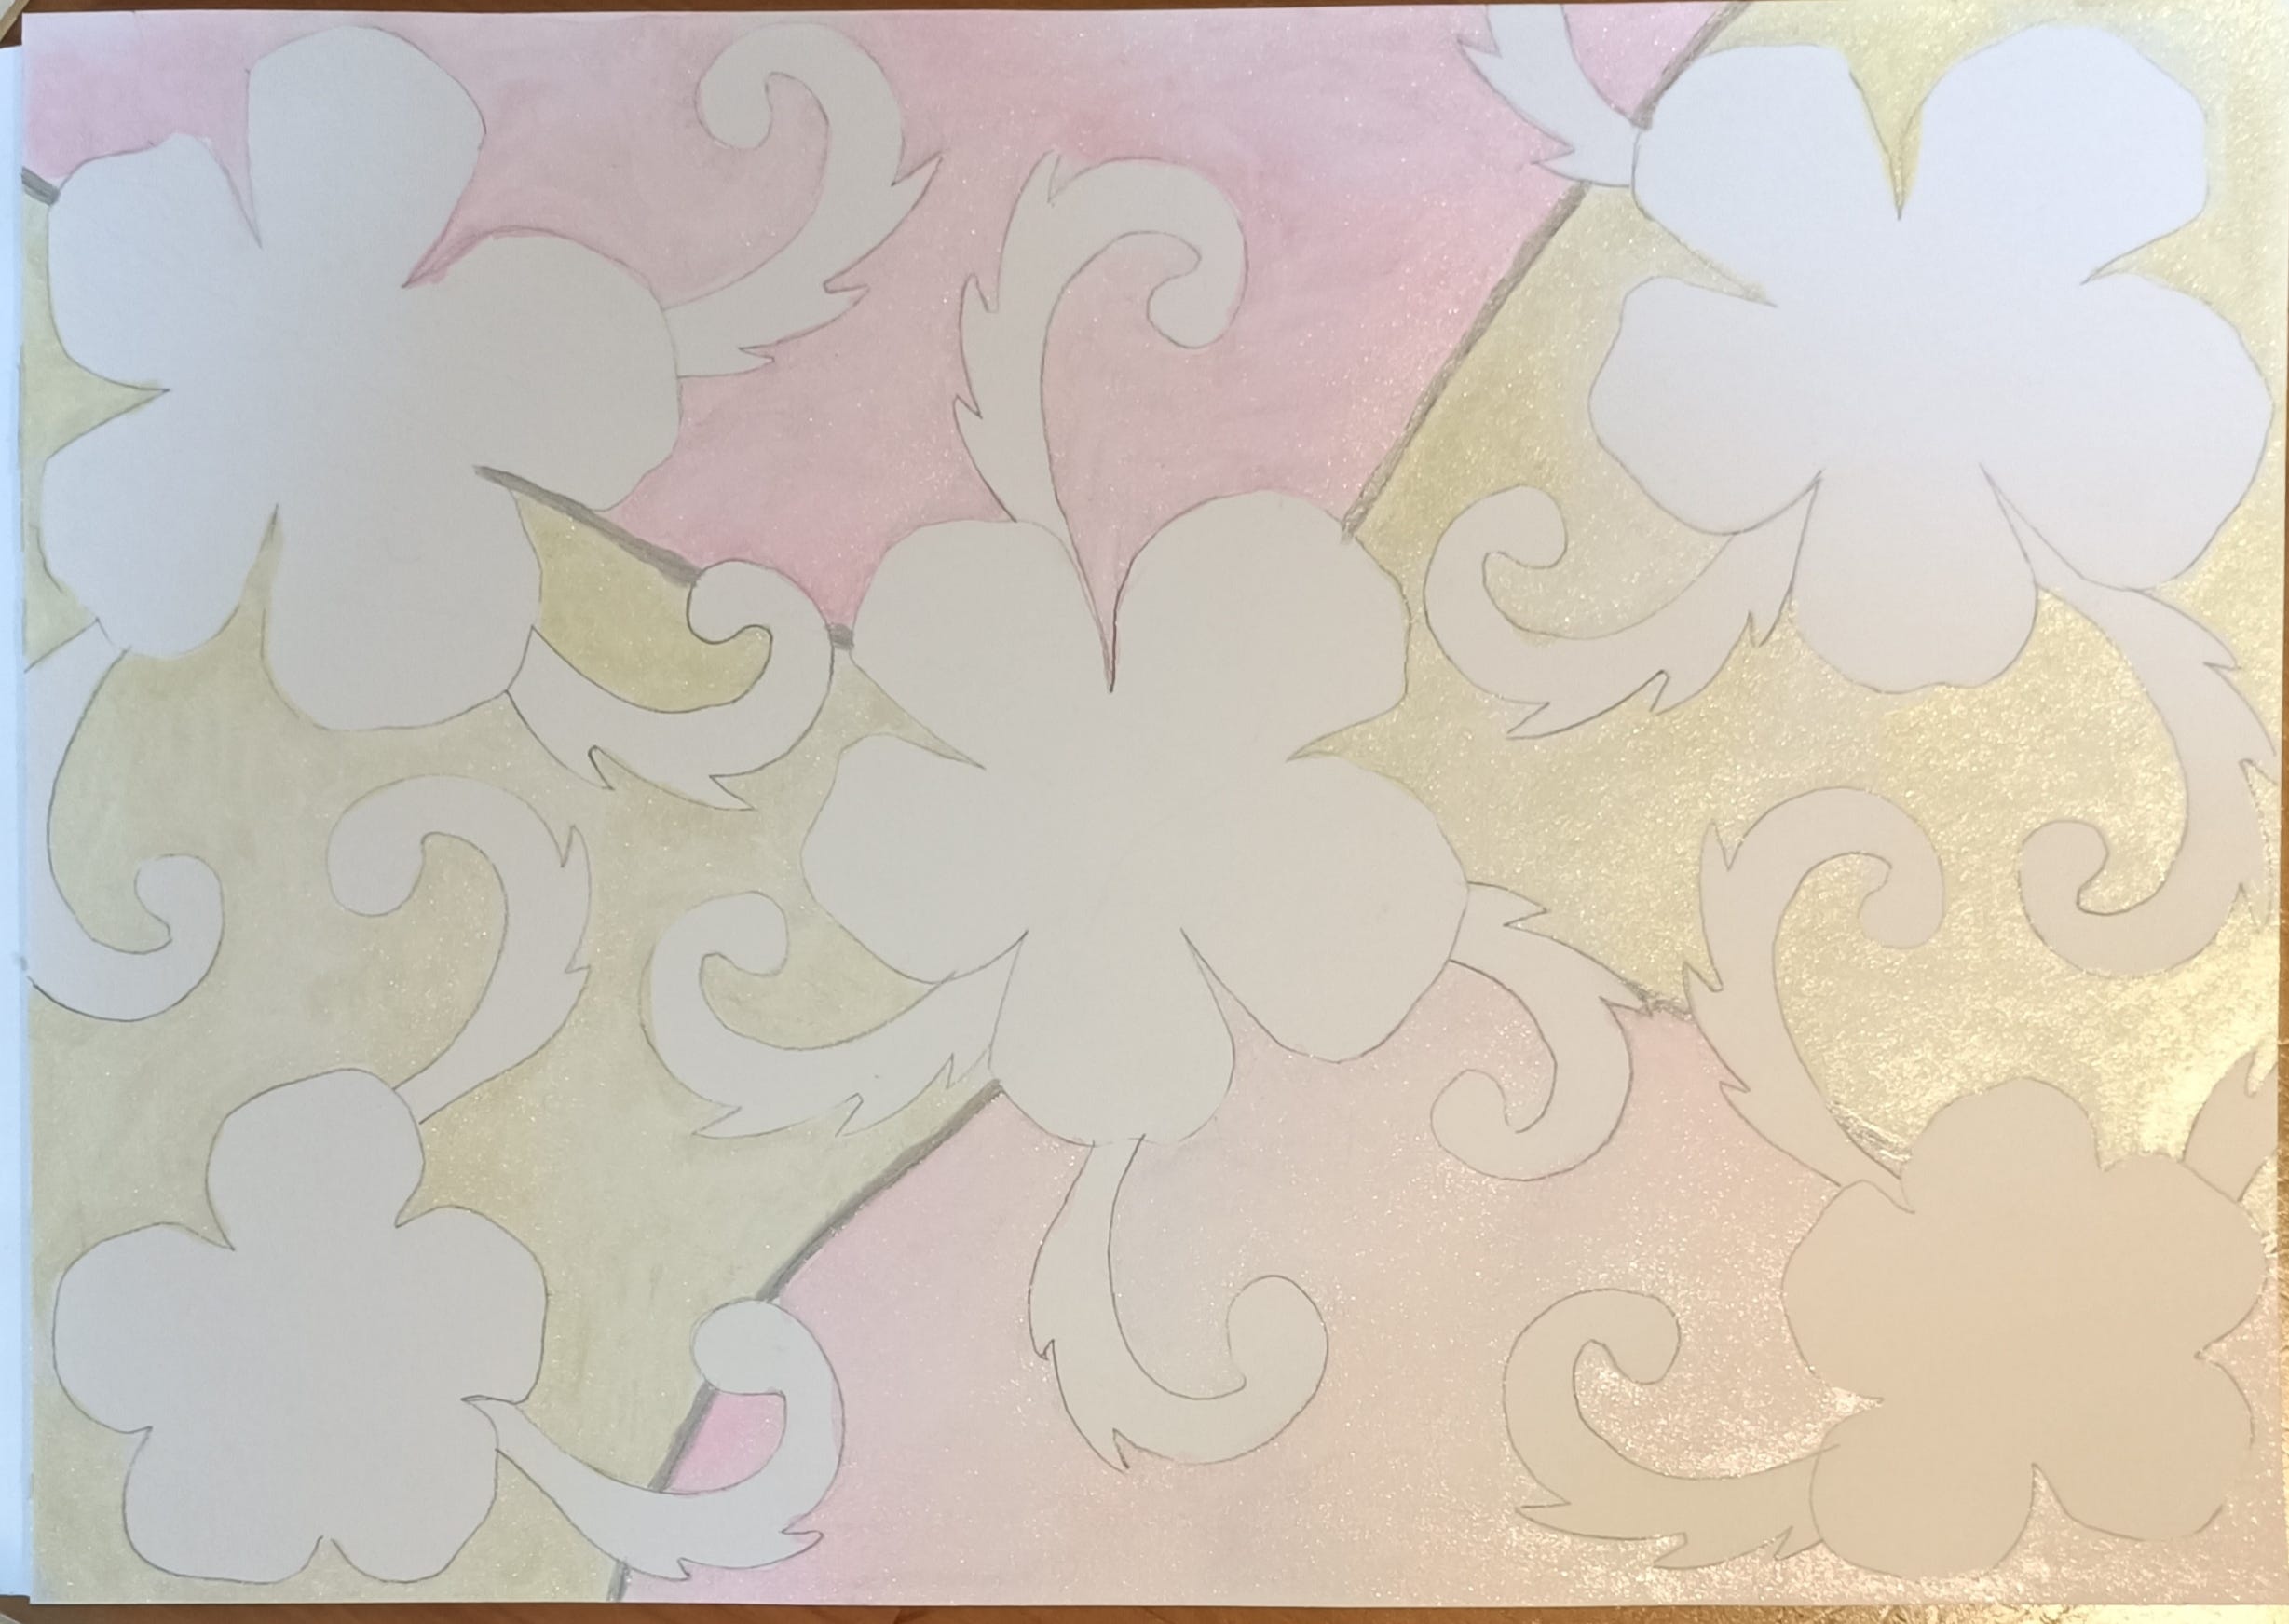
26) I fill up uneven shapes in the background with watercolours (light beige, light blue, light purple)
27) Next I use silver metallic marker to draw lines with dots in between.
28) Next I highlighted flowers and scrolls with purple marker. I’ve highlighted as well with white marker flowers and scrolls and this is the result.
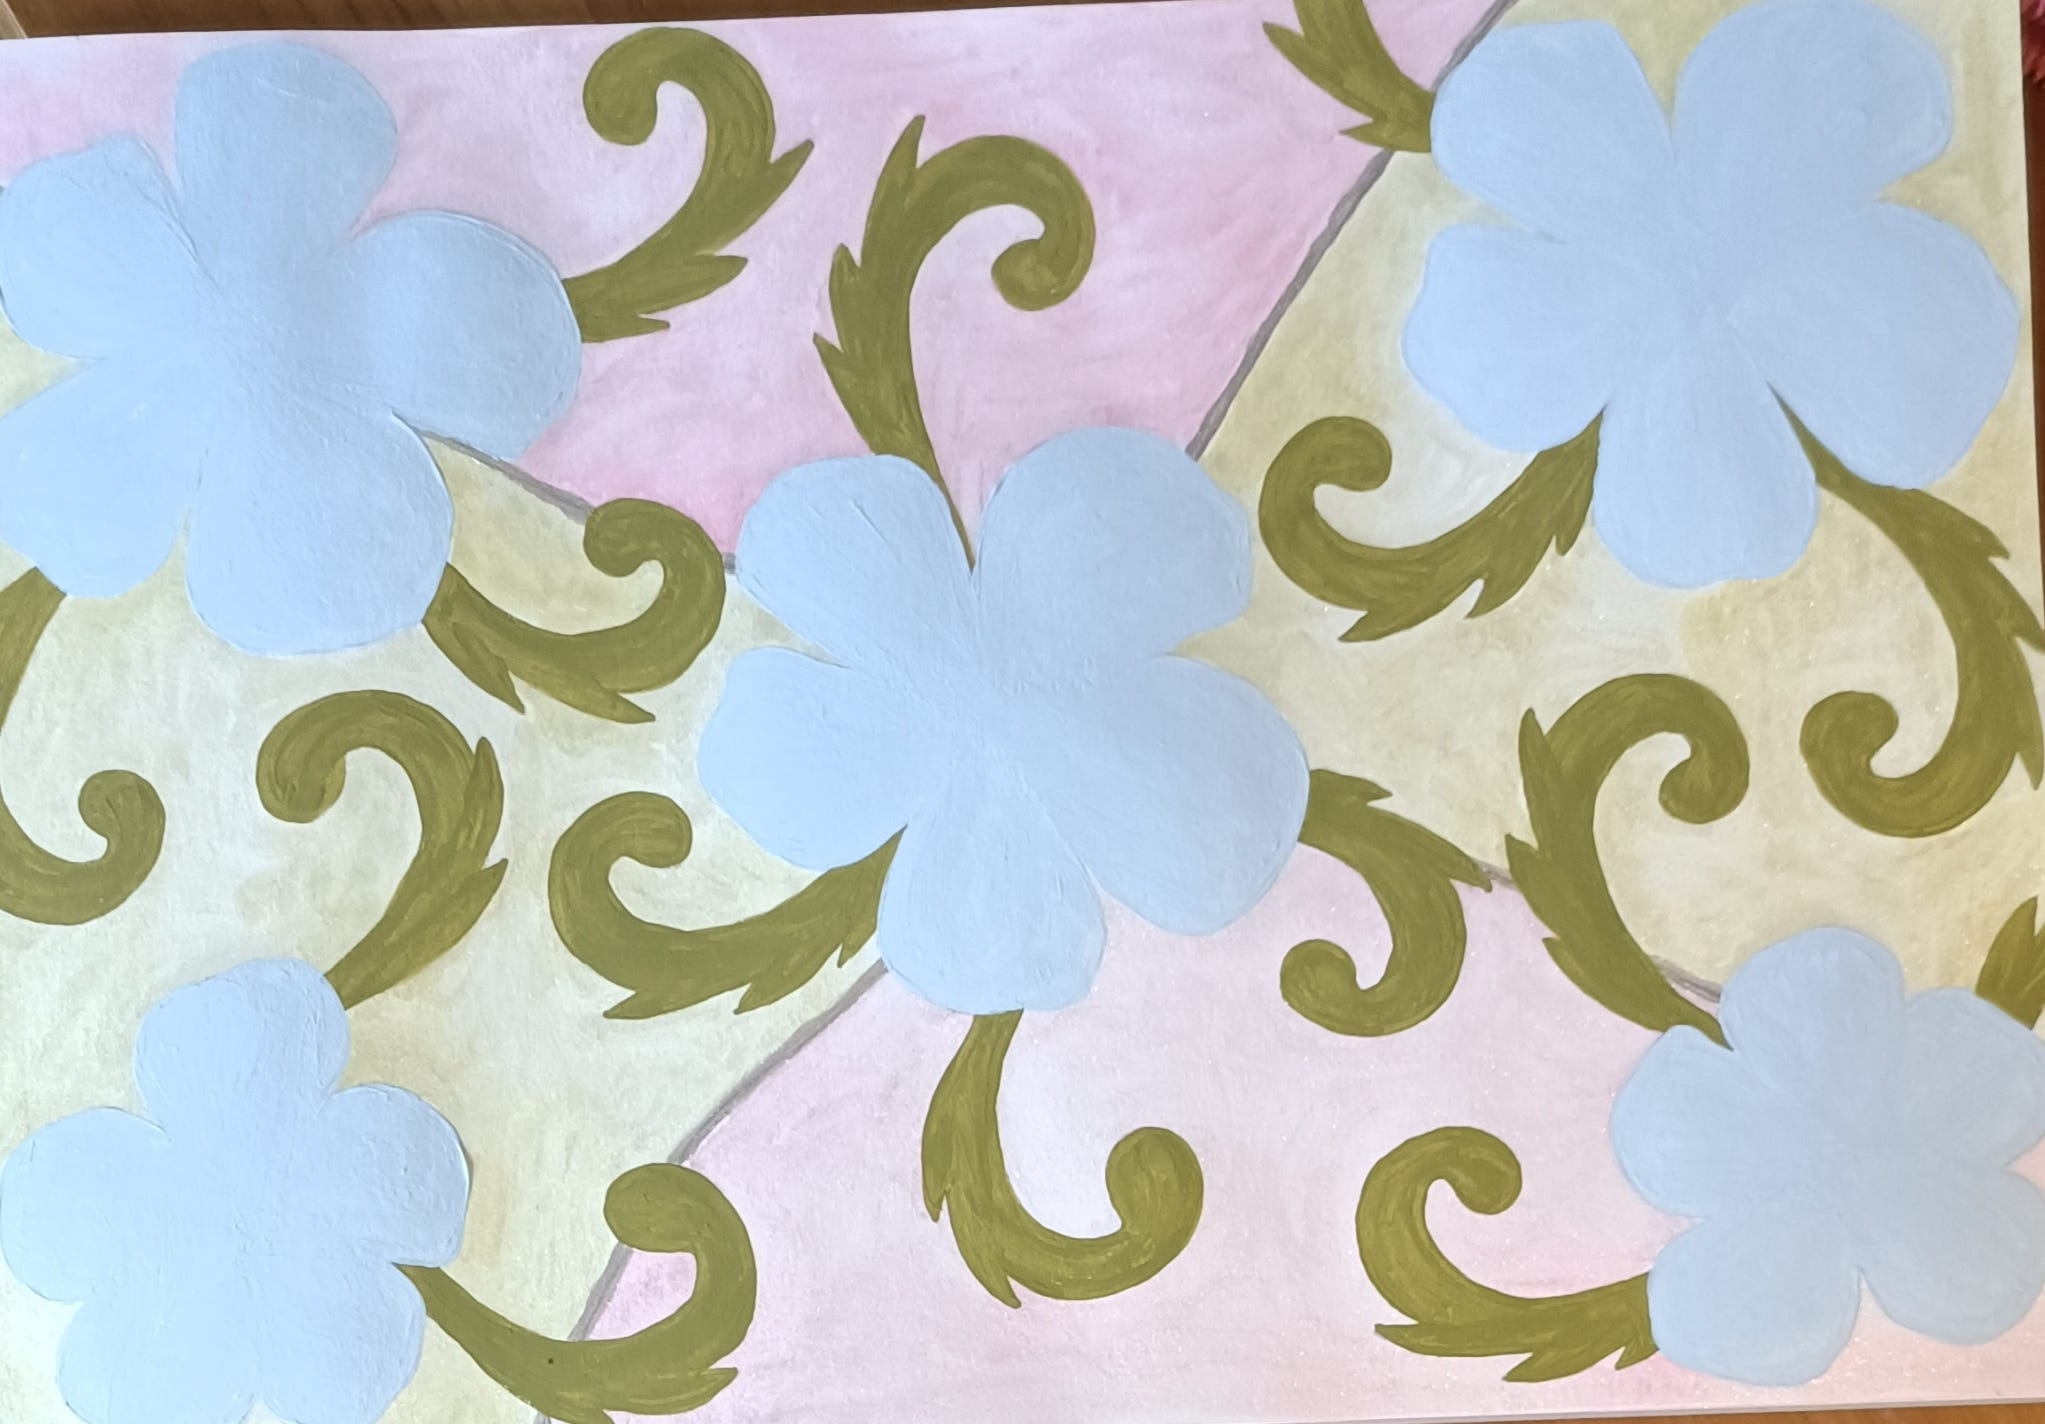
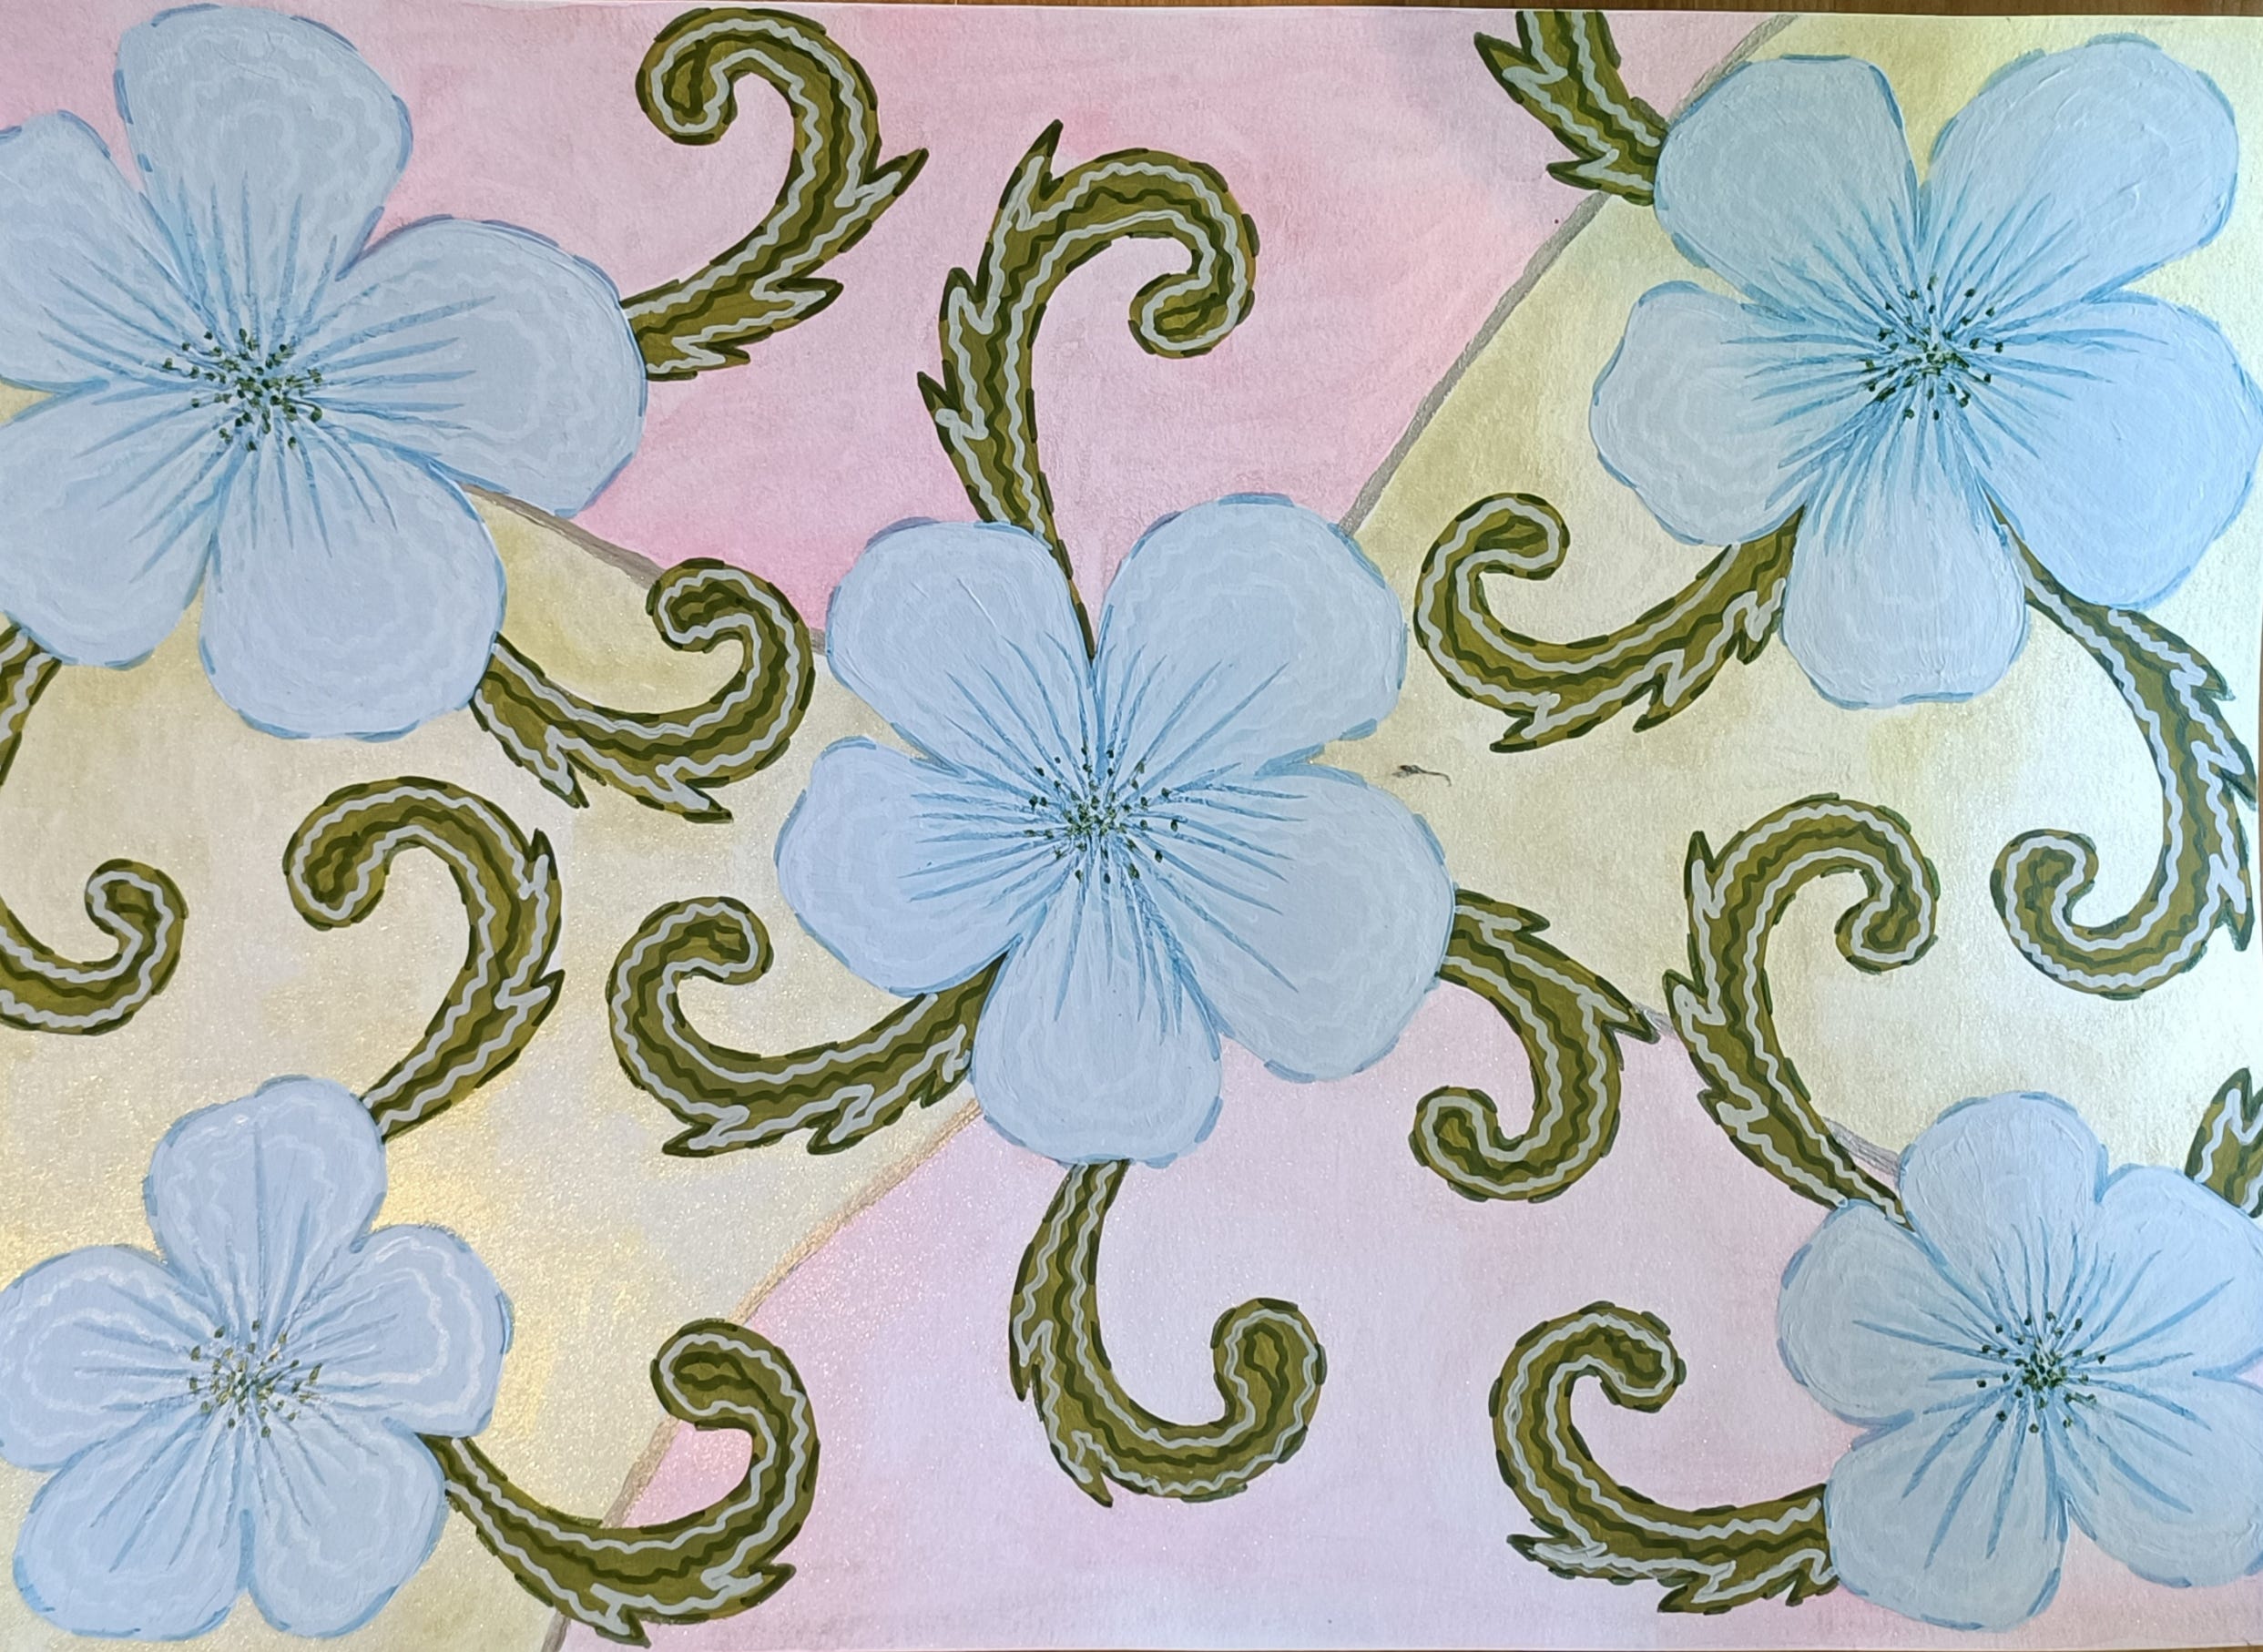
29) Next I will make a similar design but instead of beige flowers I will draw blue flowers. I draw flowers with scrolls and uneven lines in the background, using art paper and pencil.
30) I draw the background using metallic watercolours (light pink and light yellow).
31) Next are scrolls and I draw them with green acrylic colours.
32) I draw flowers with light blue acrylic paints.
33) I highlighted scrolls with green marker.
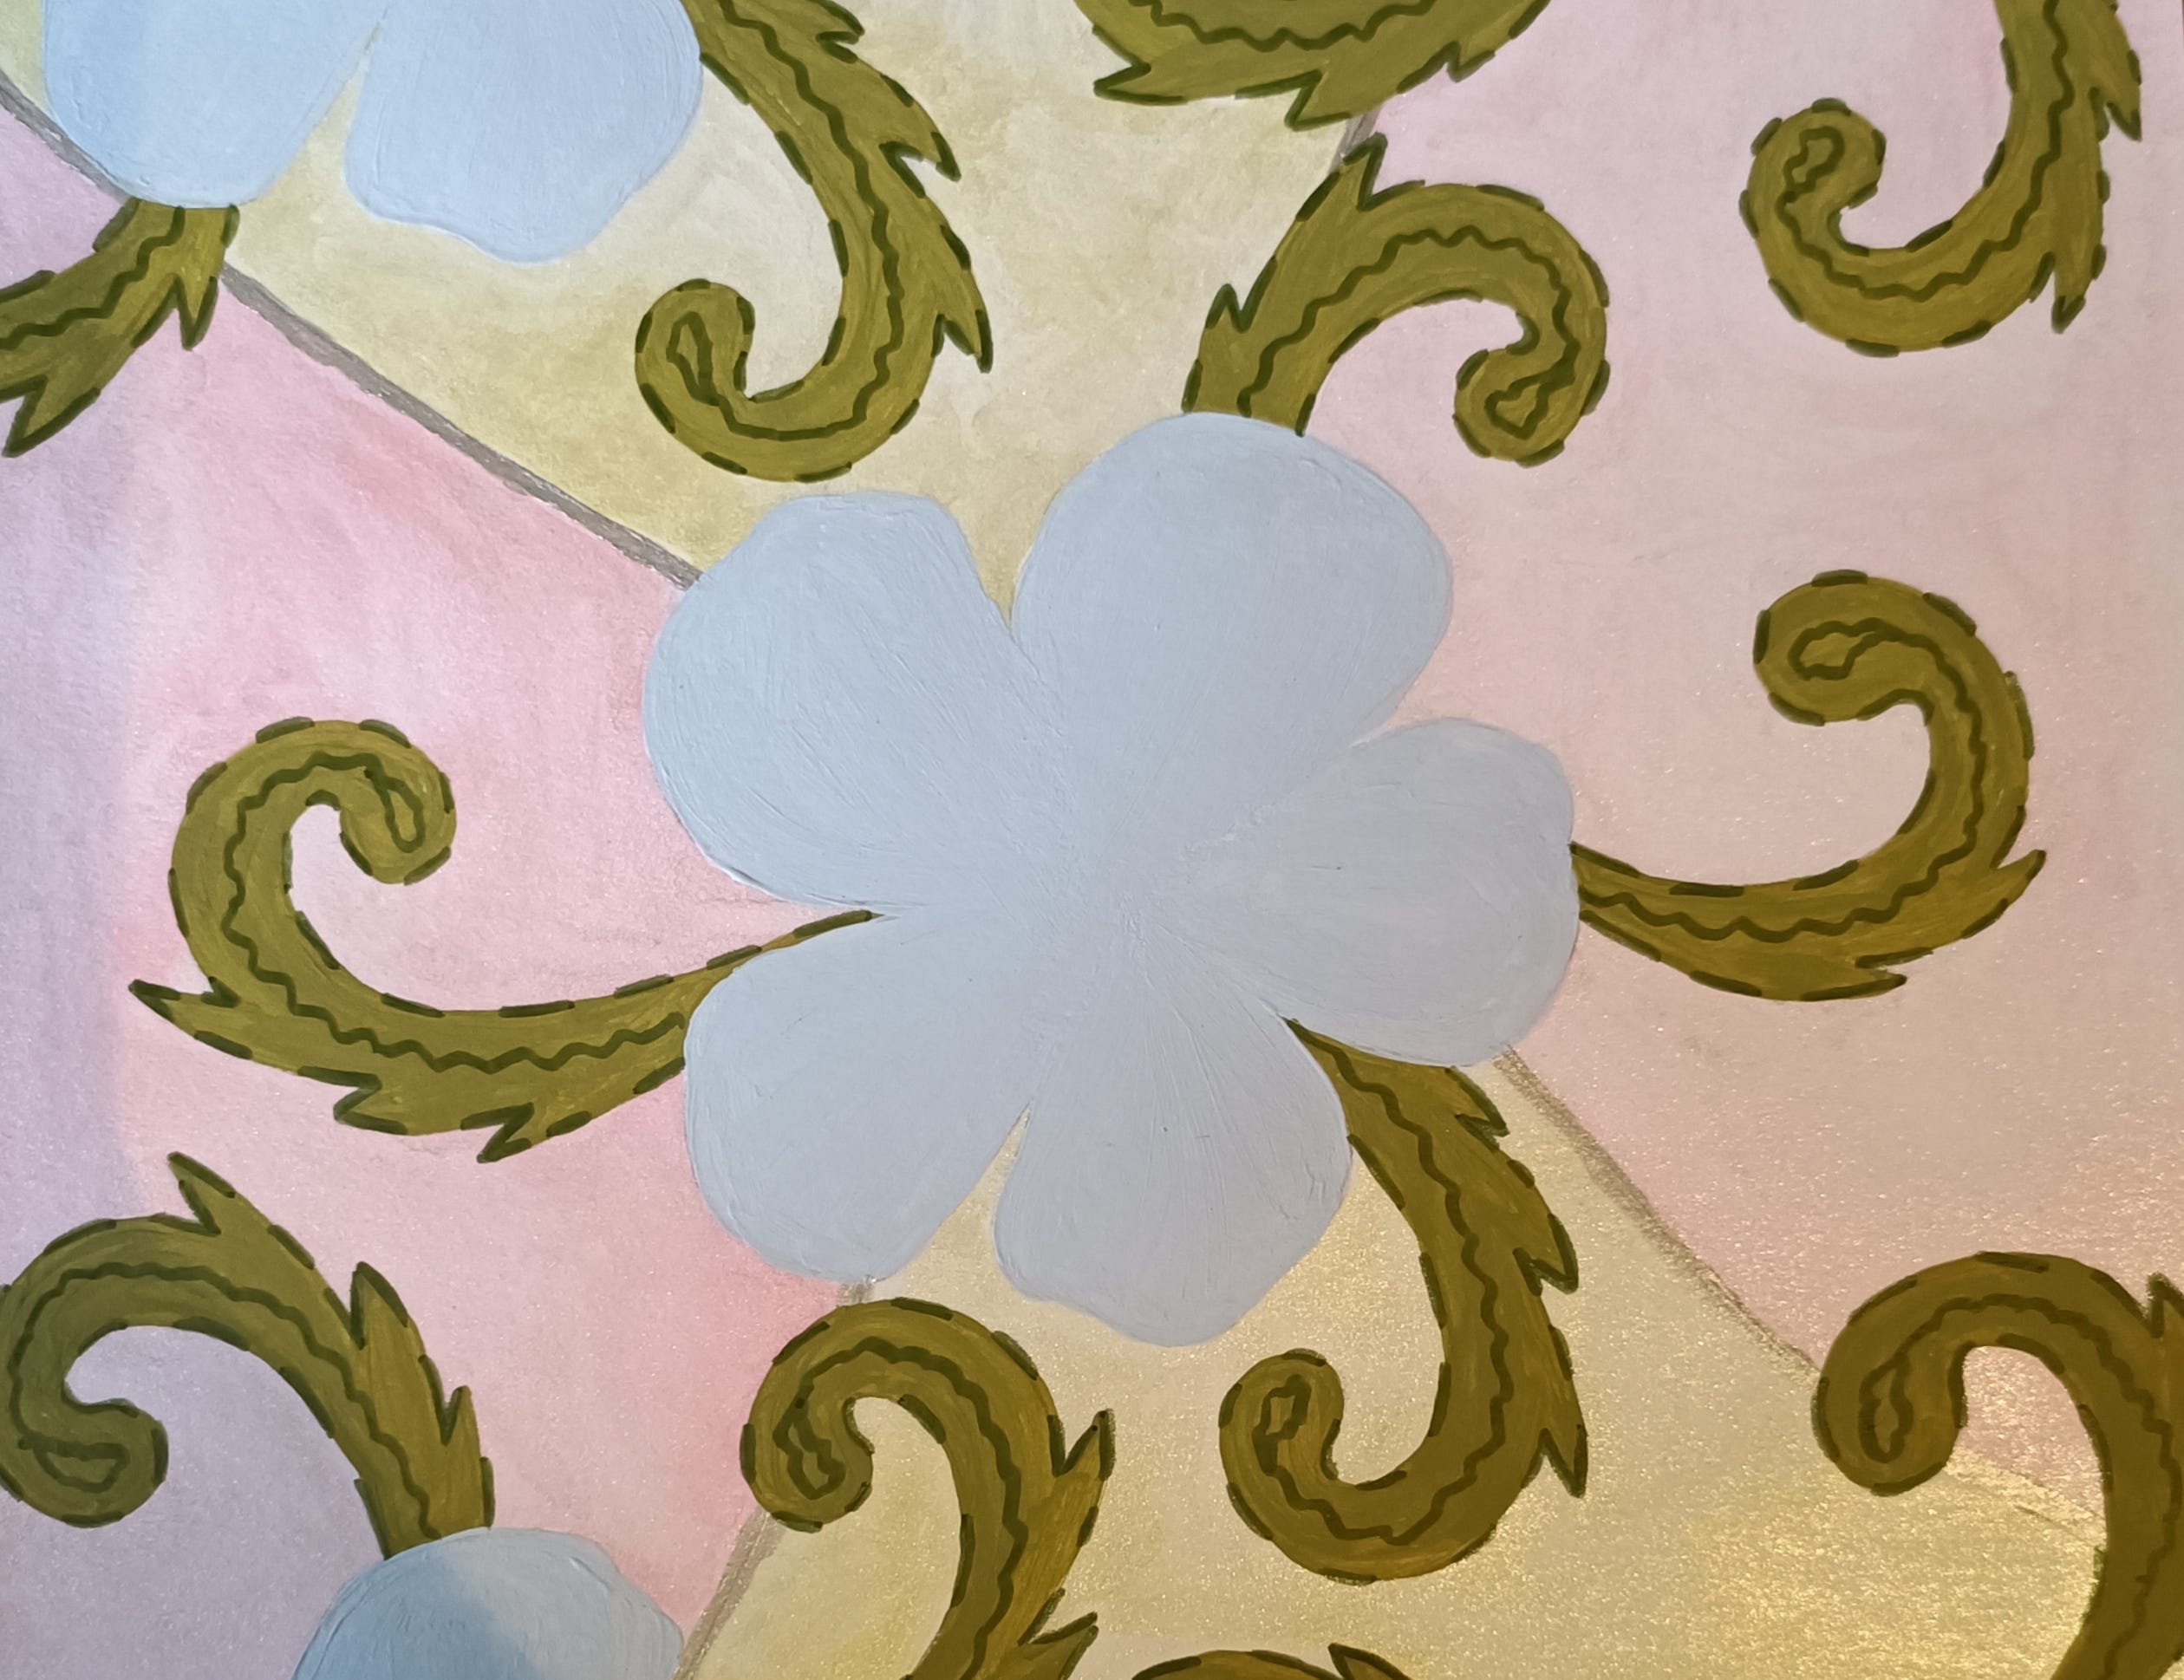
34) And then with white marker.
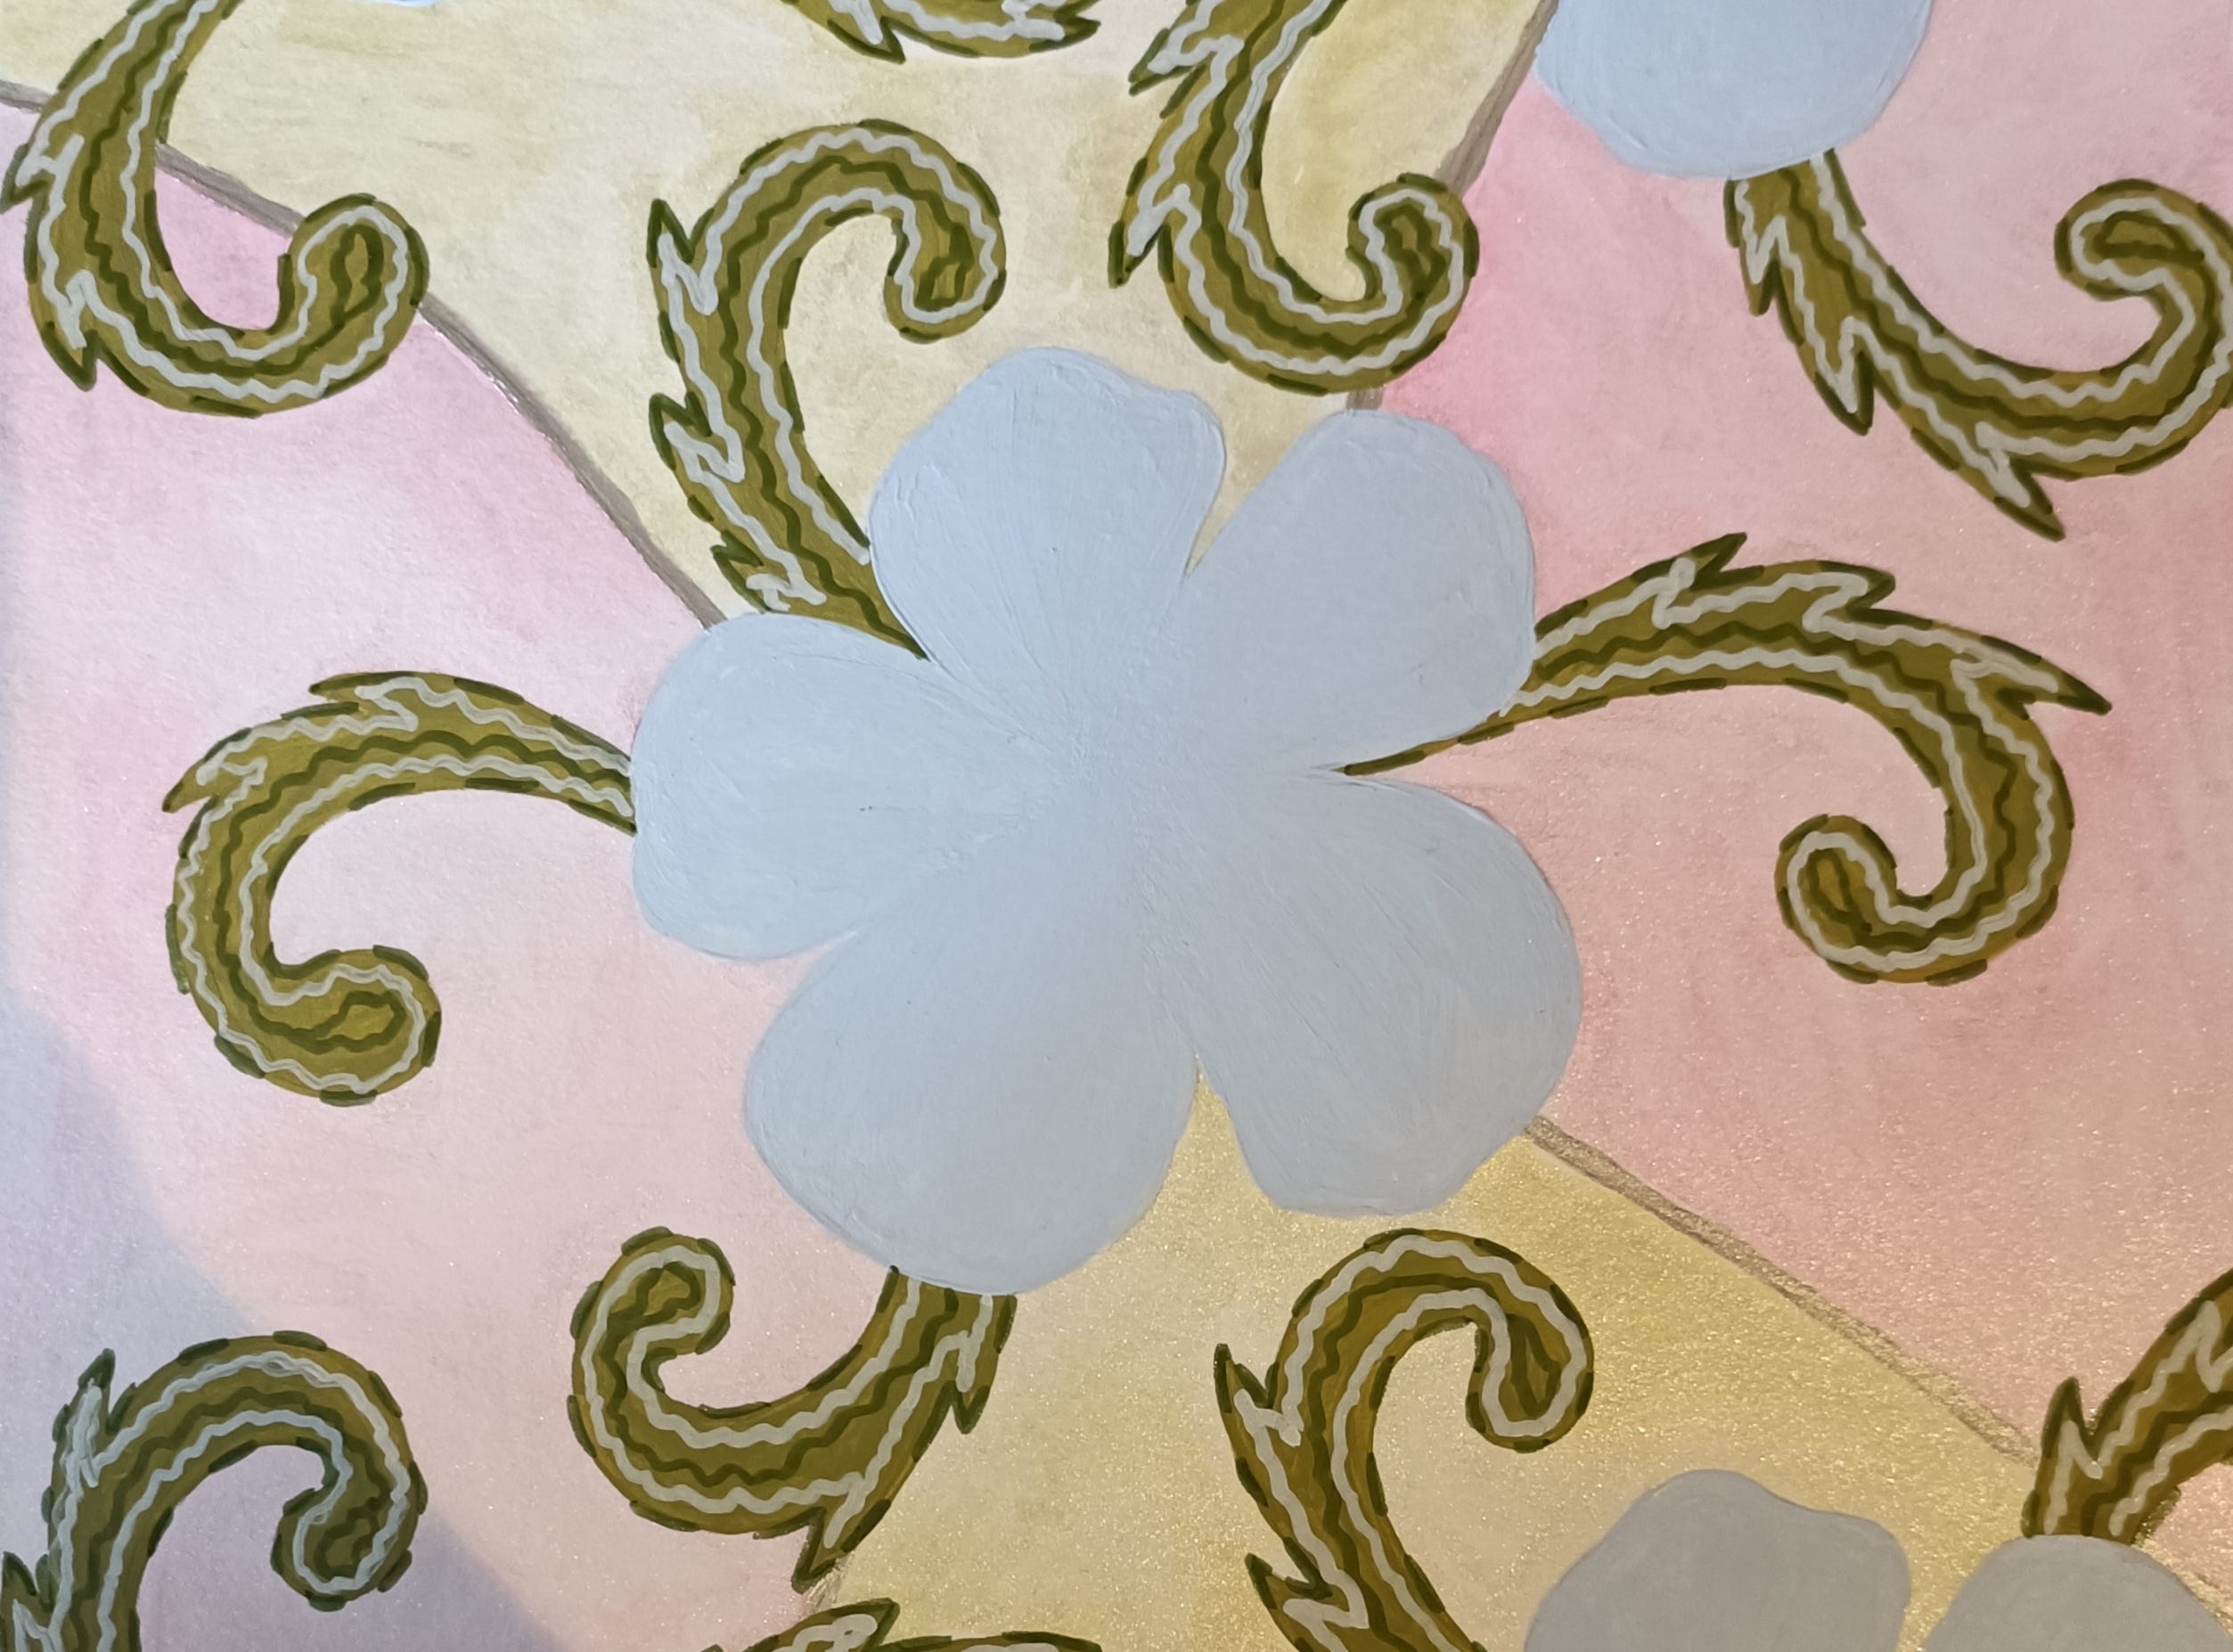
35) I draw around flowers with blue marker.
36) I draw wavy lines, just like on orange flowers in the beginning
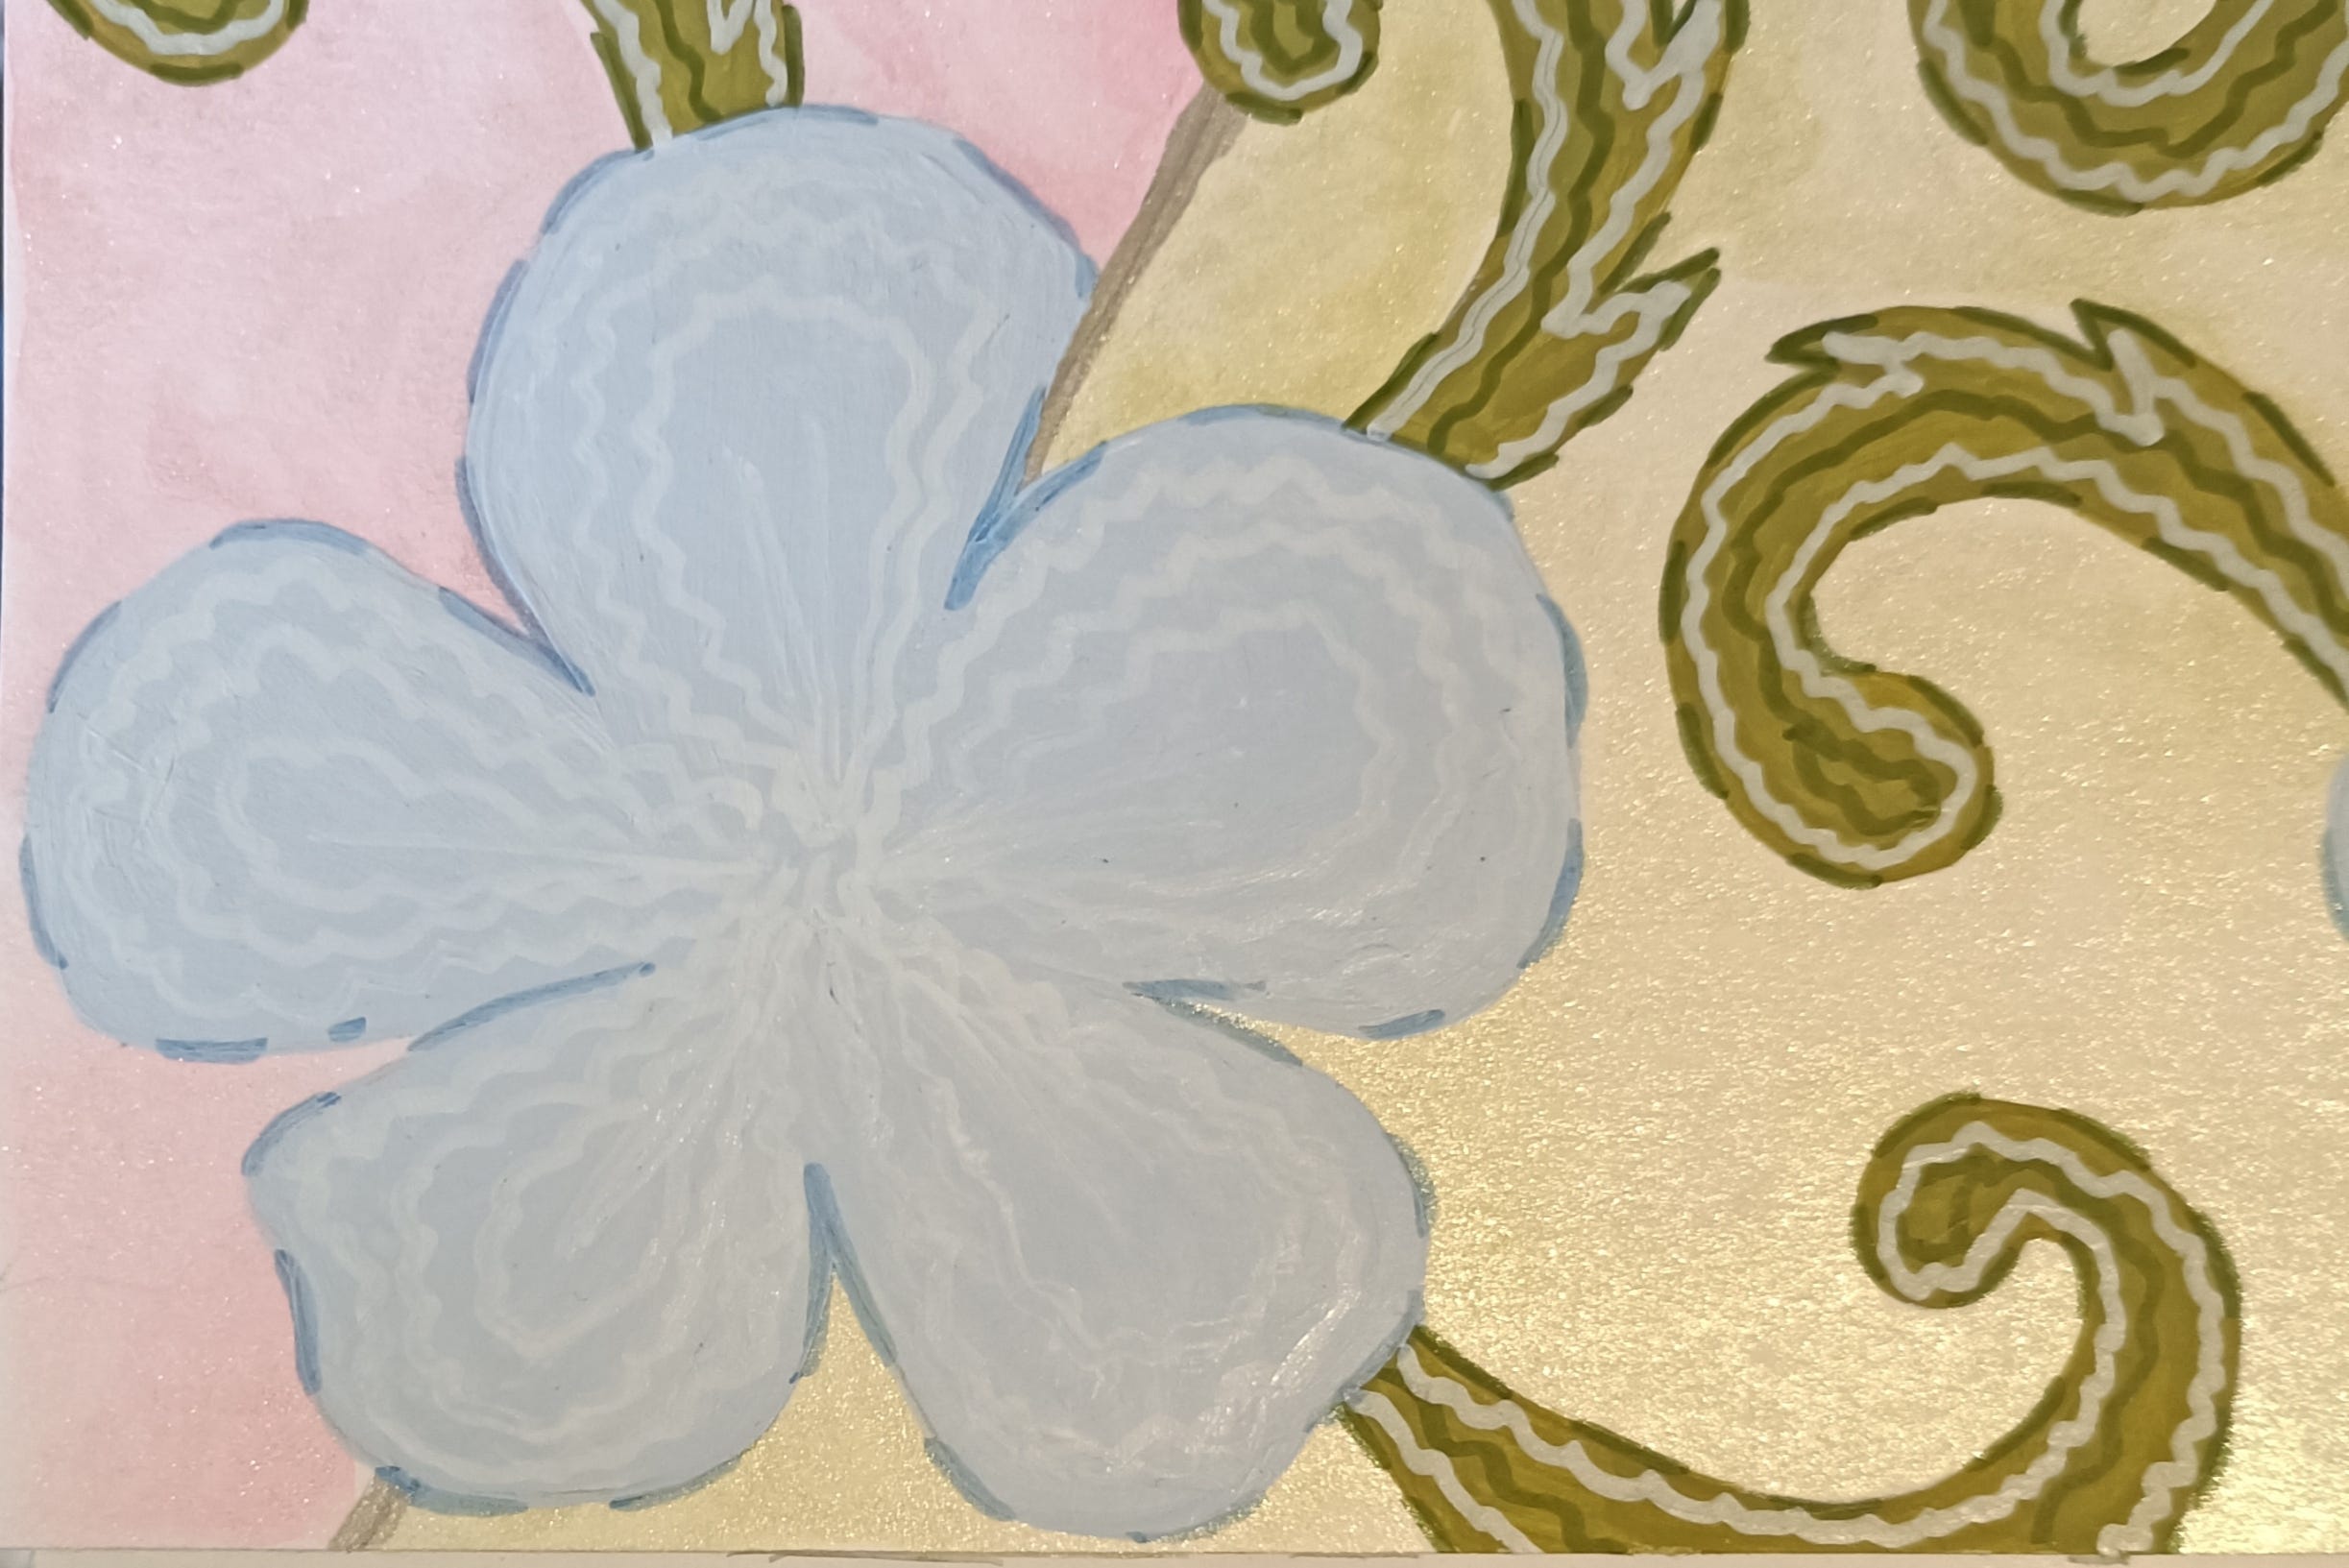
37) In the end I highlighted with a blue marker the center of the flower.
All 3 pictures are ready and we can frame them or scan and upload on the Stationary.
I would like to show you few more variations with the different colours:
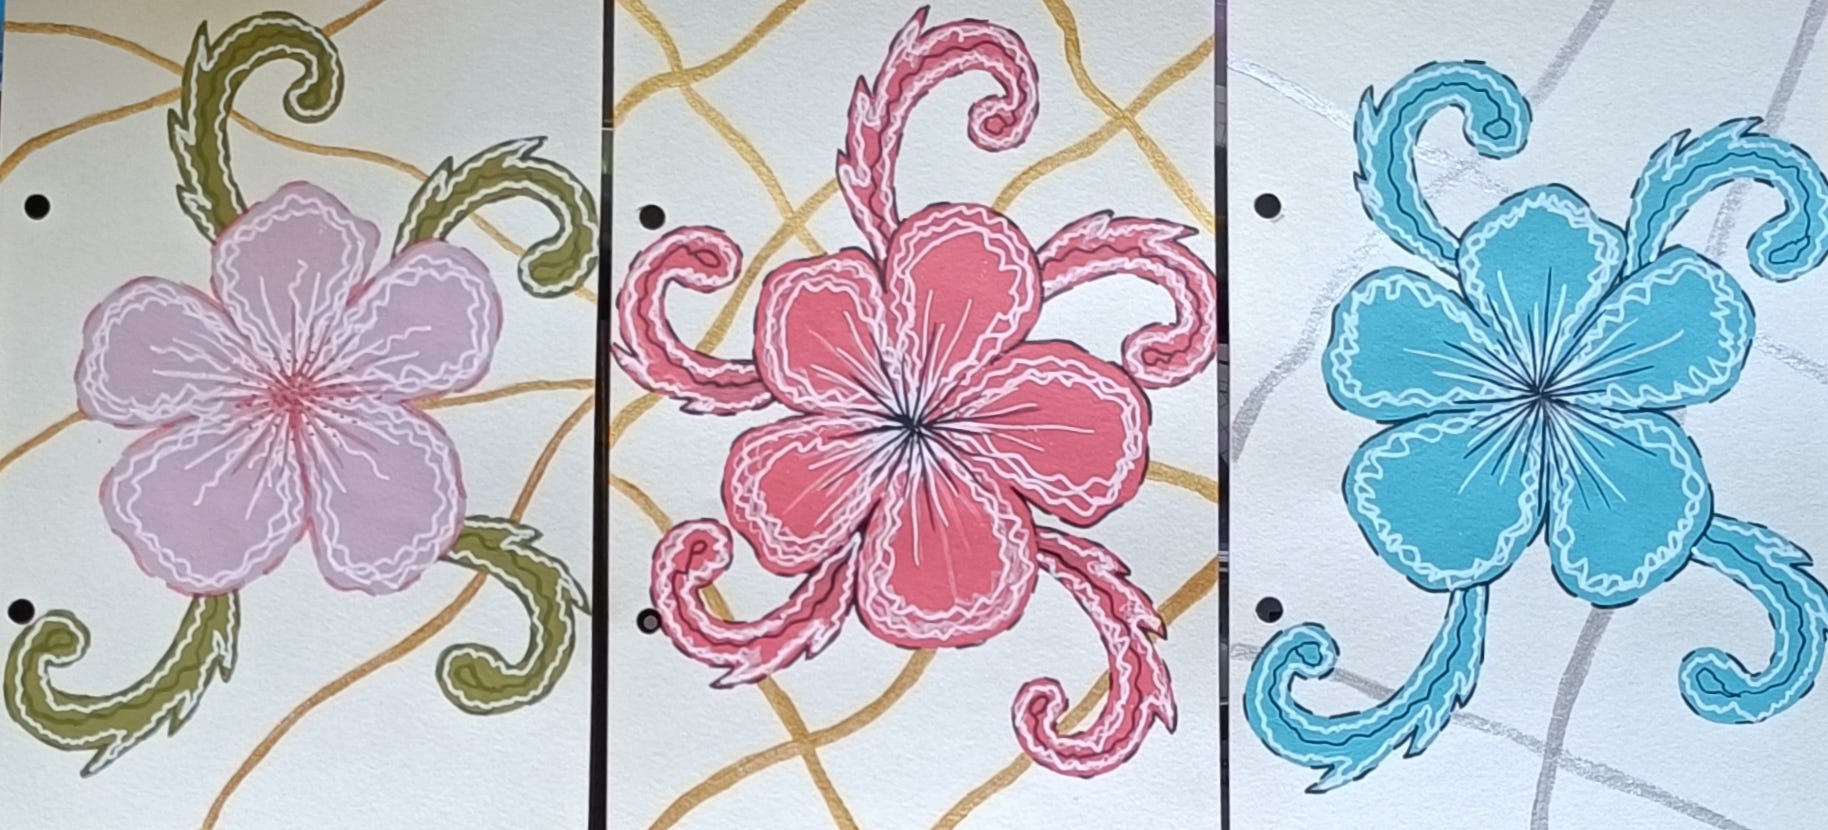
I hope you like it!
With love,
Marina
Reach out to me:
www.marinaapopova.com
www.linktr.ee/map.author.poet