


Design # 14 - Creating Mother’s Day Flowers
Step - by - Step Tutorial...

Hello my lovelies,
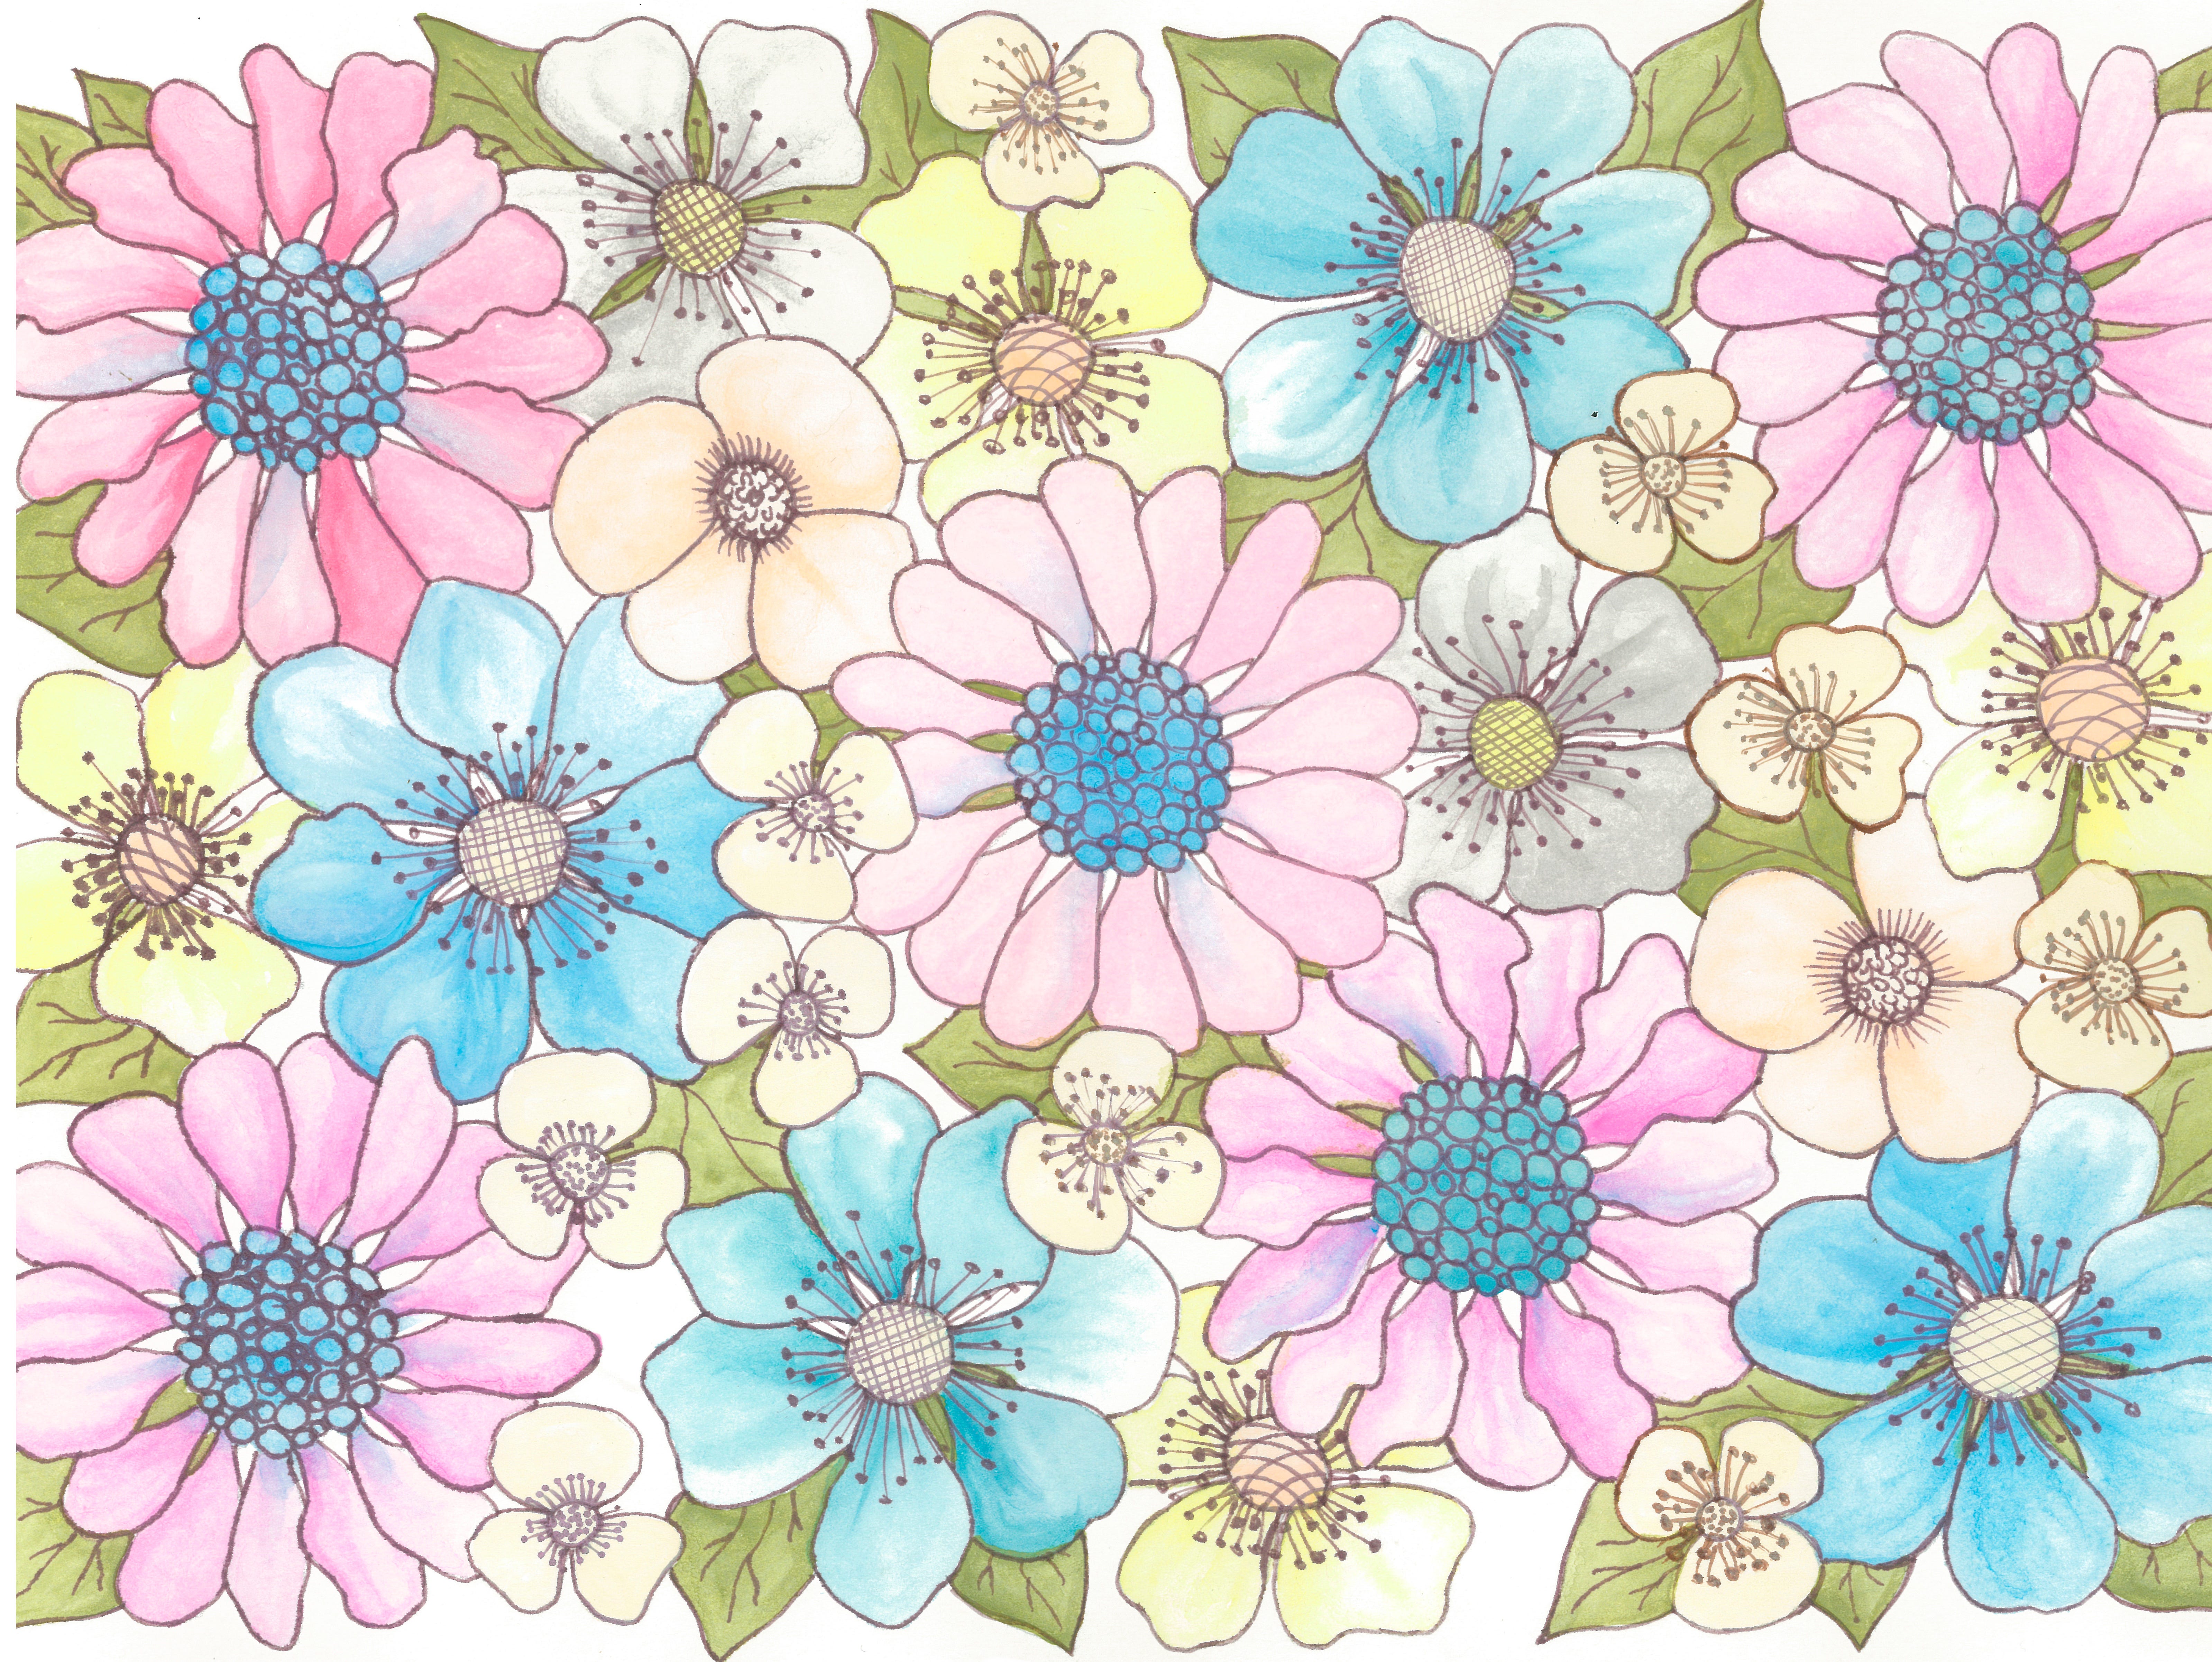
Mother’s Day is coming very soon and I have prepared for you this beautiful tutorial on how to create this kind of soft and gentle flower splendour. This is exactly how I feel when I am laying next to my mum. It’s a very special and touching time. It may look complex, but I promise you, you will finish this painting in no time. So let’s begin…
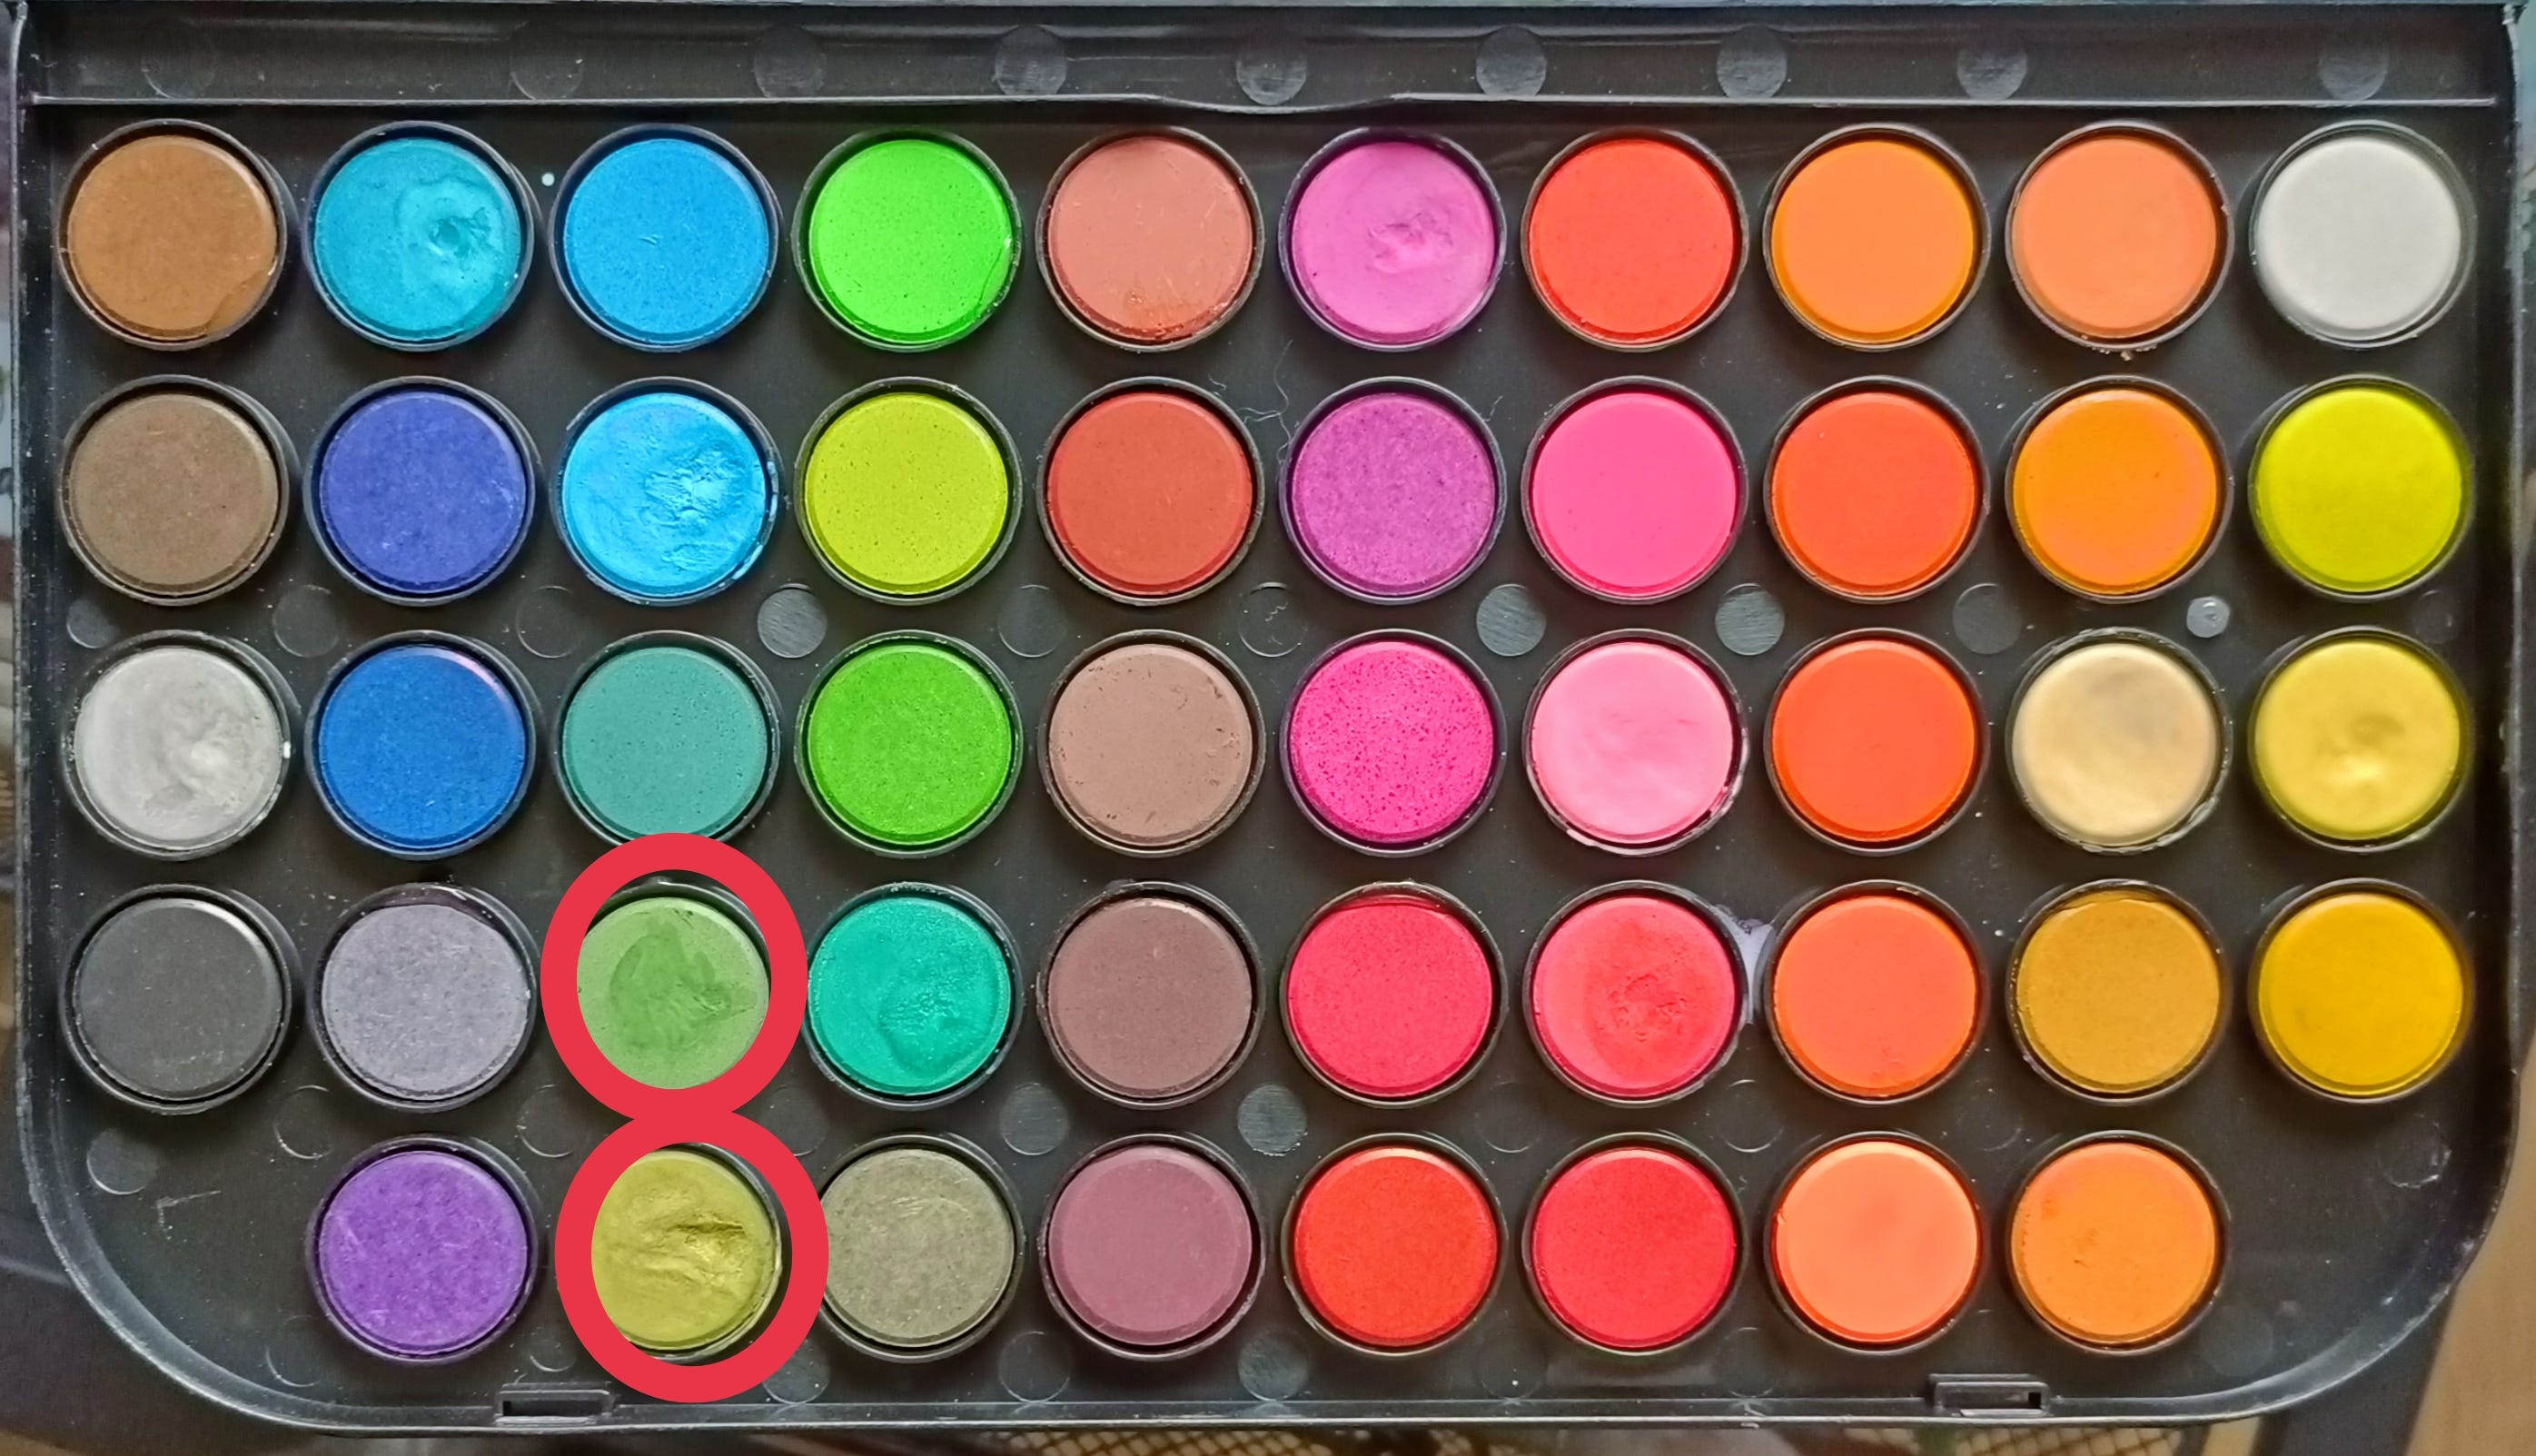
For this tutorial I used watercolour from Aliexpress which is called “Solid Watercolours”. They give this kind of soft cotton candy colour effect. You may also find them HERE.
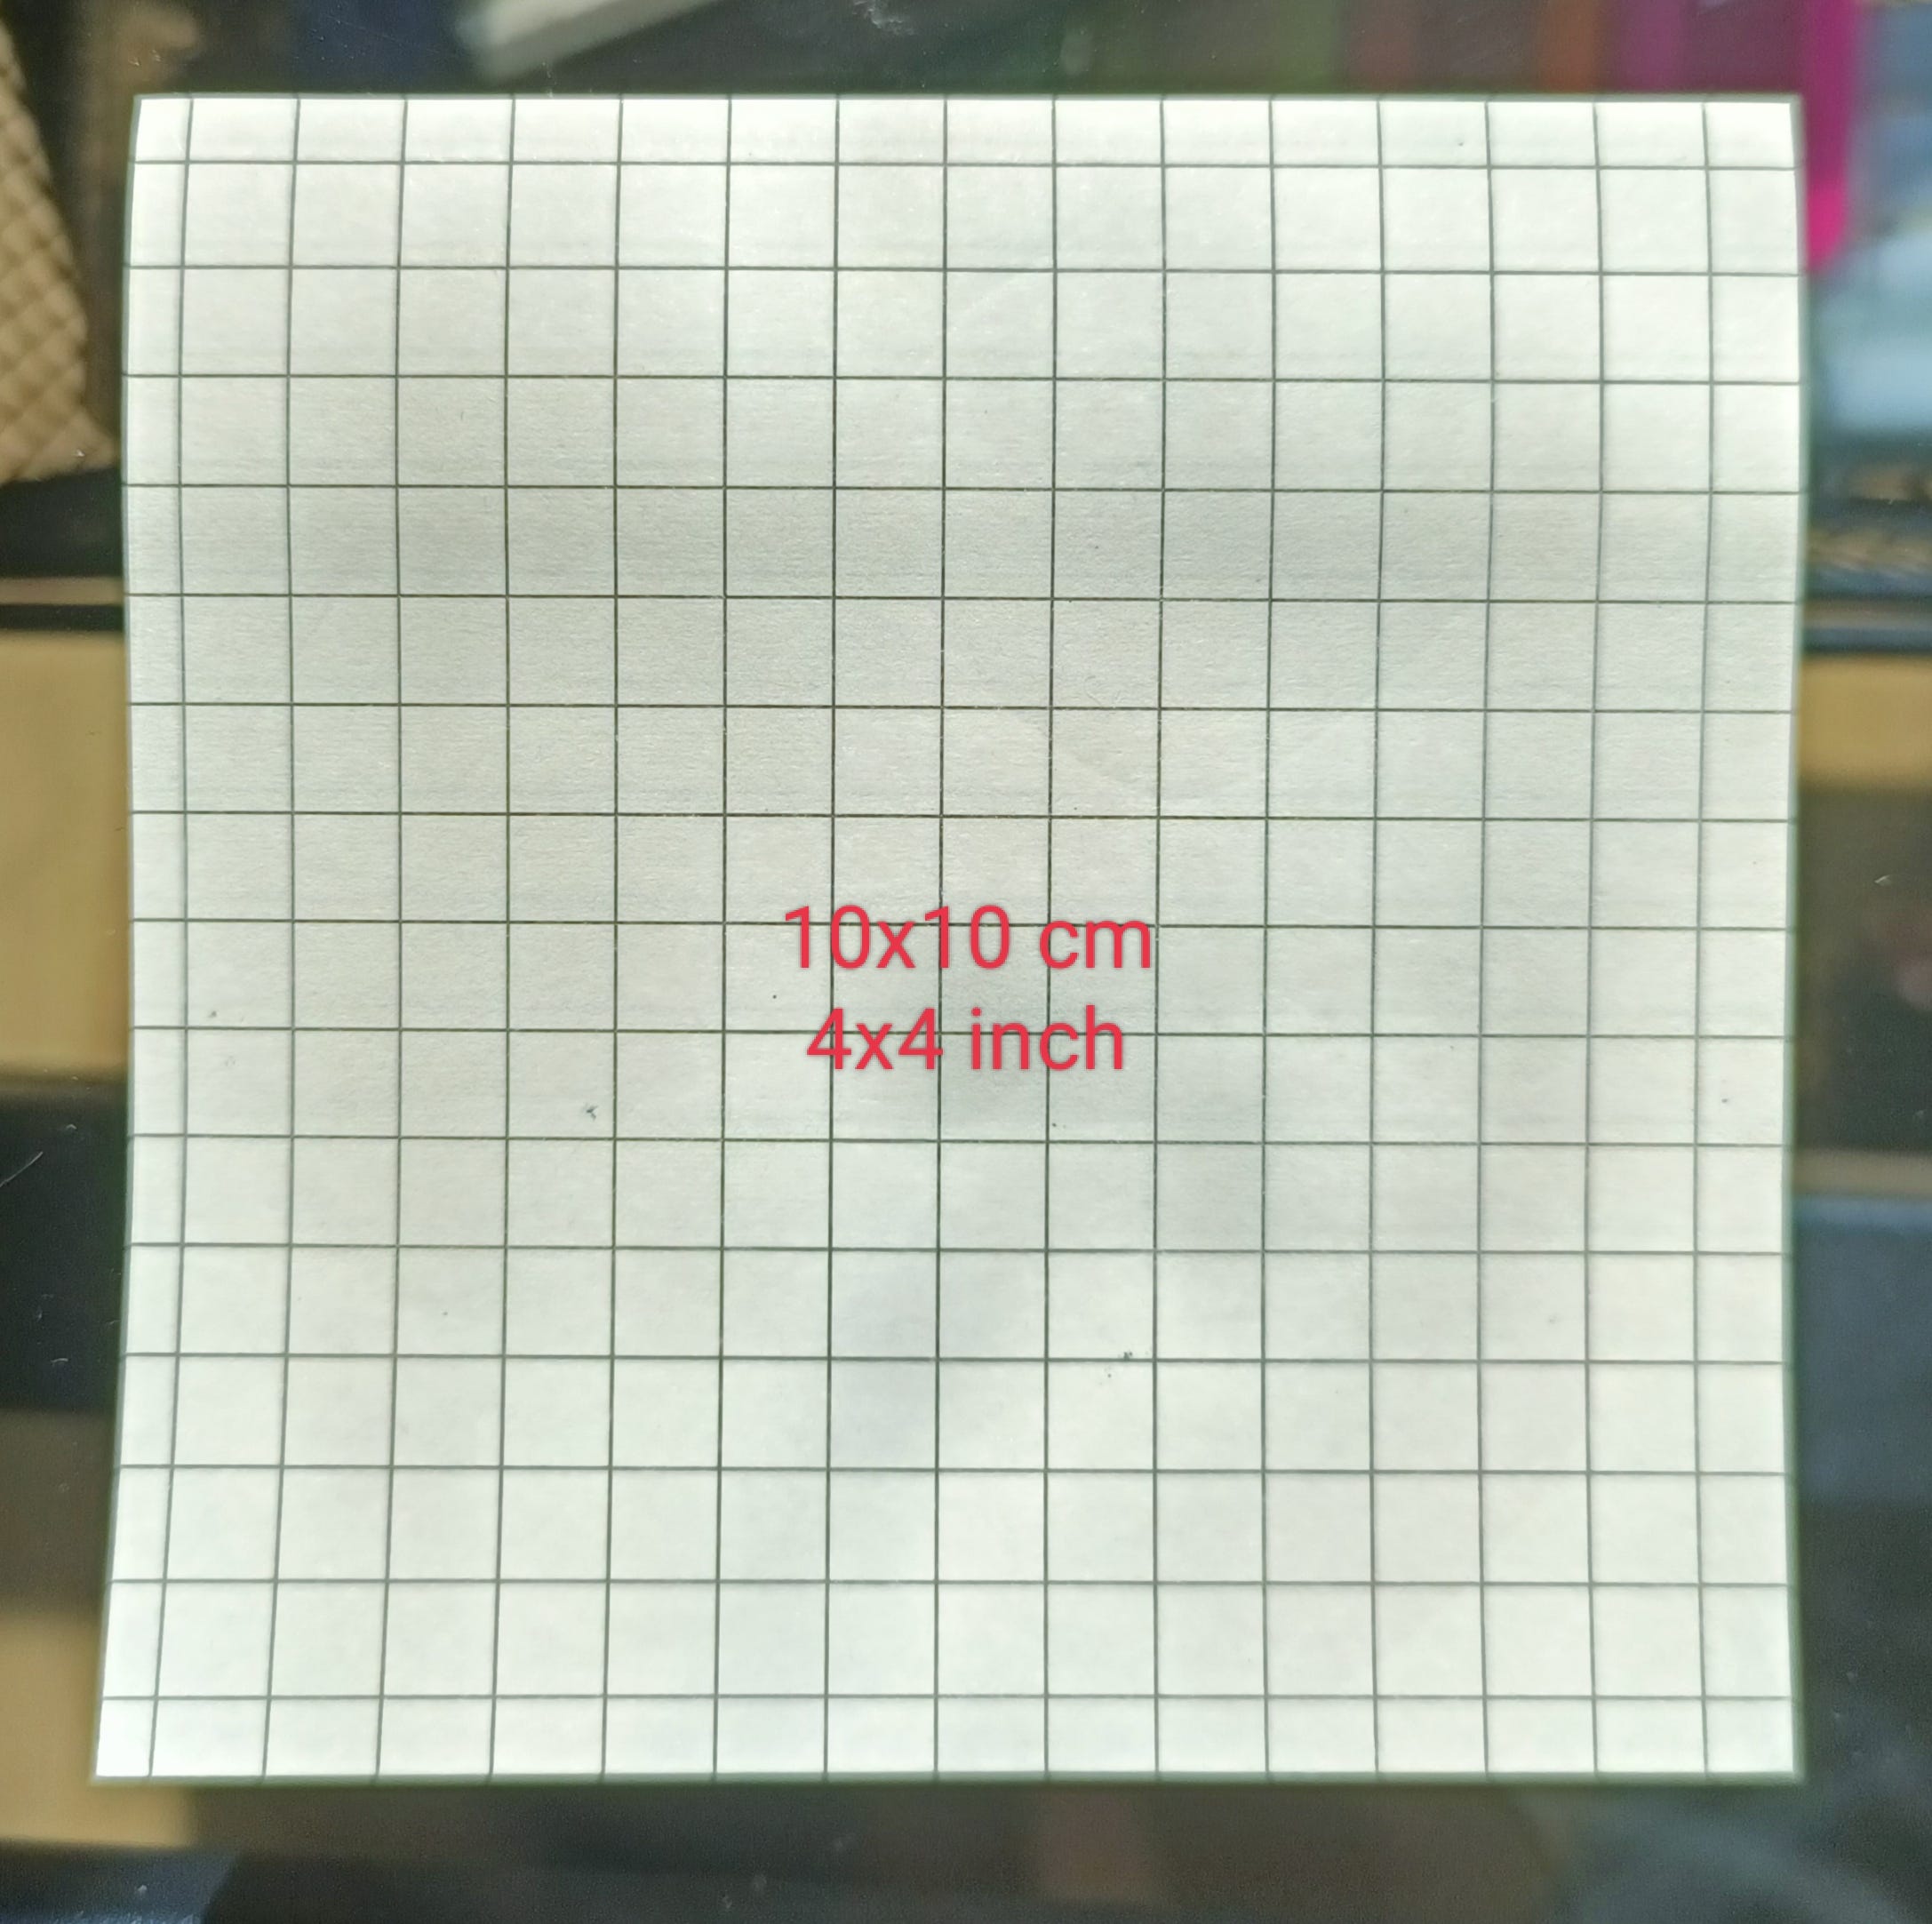
1) You will need 10cm x 10cm (4inch x 4inch) draft paper with squares.
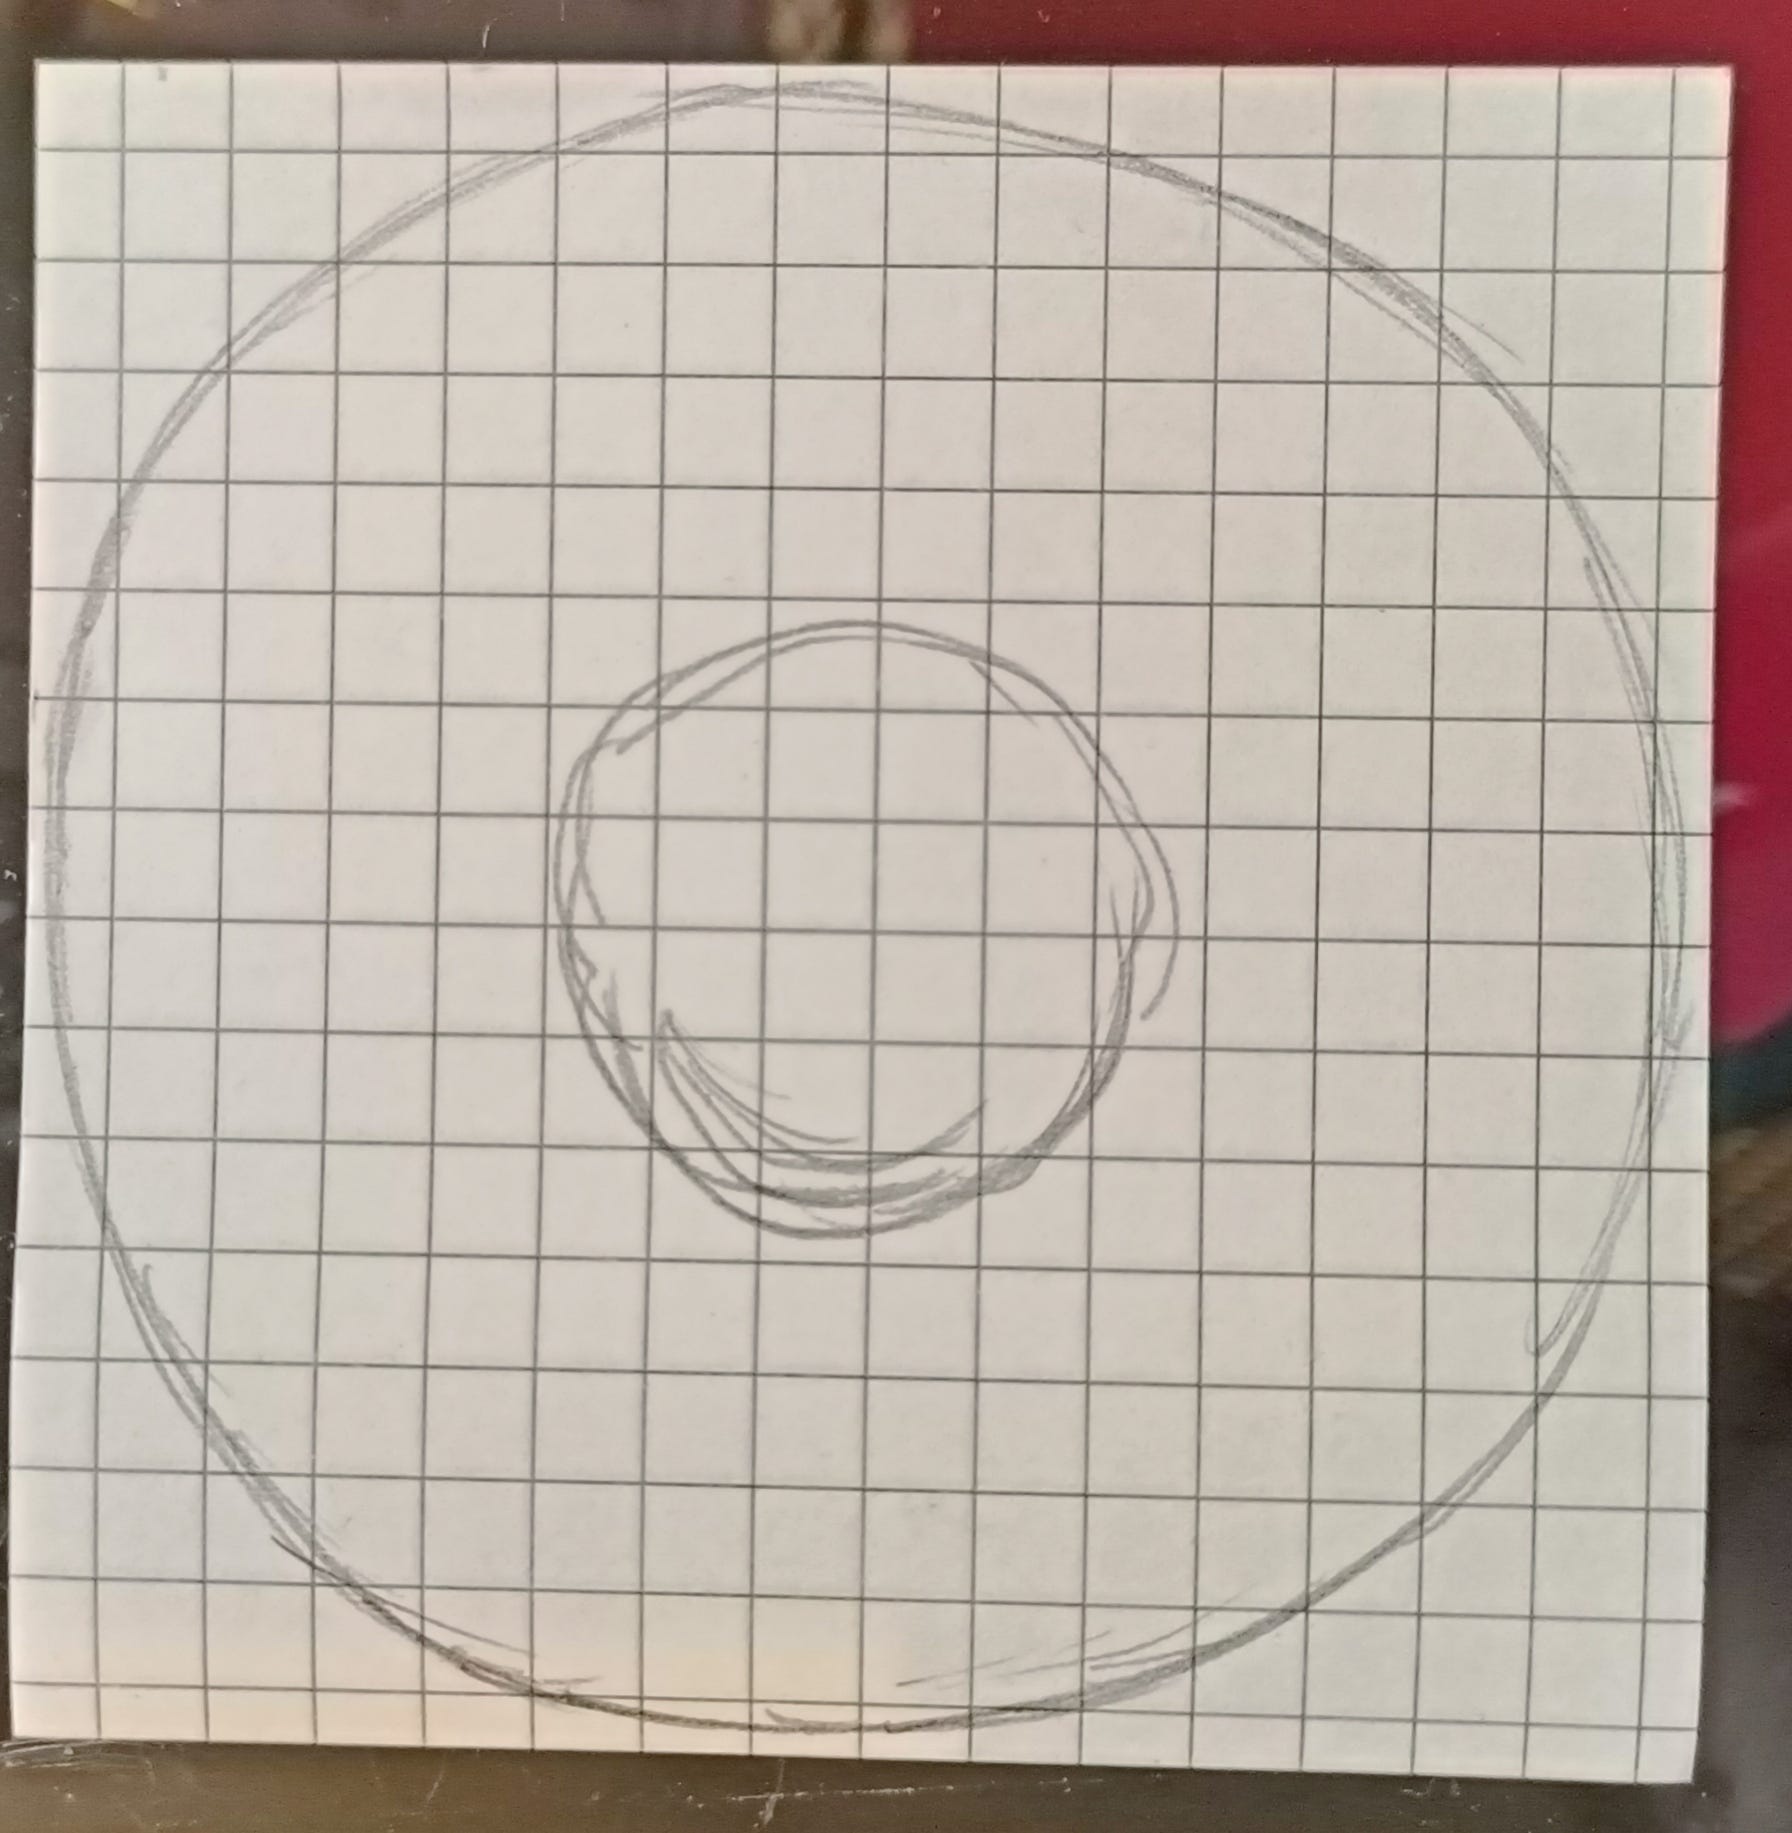
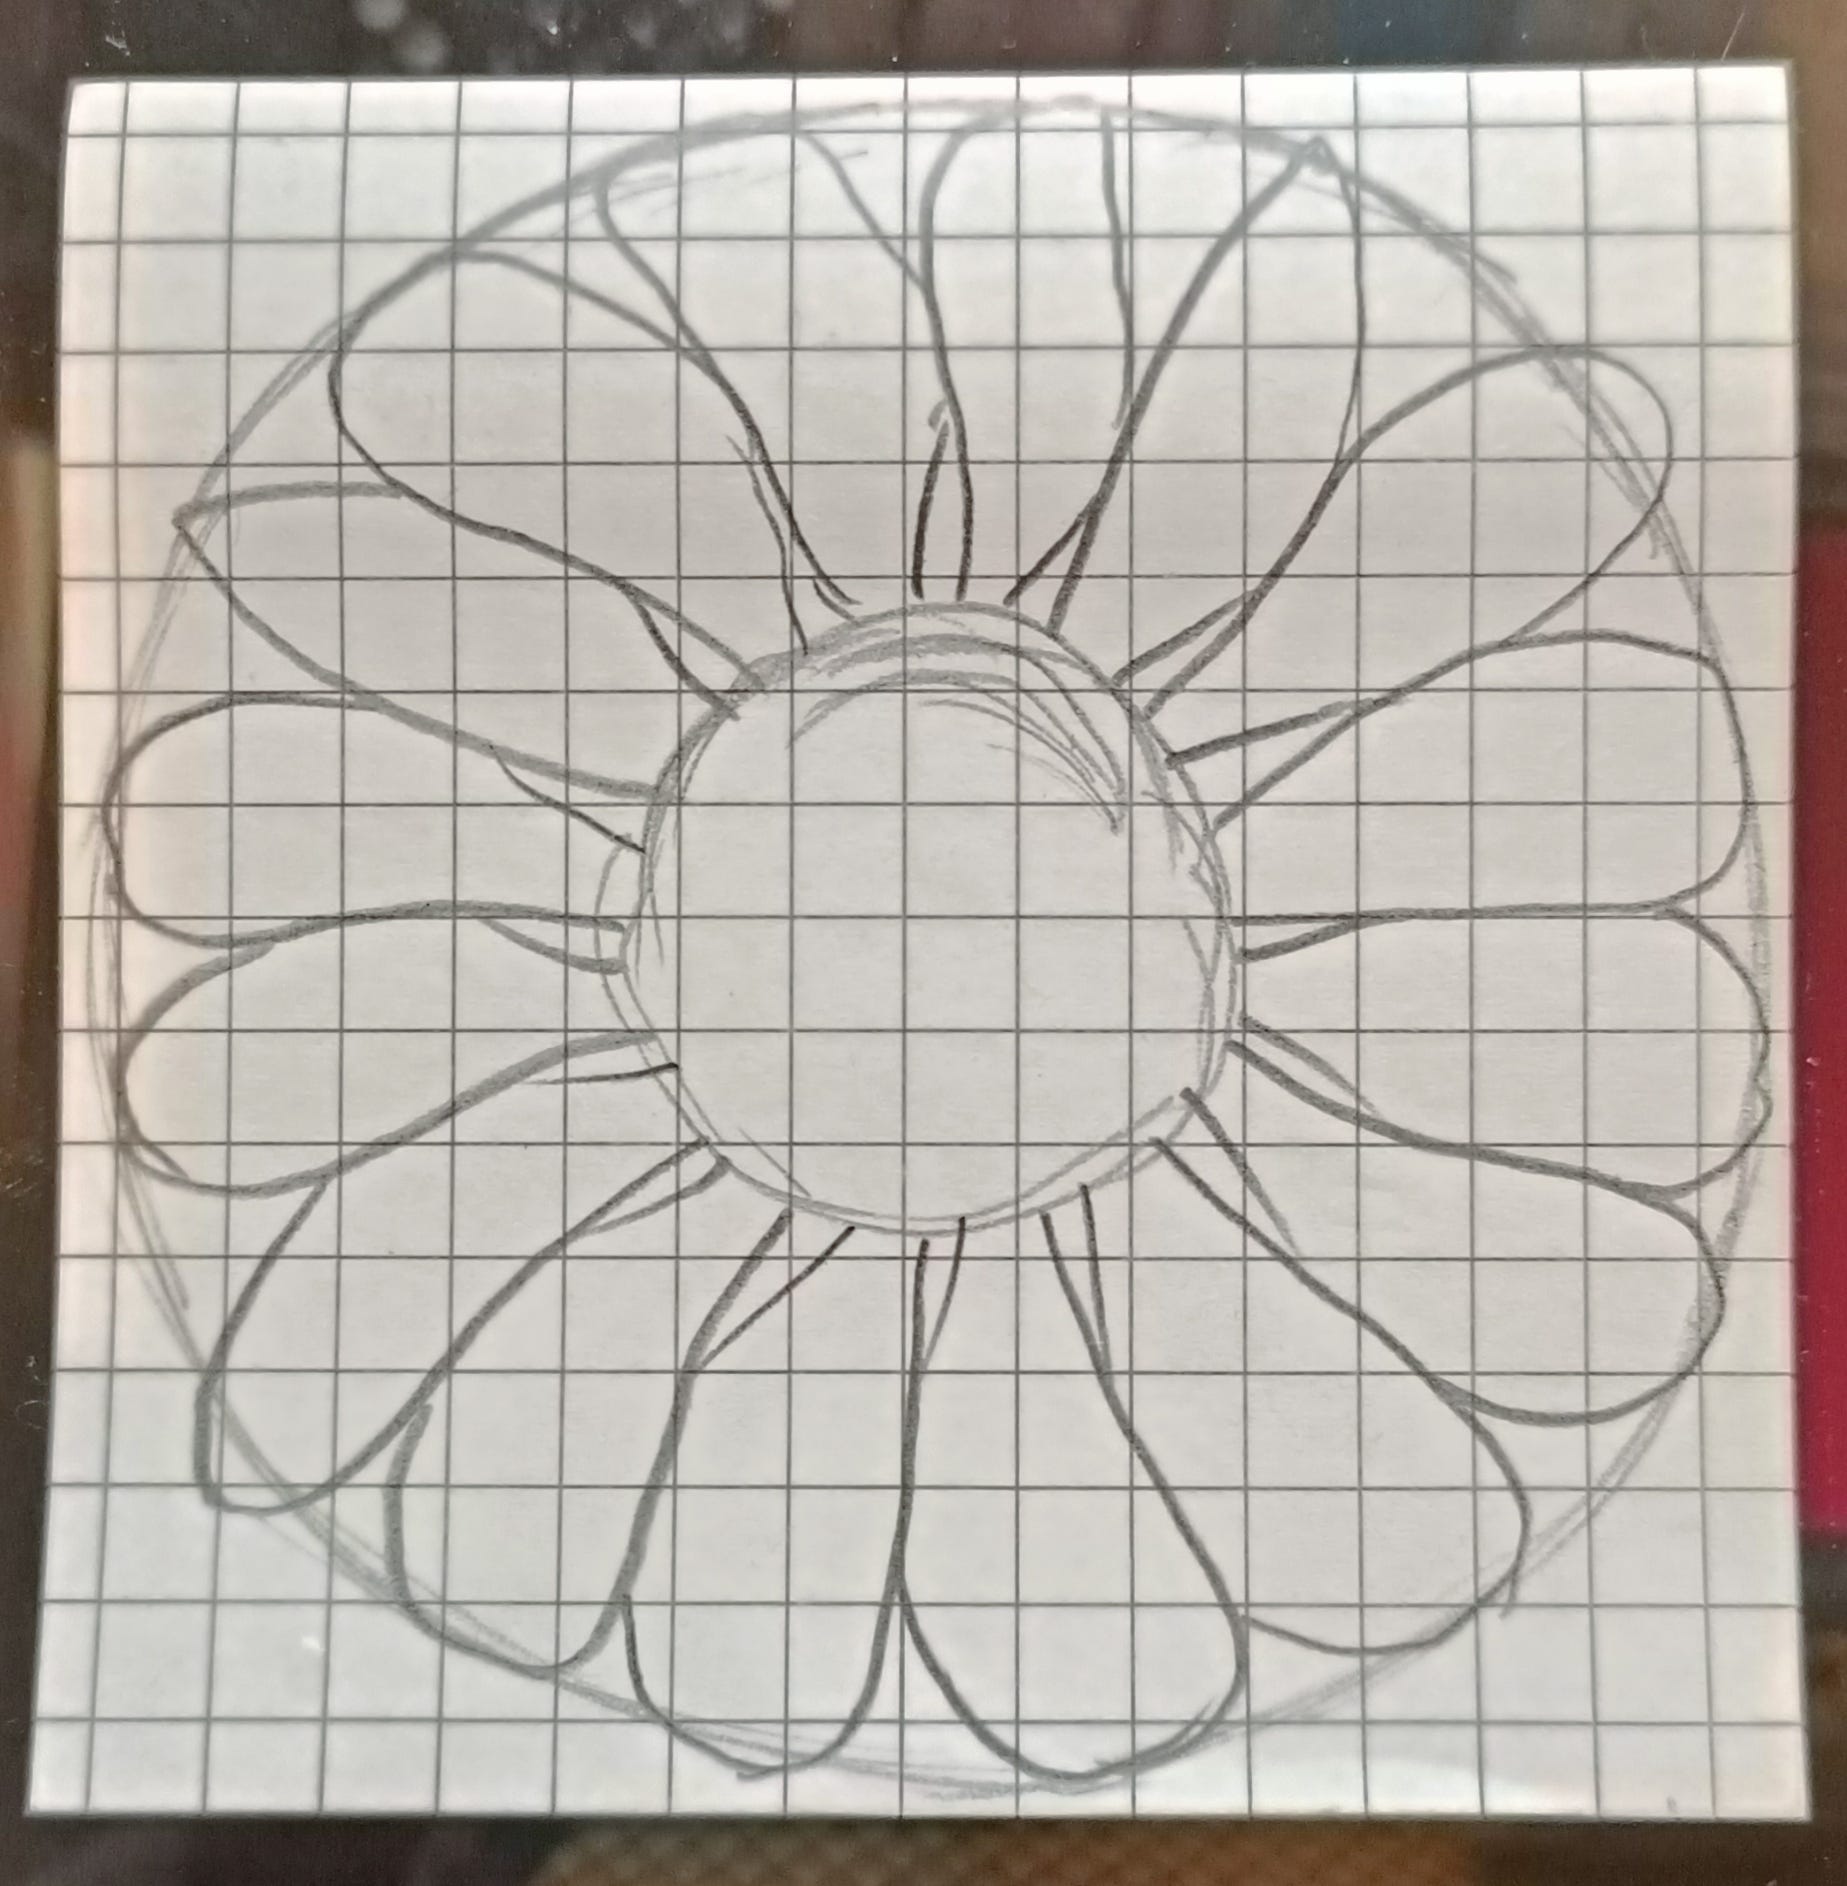
2) Draw a coin shape in the middle and around, it doesn’t have to be perfect.
3) Draw this kind of petals, try to make them slightly uneven, wavy at one side, slightly shorter than the others.
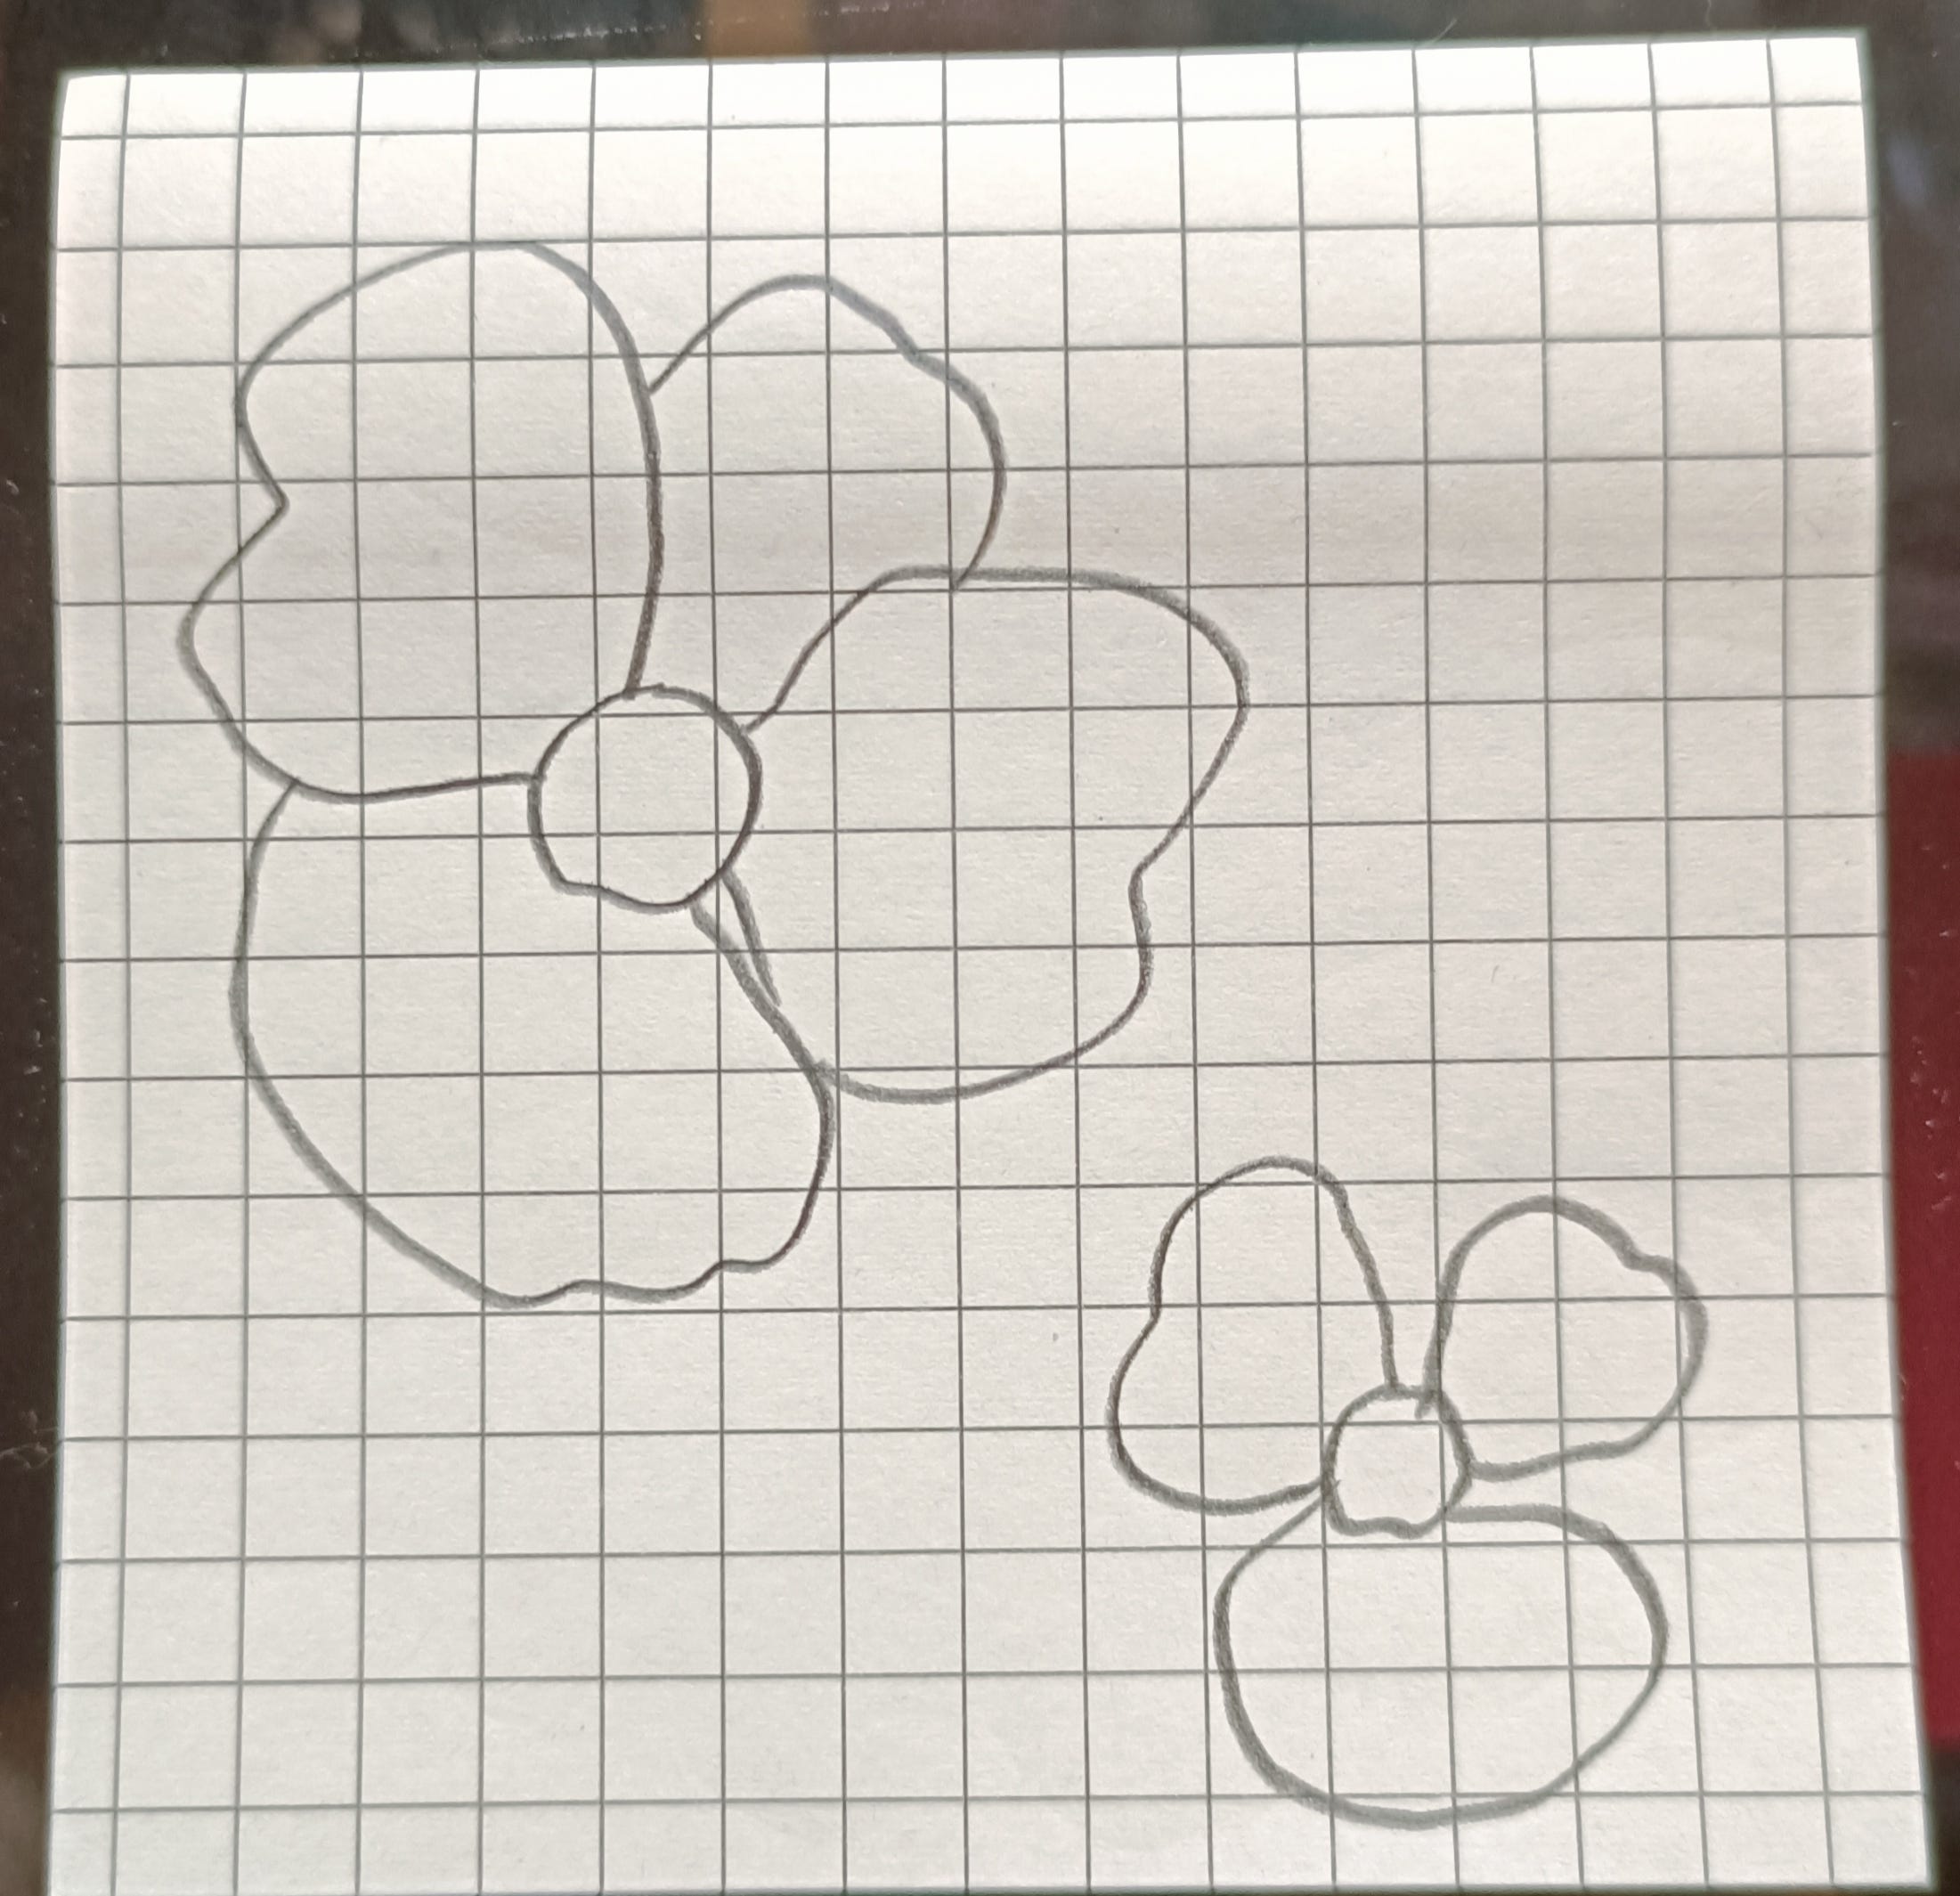
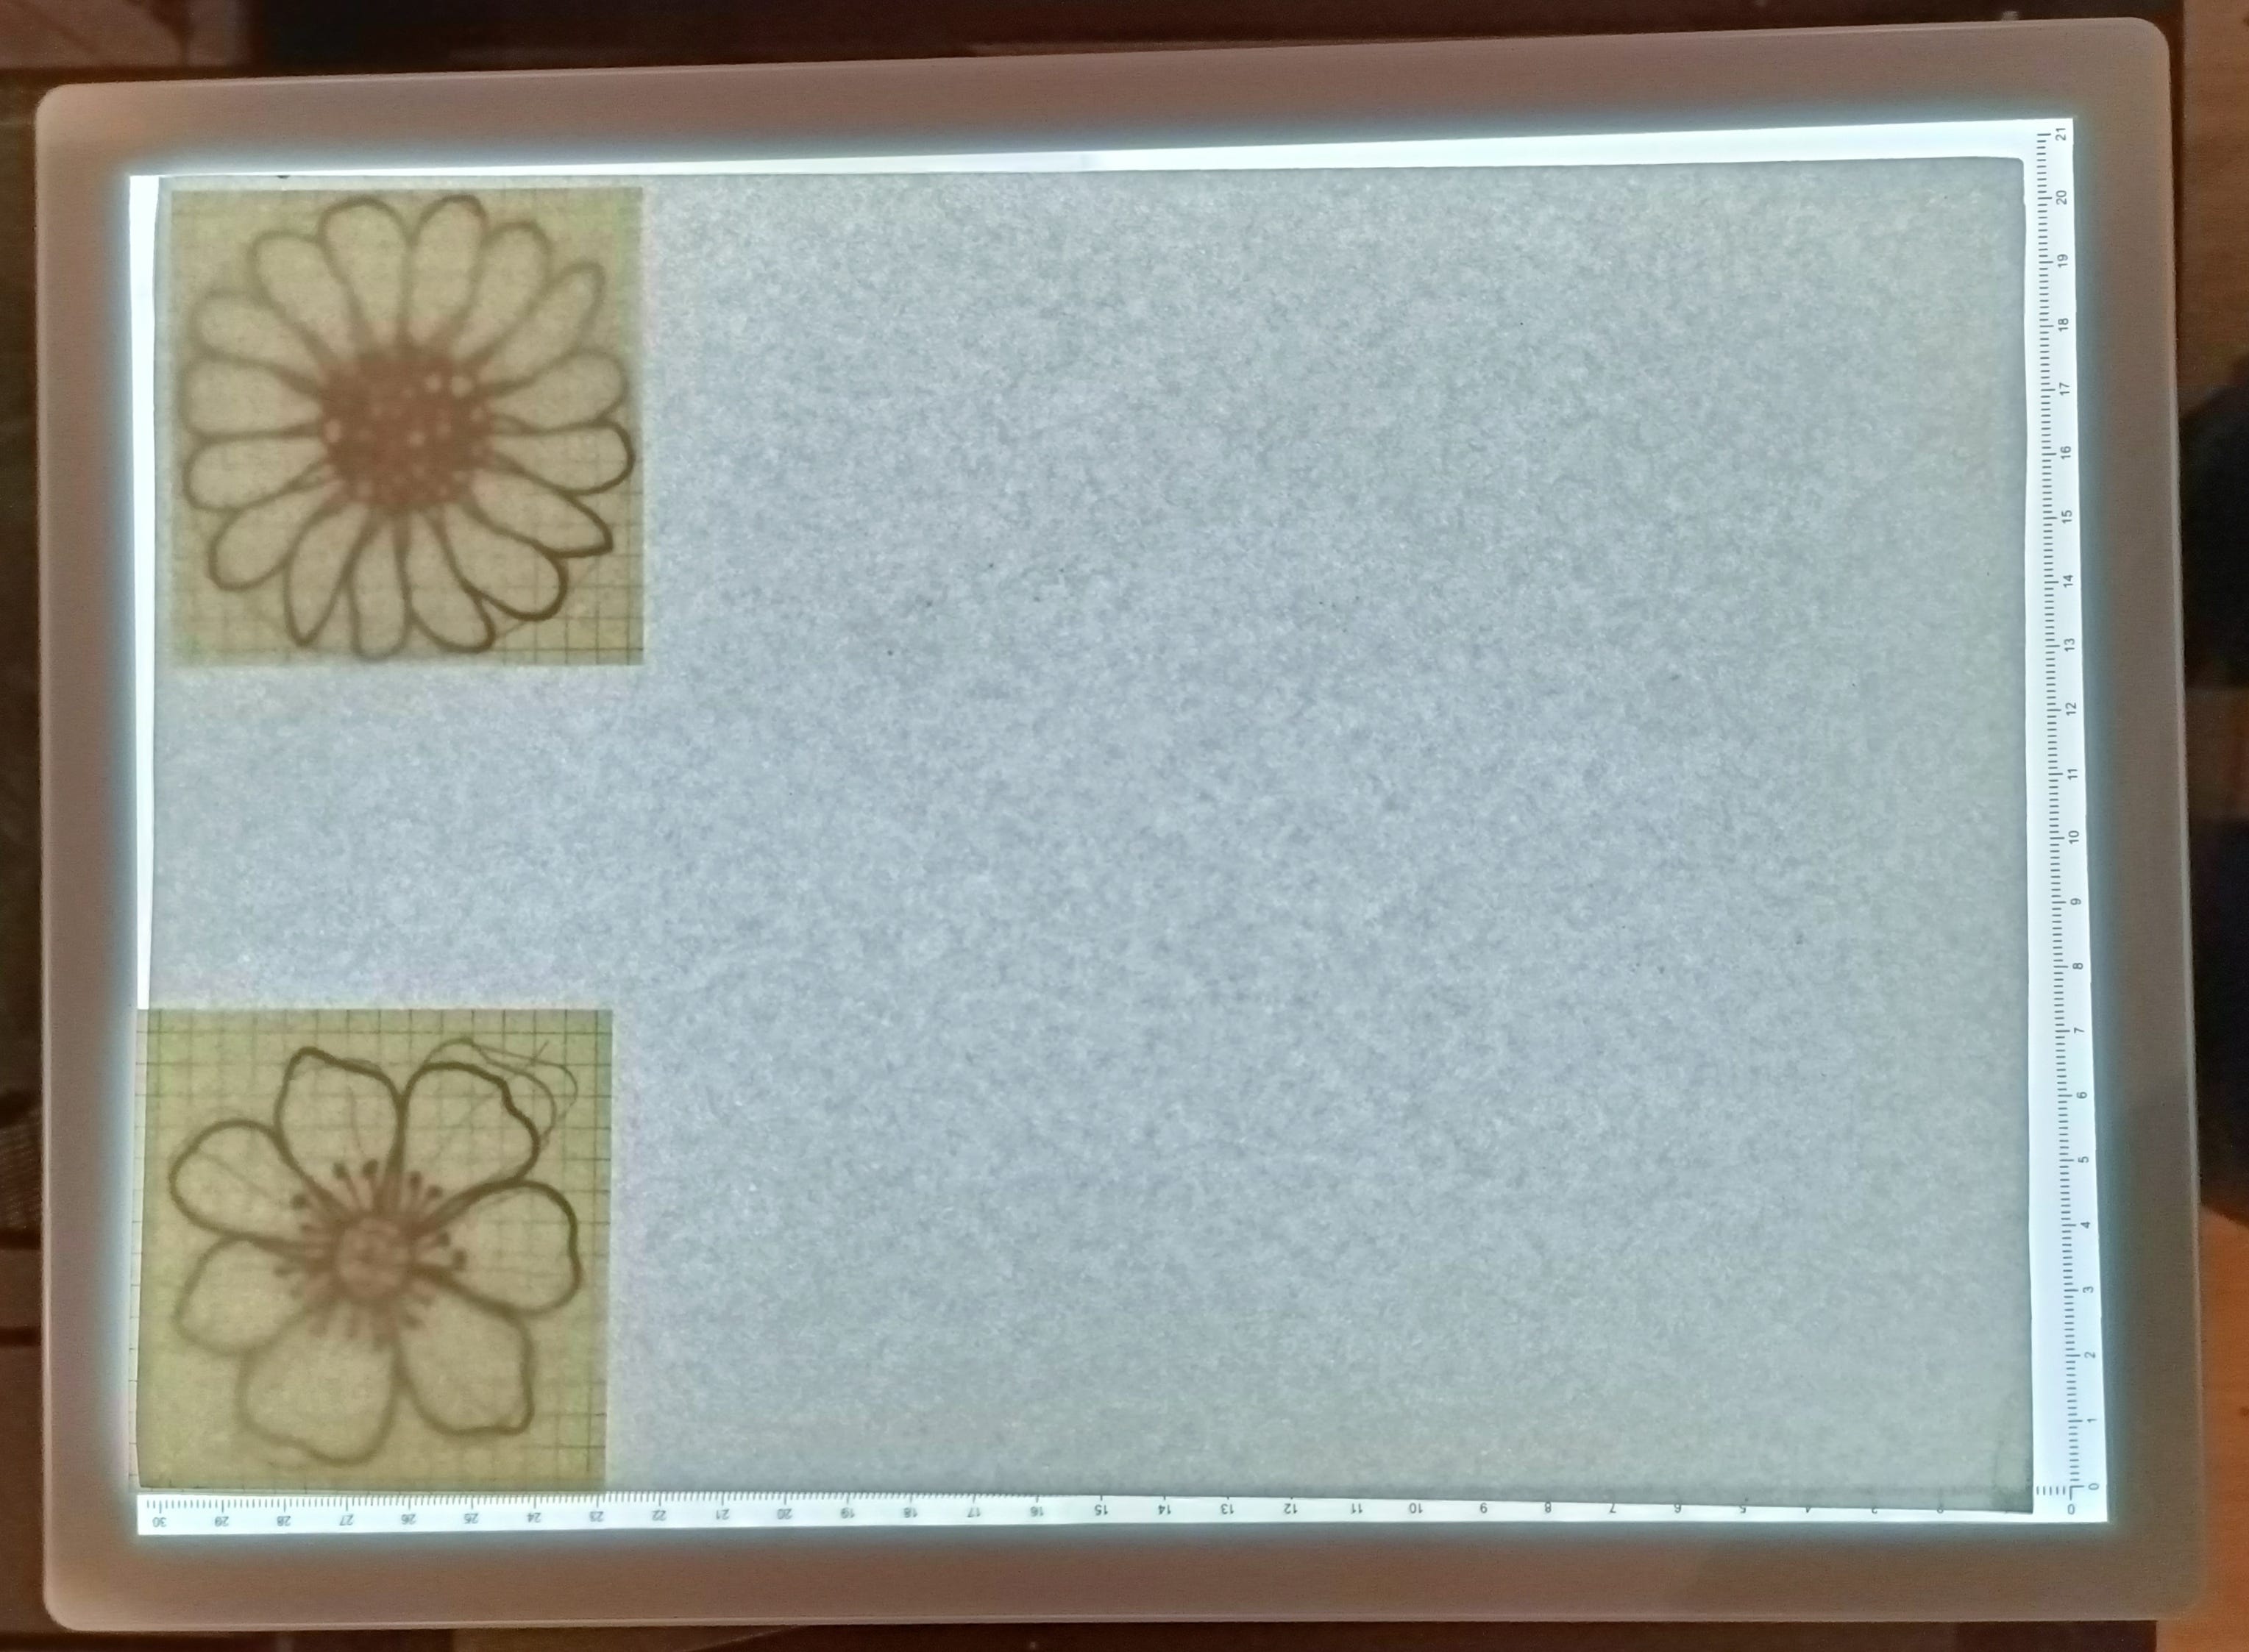
4) On a separate piece of paper draw this kind of small flowers, one slightly bigger.
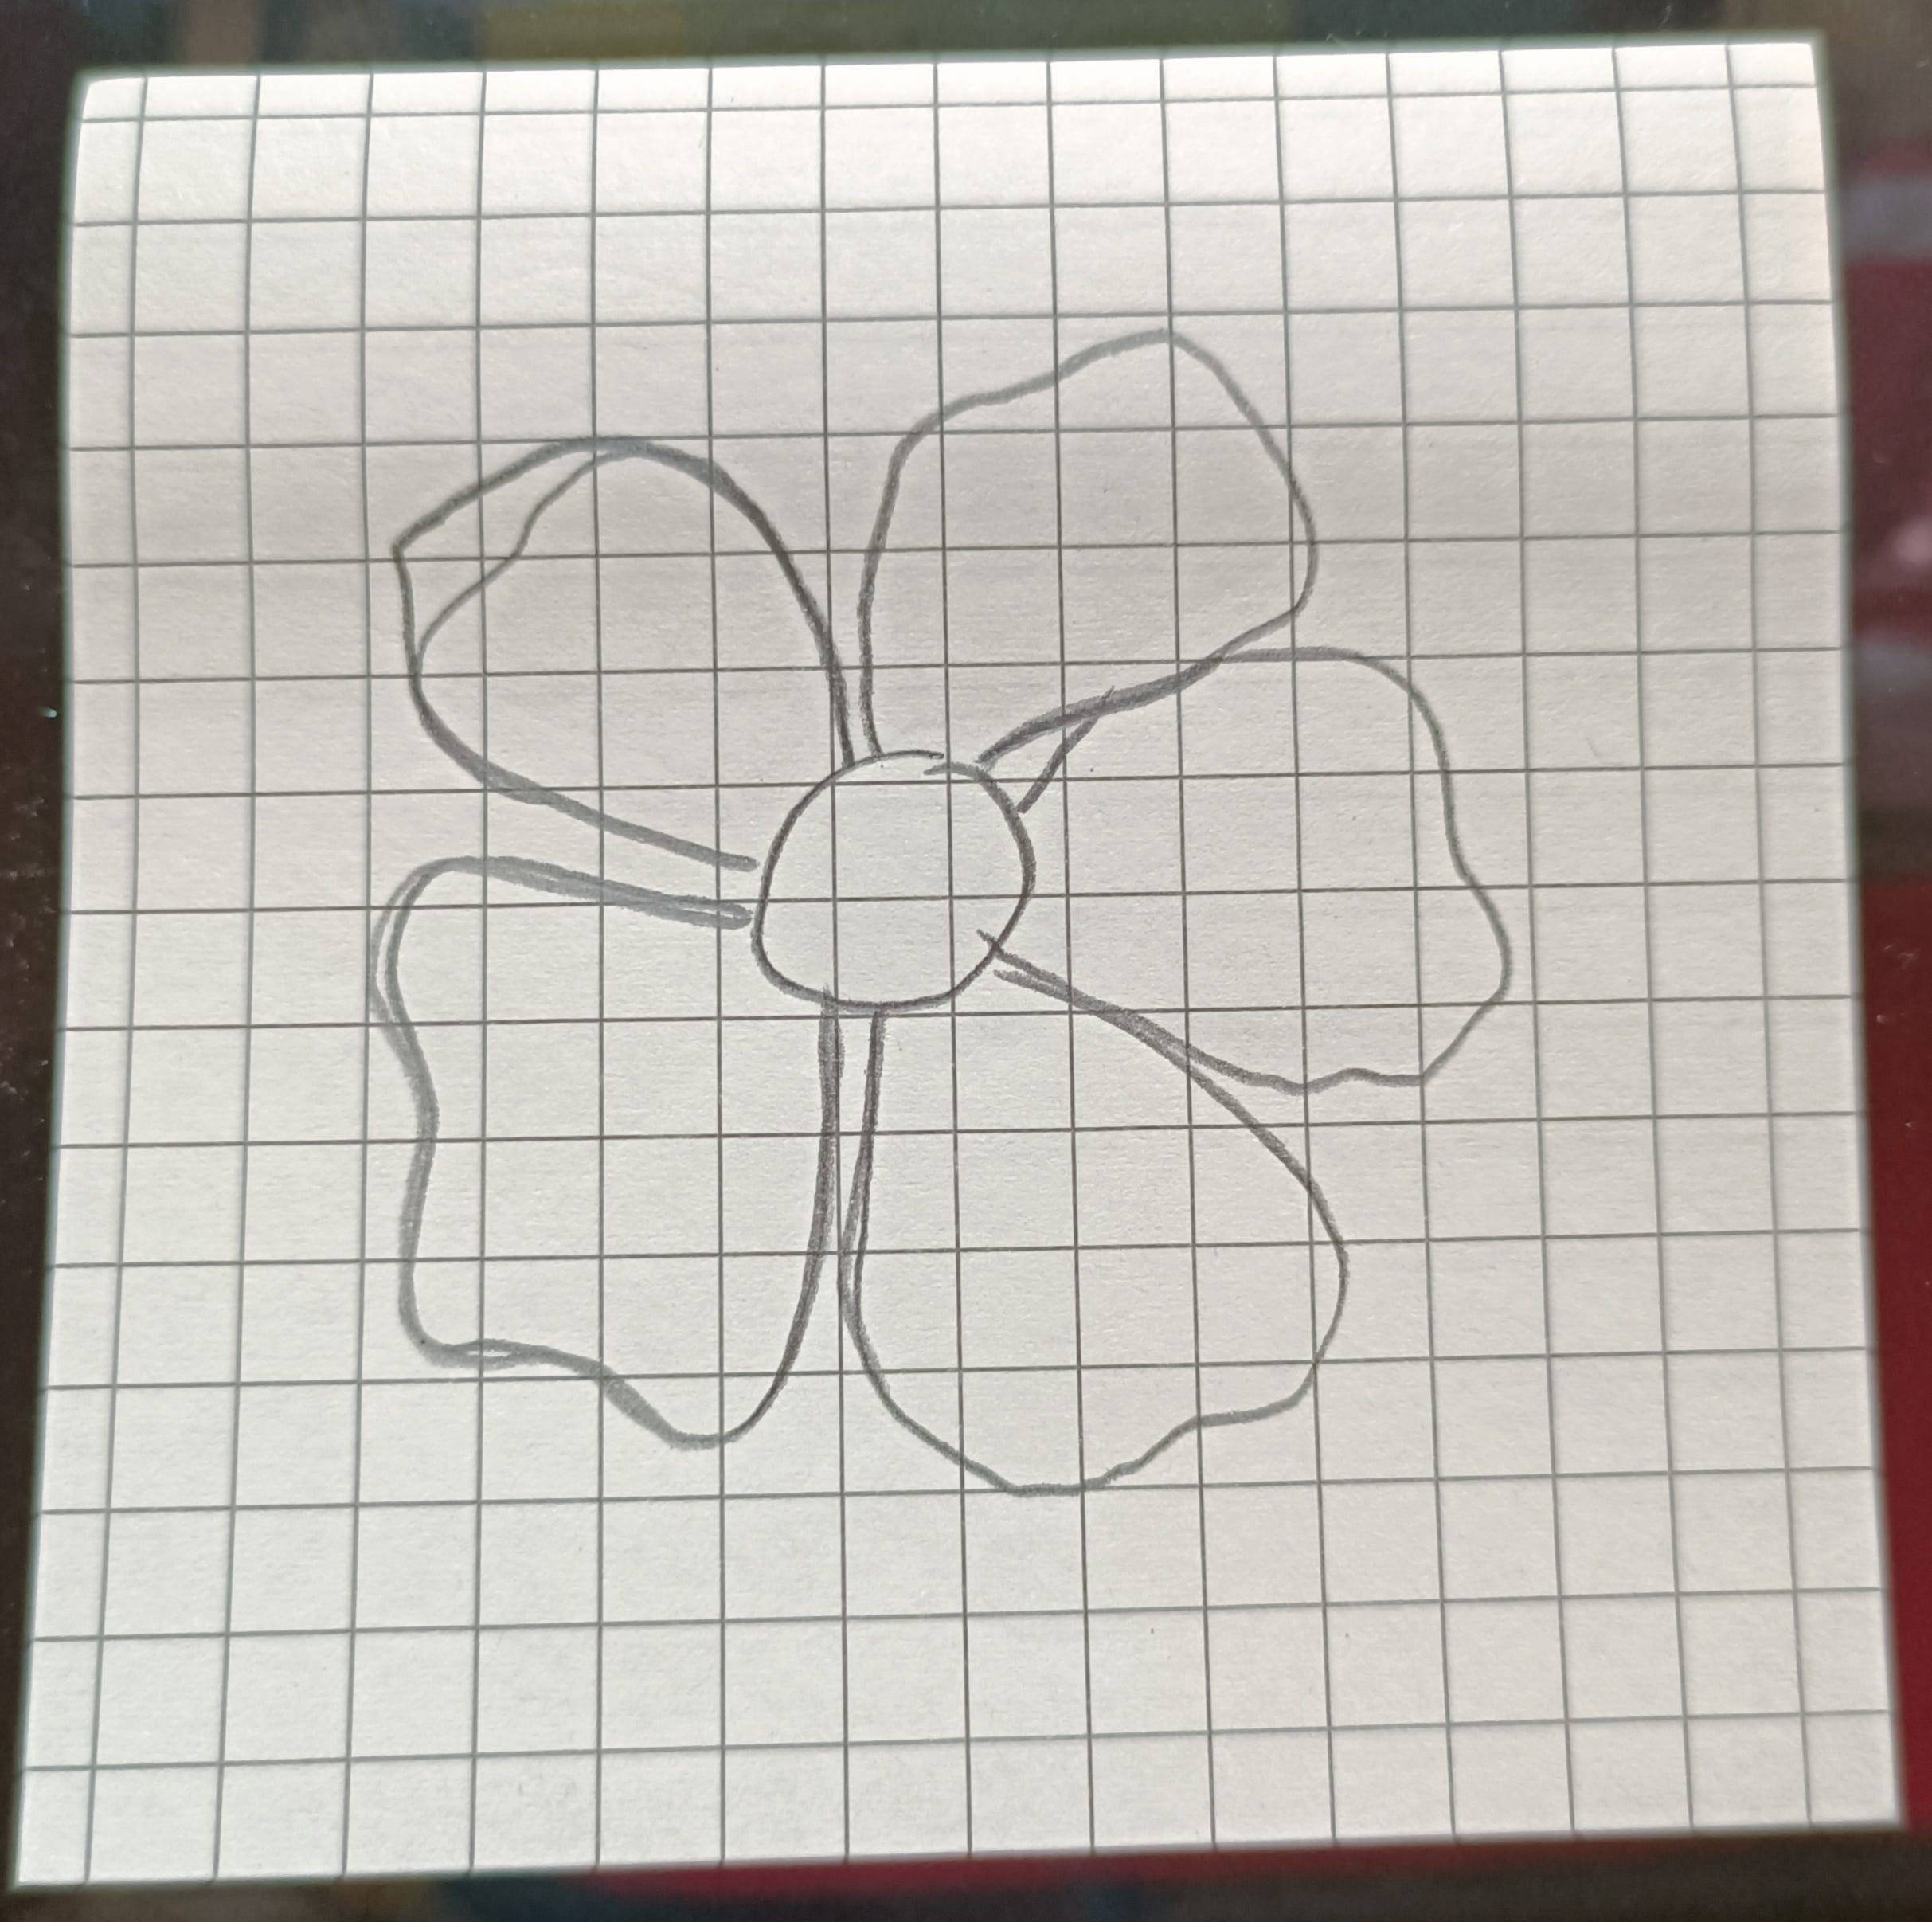
5) Next, draw this kind of wavy lines, they are going to be a guide for each petal. Just draw each petal on the each wavy line, once again, try to modify the size of each petal, draw them unevenly.


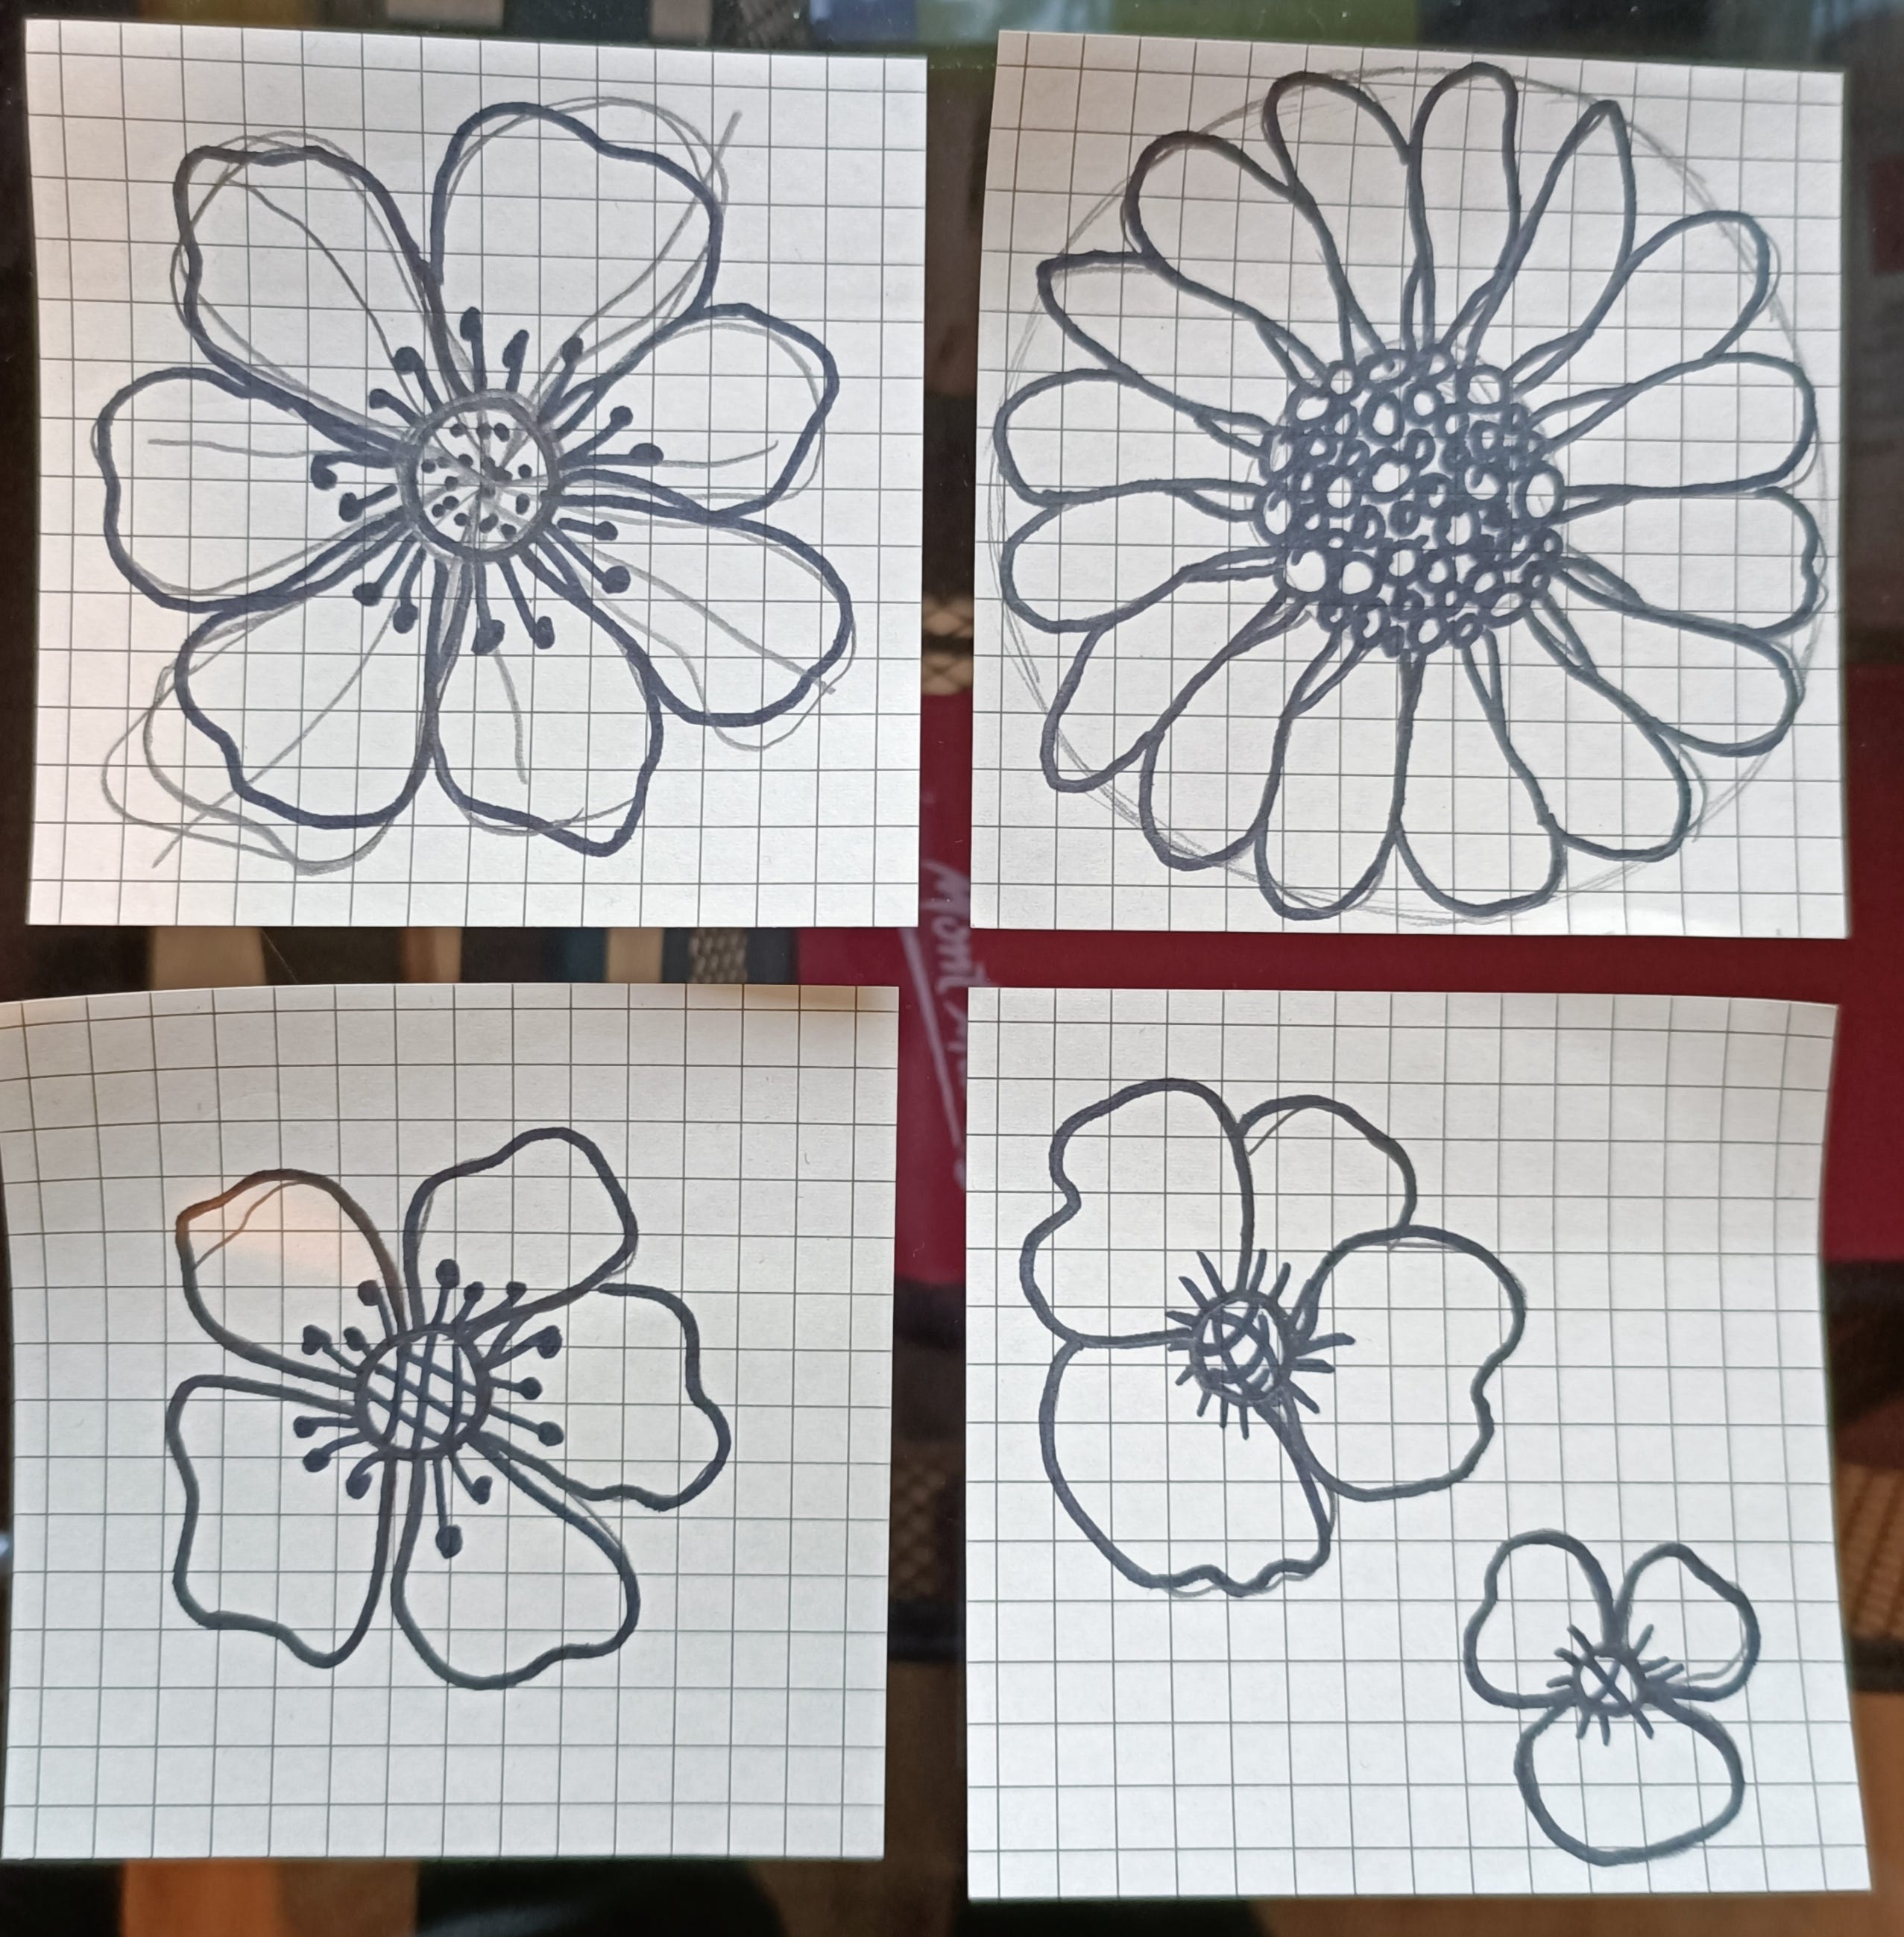
6) And 4rd flower is something between a larger flower and a smaller flower, making it medium size.
7) That's it, we have 4 different types of flowers. It is advisable not to use many different types of flowers on A4 size paper as it may look messy, just keep it to 4-5 different styles of flowers for 1 drawing.
8) Next, I will use “Light Box'' or you can use the window in your room in the daylight. Position each flower on the A4 size draft paper.
9) Keep placing and tracing flowers onto draft paper.
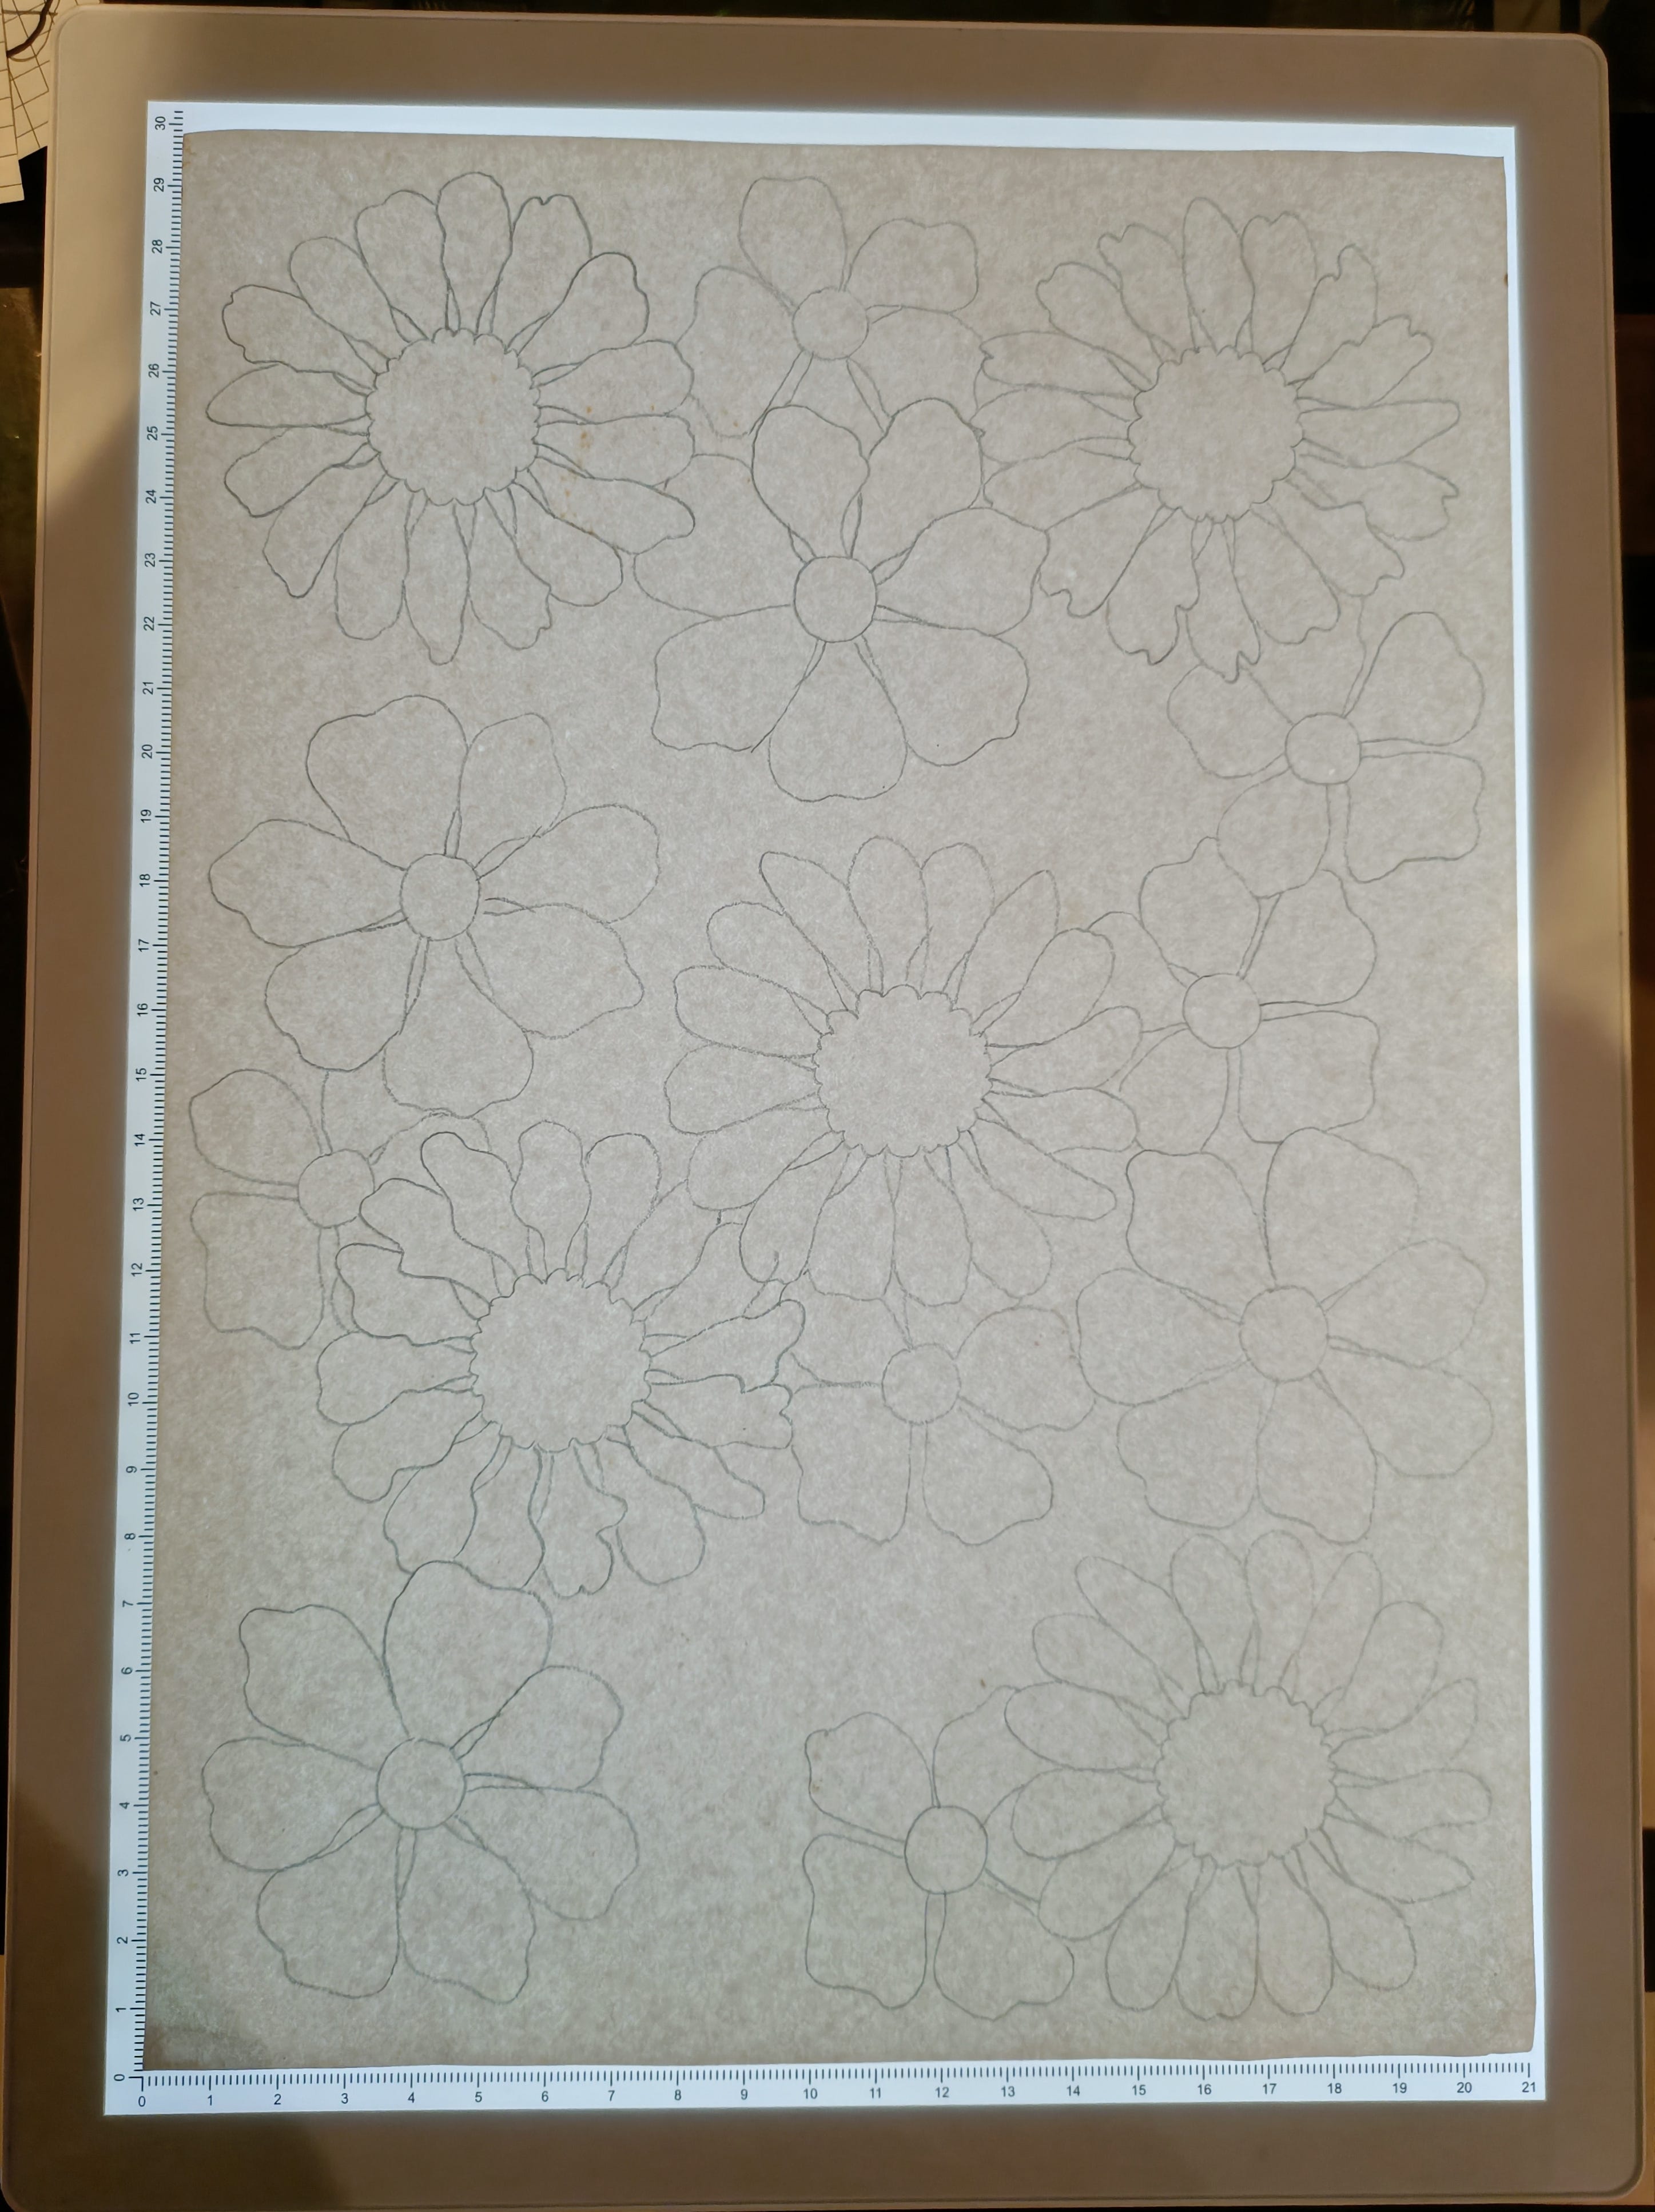
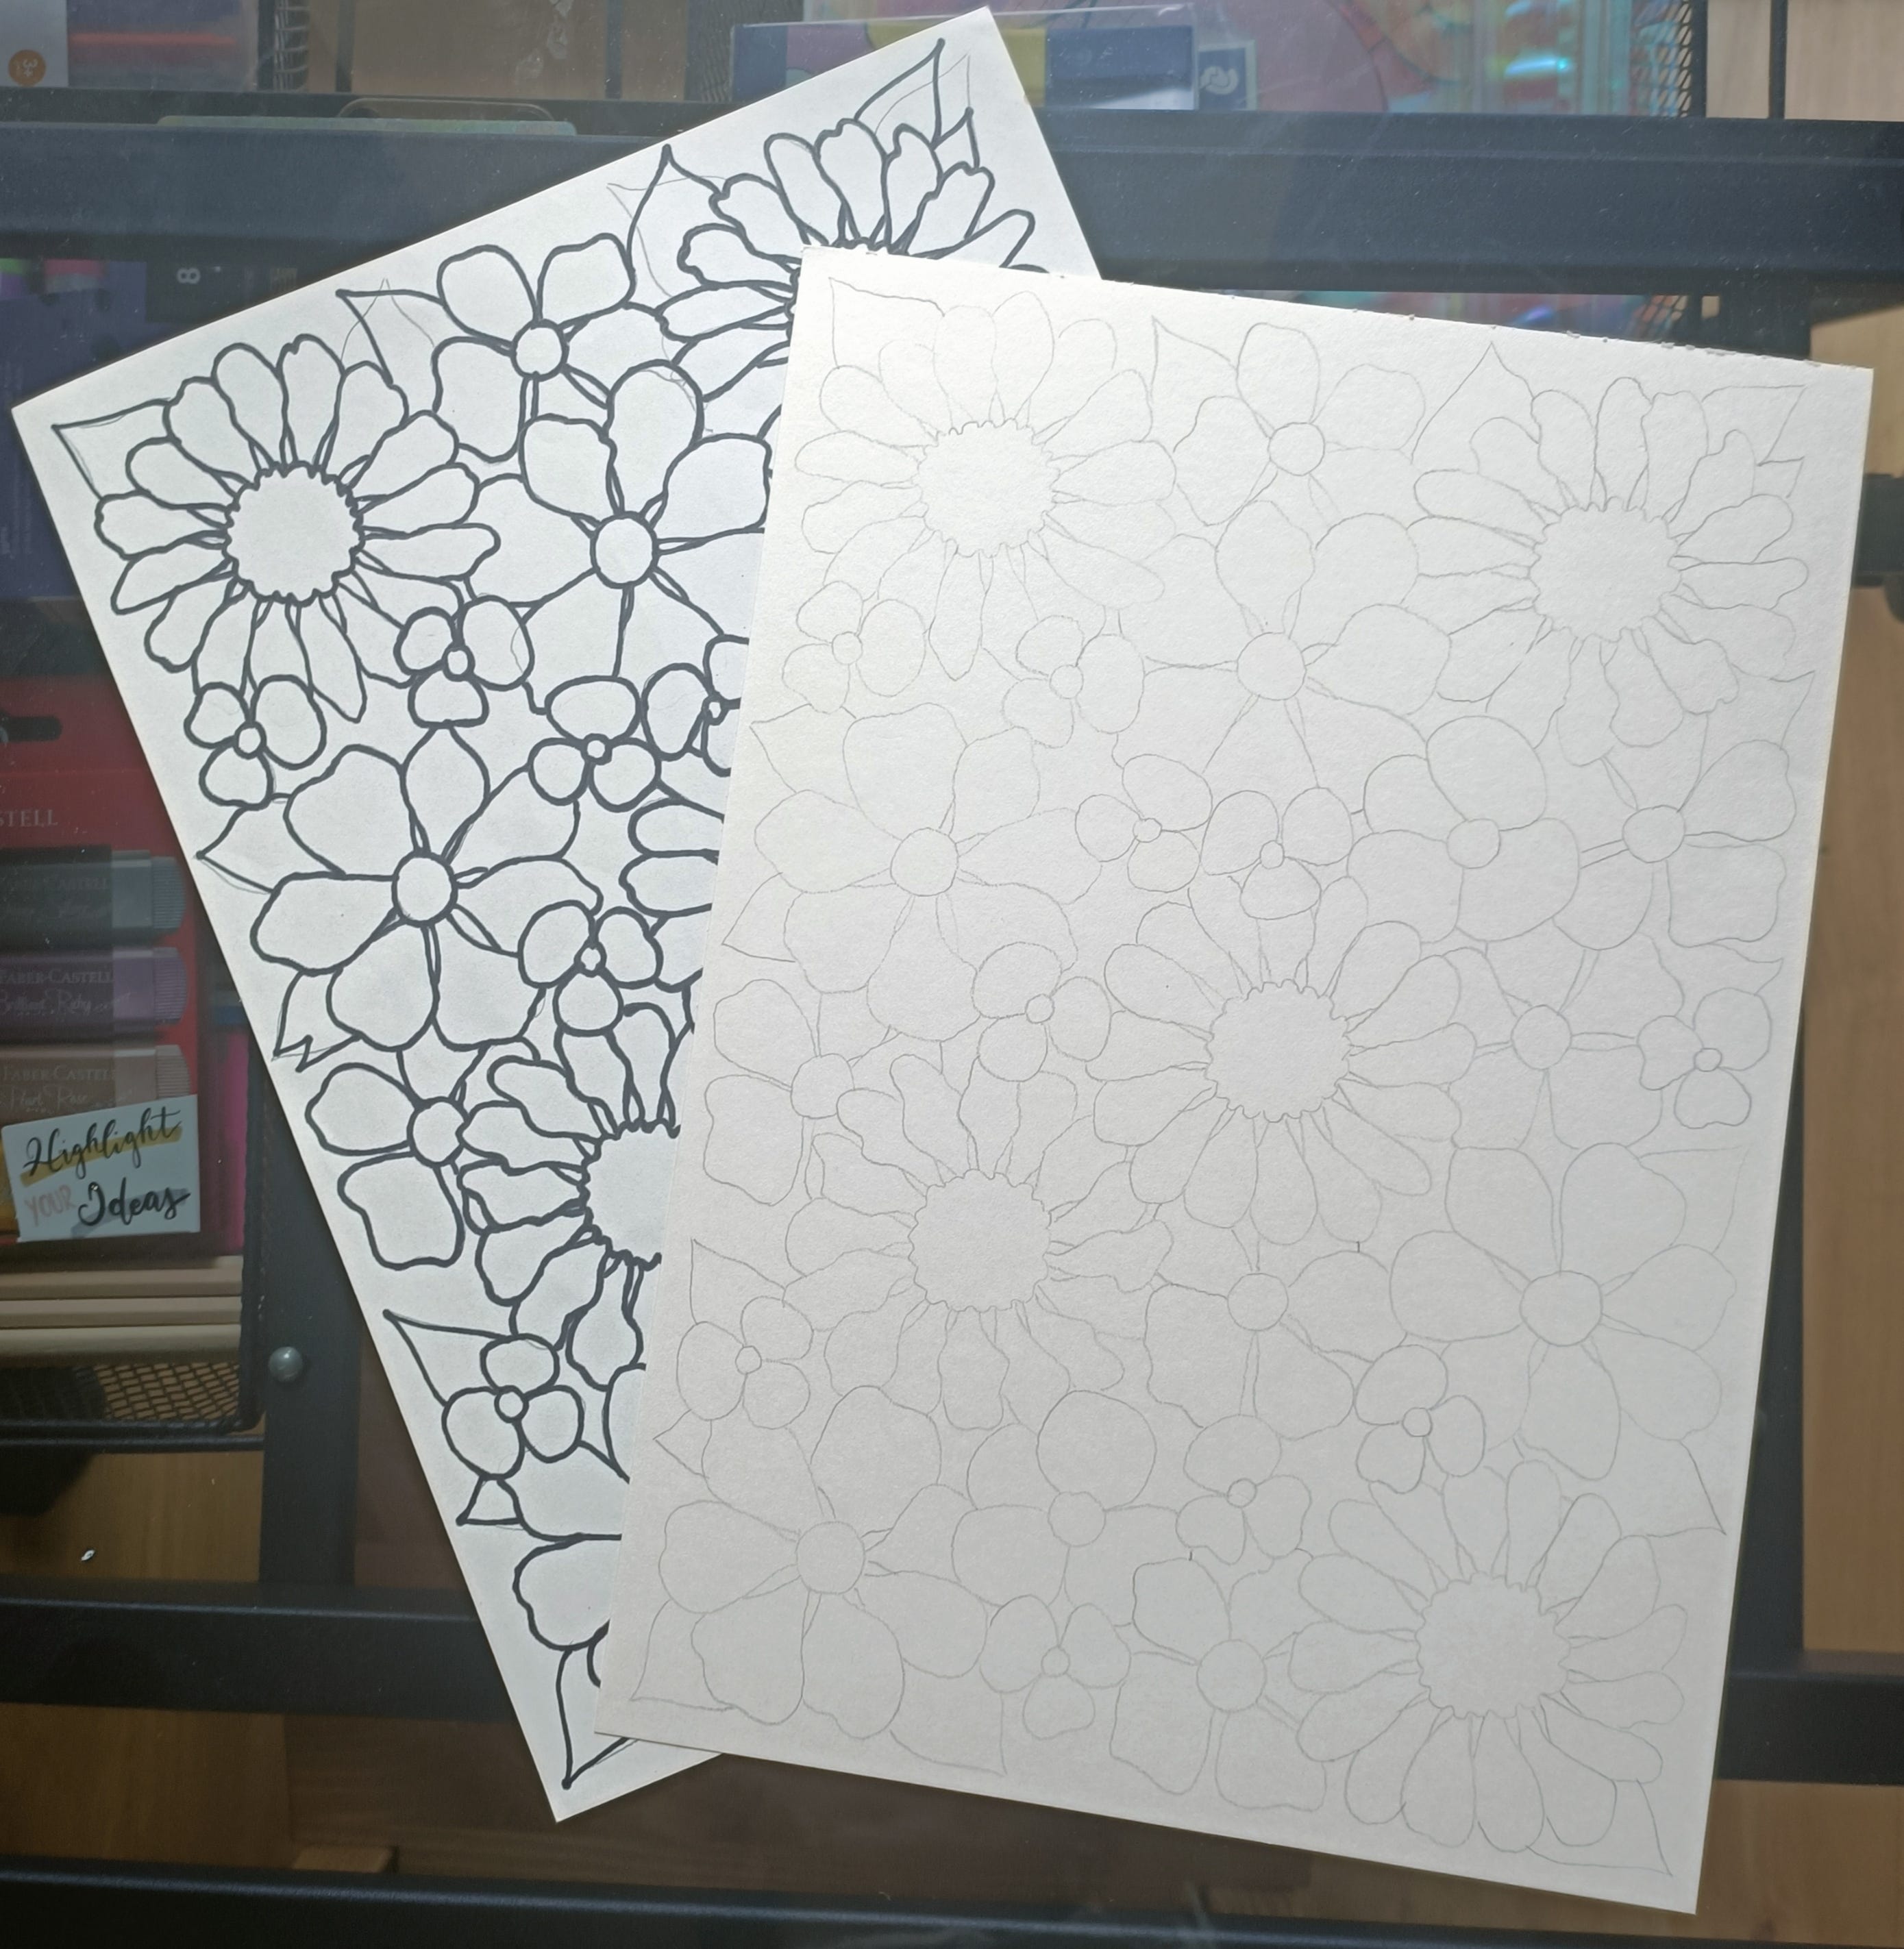
10) Here, I placed all 4 styles of flower and I added some leaves as well.

11) Let’s outline everything with the permanent black Sharpie, so we can use this draft for future projects.

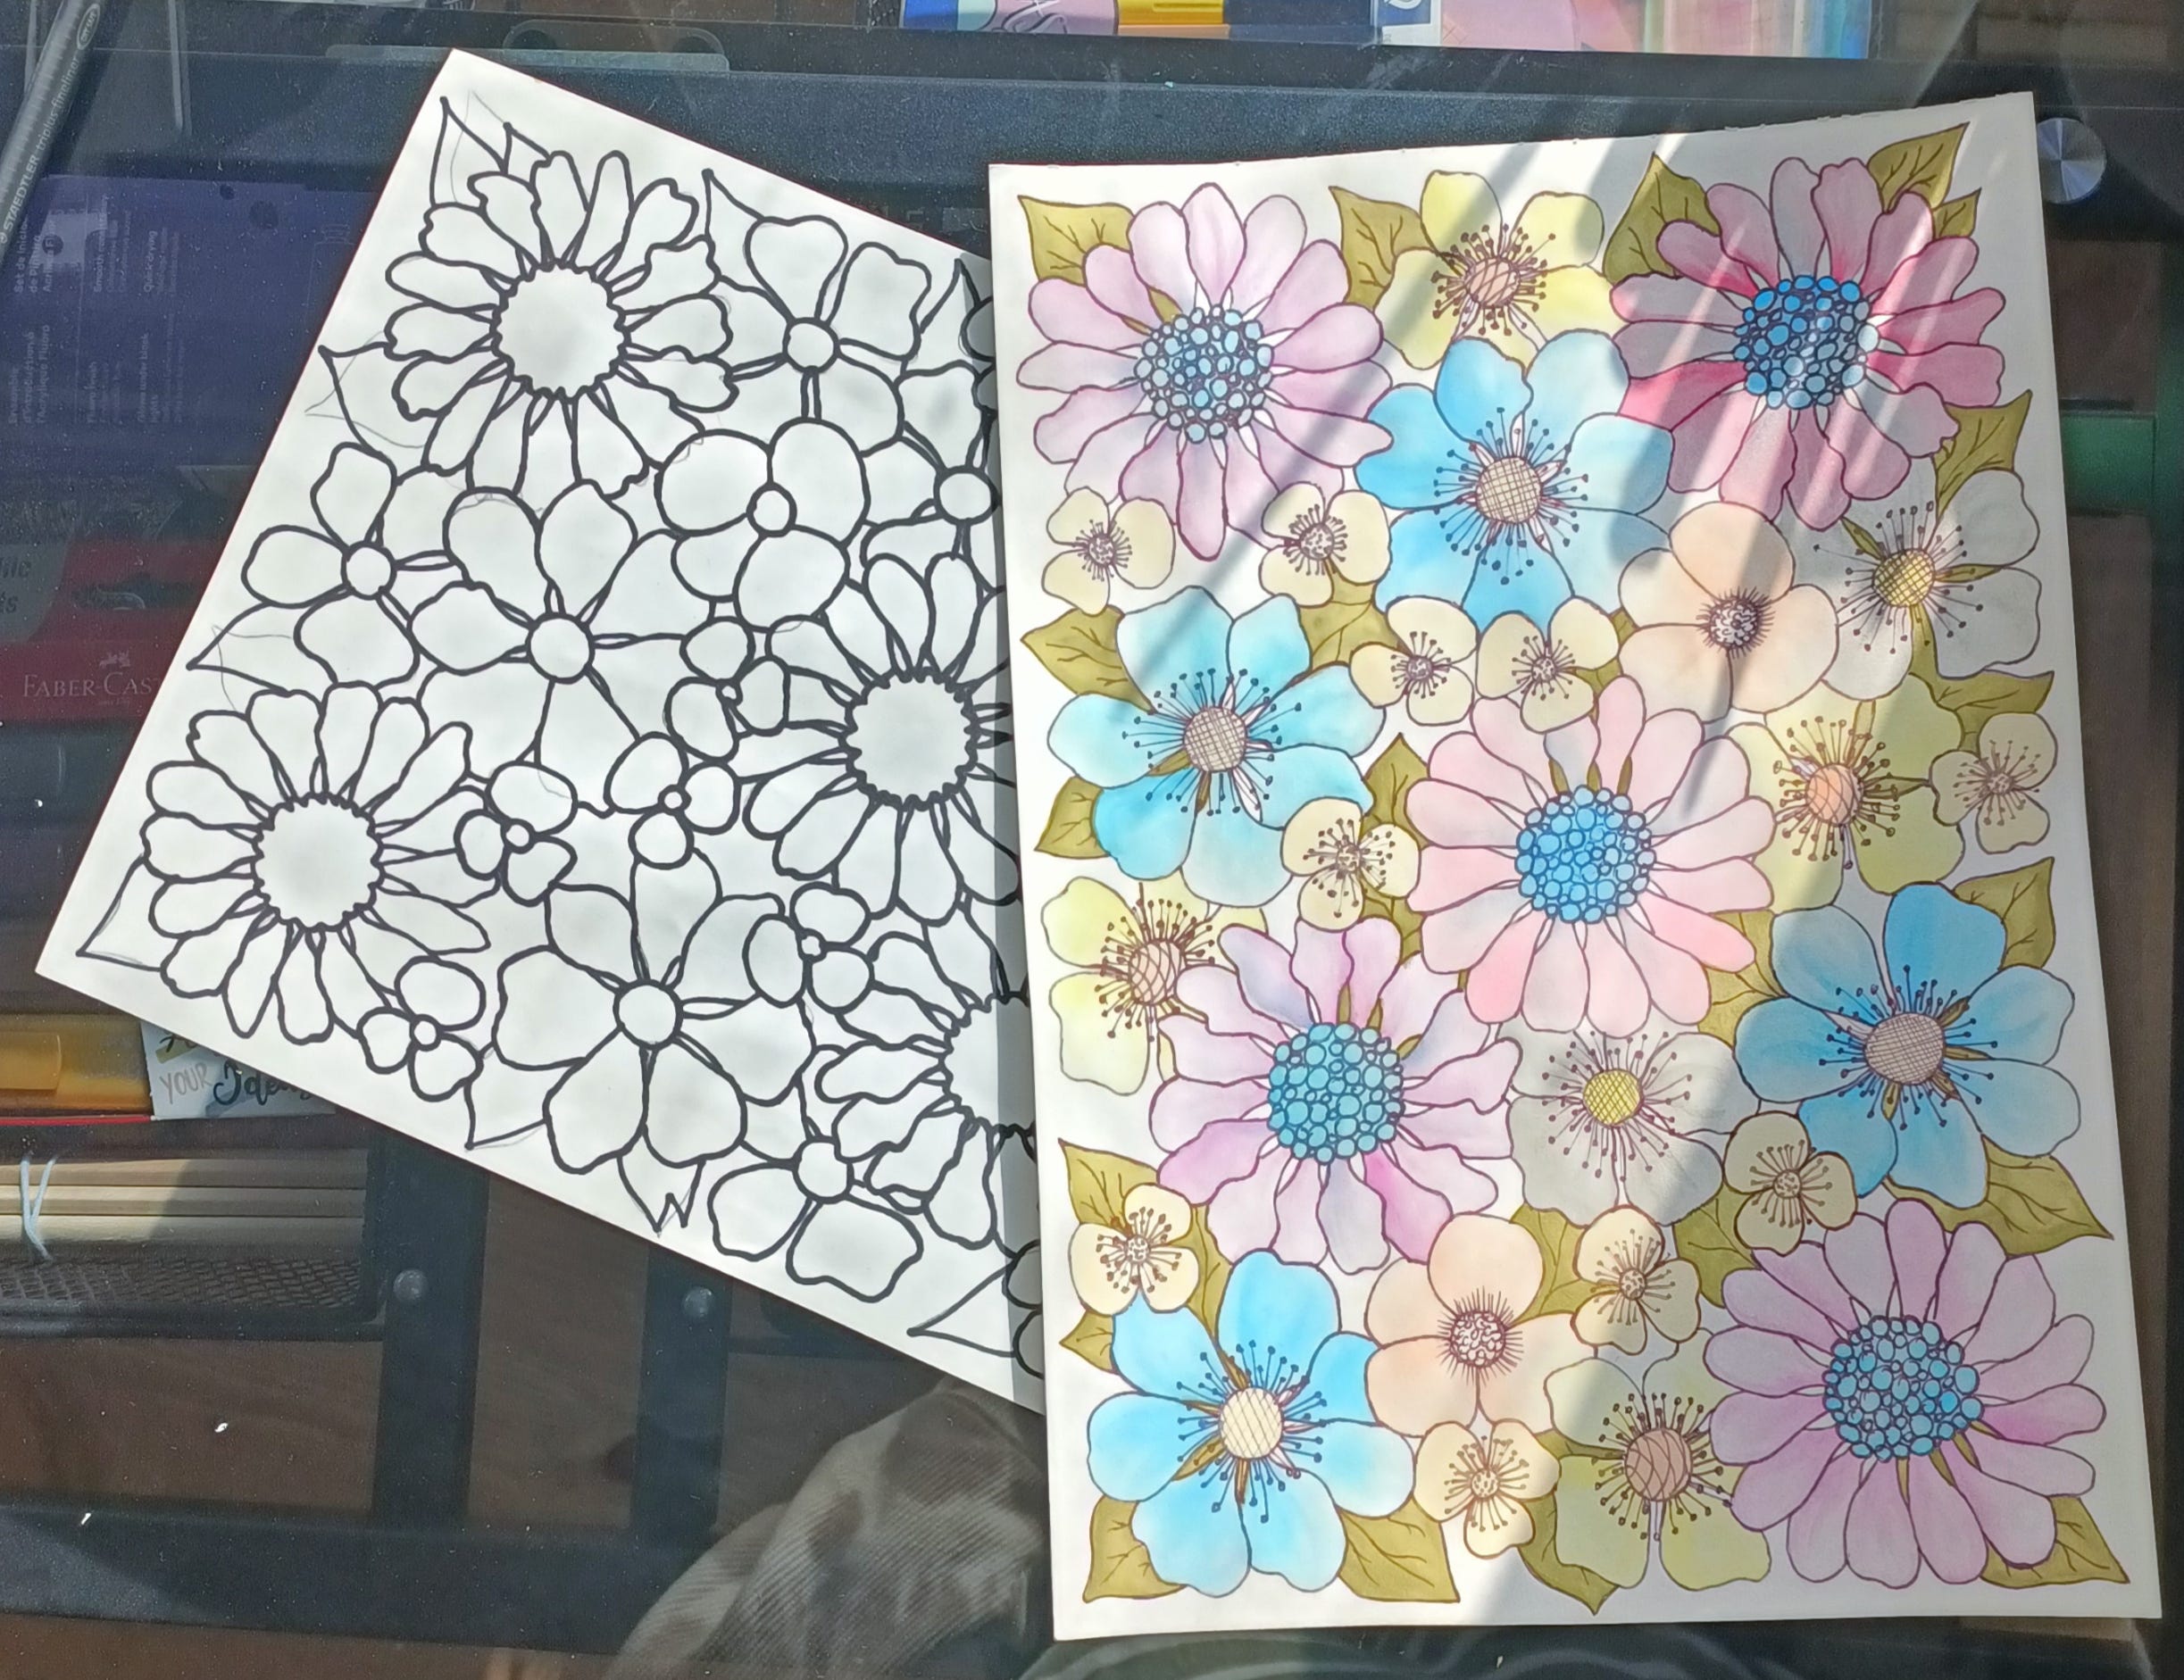
12) Once again, using a “Light Box” or window in your room, transfer this design from the draft paper onto high quality A4 size paper.
13) I will be using these watercolours, they are called “Solid watercolours”. They look very dark, but after drying, they become pastel colours. I will also use watercolour brush.
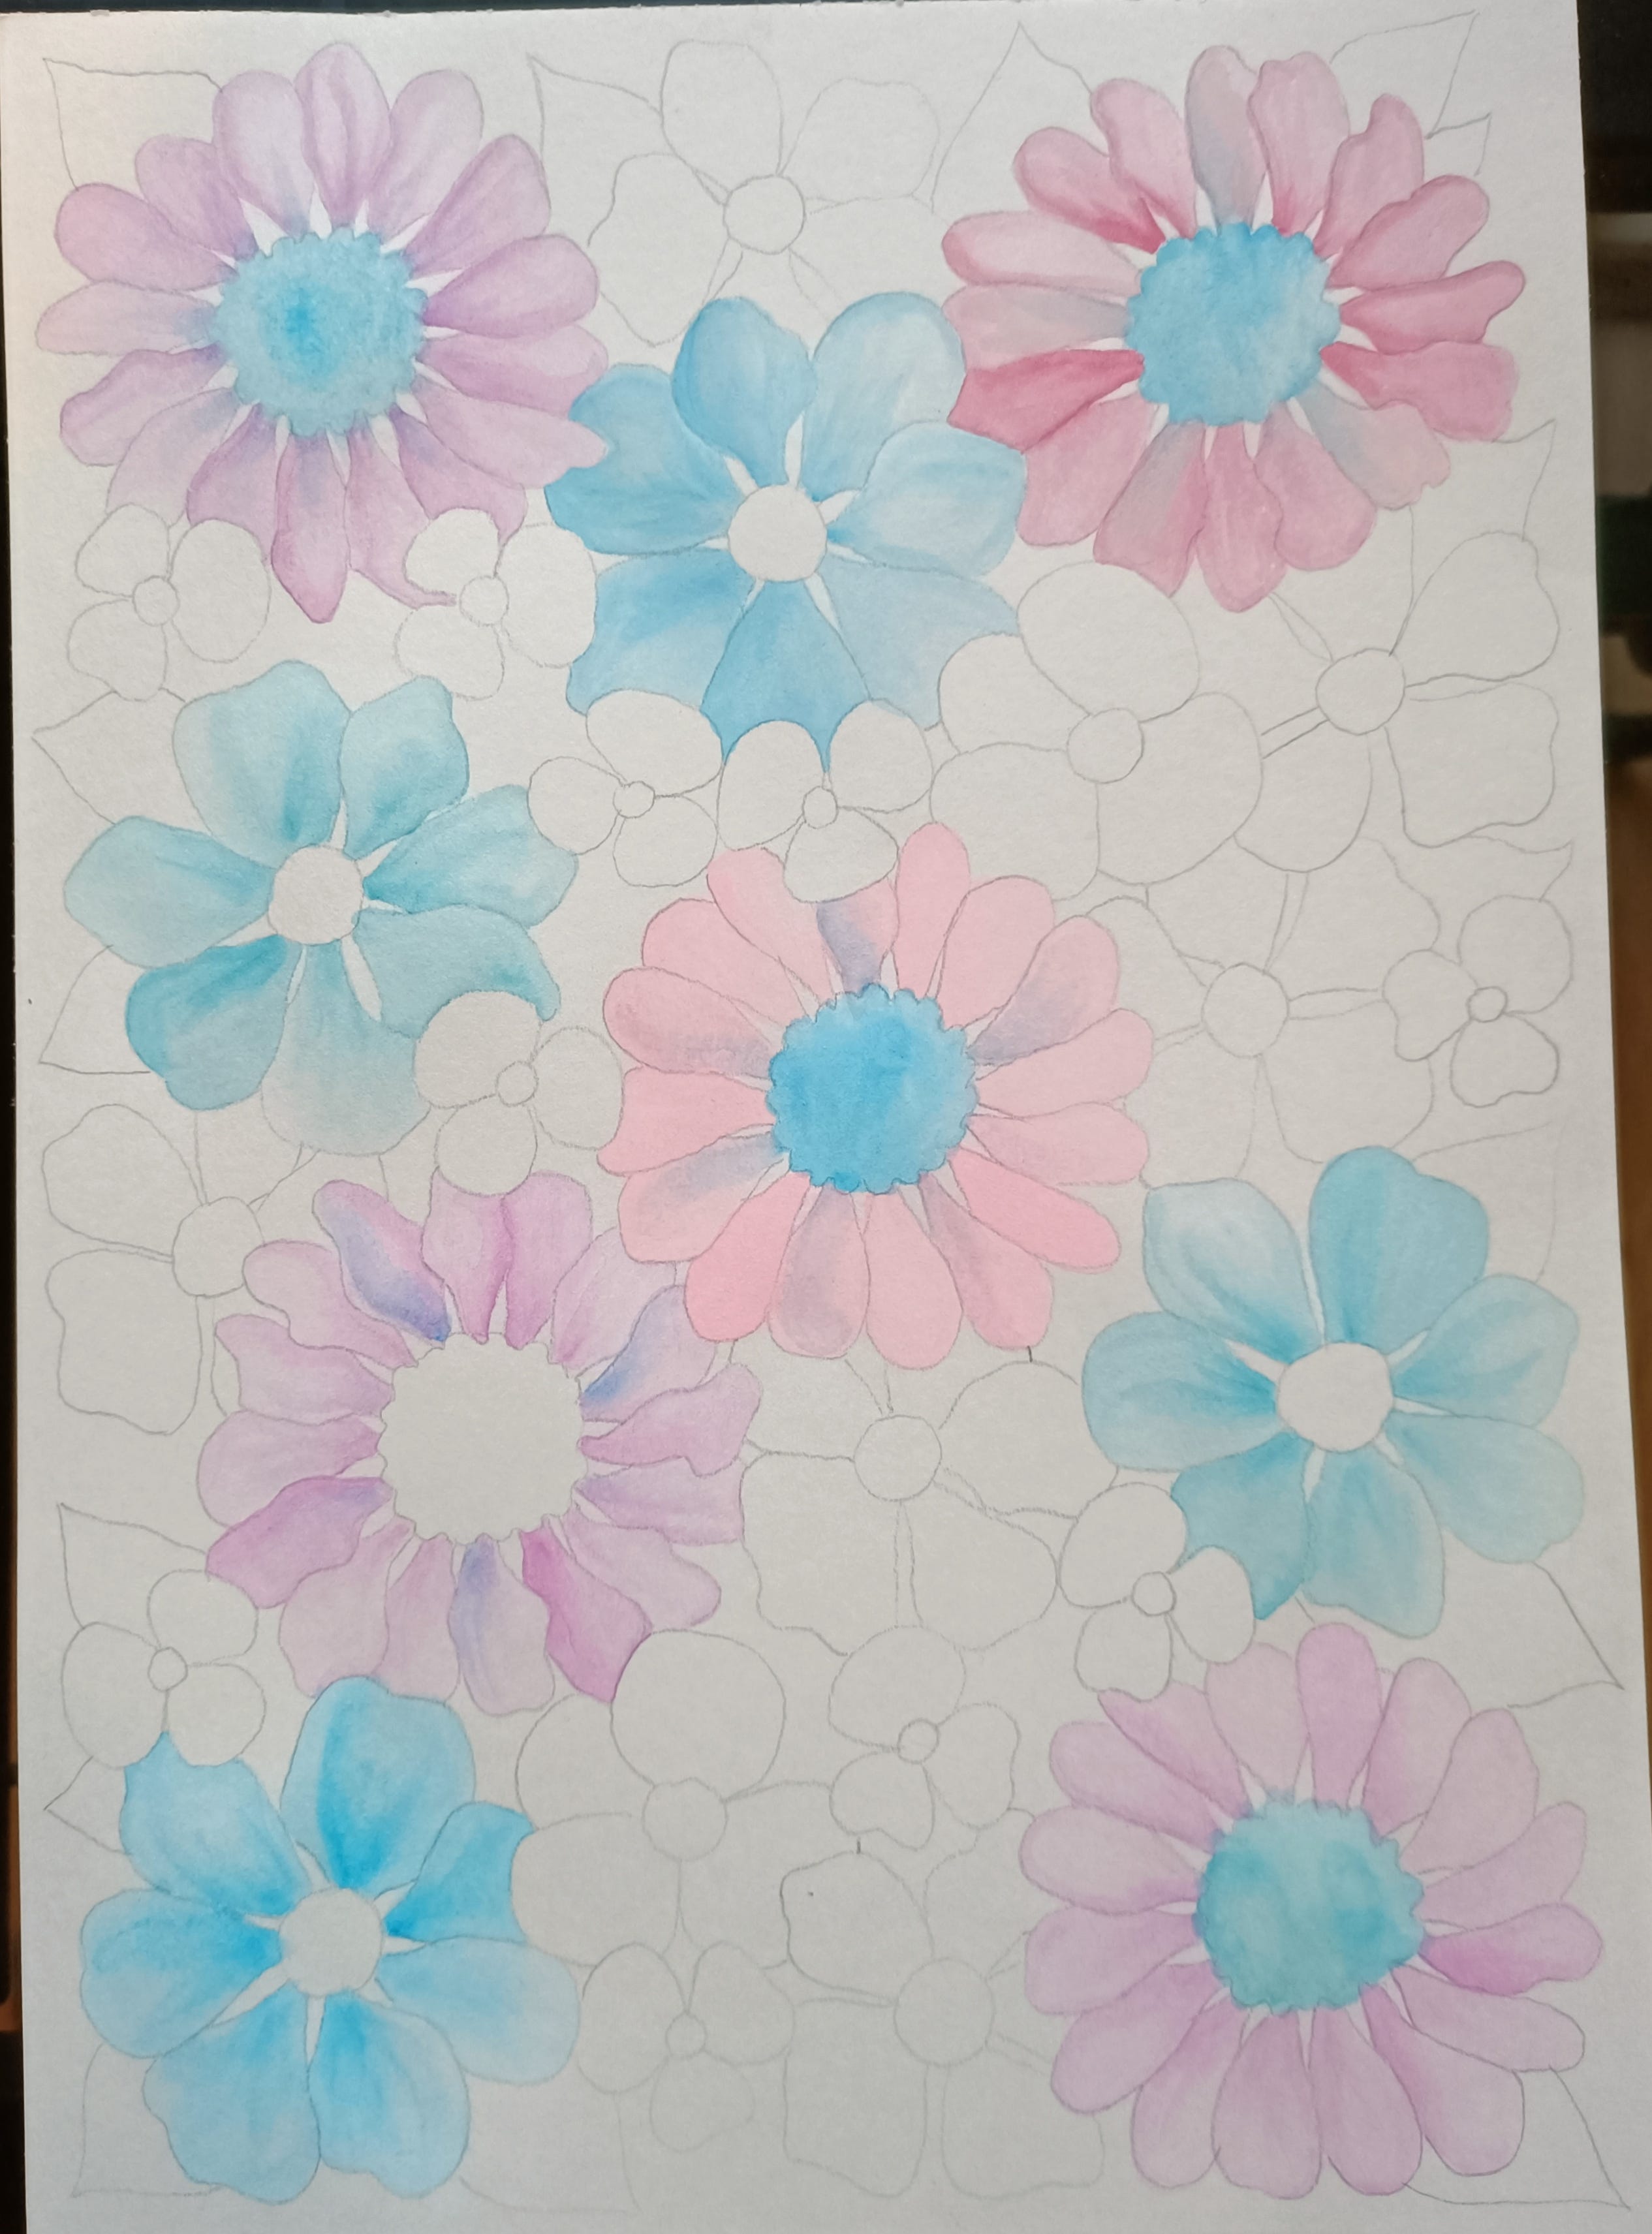
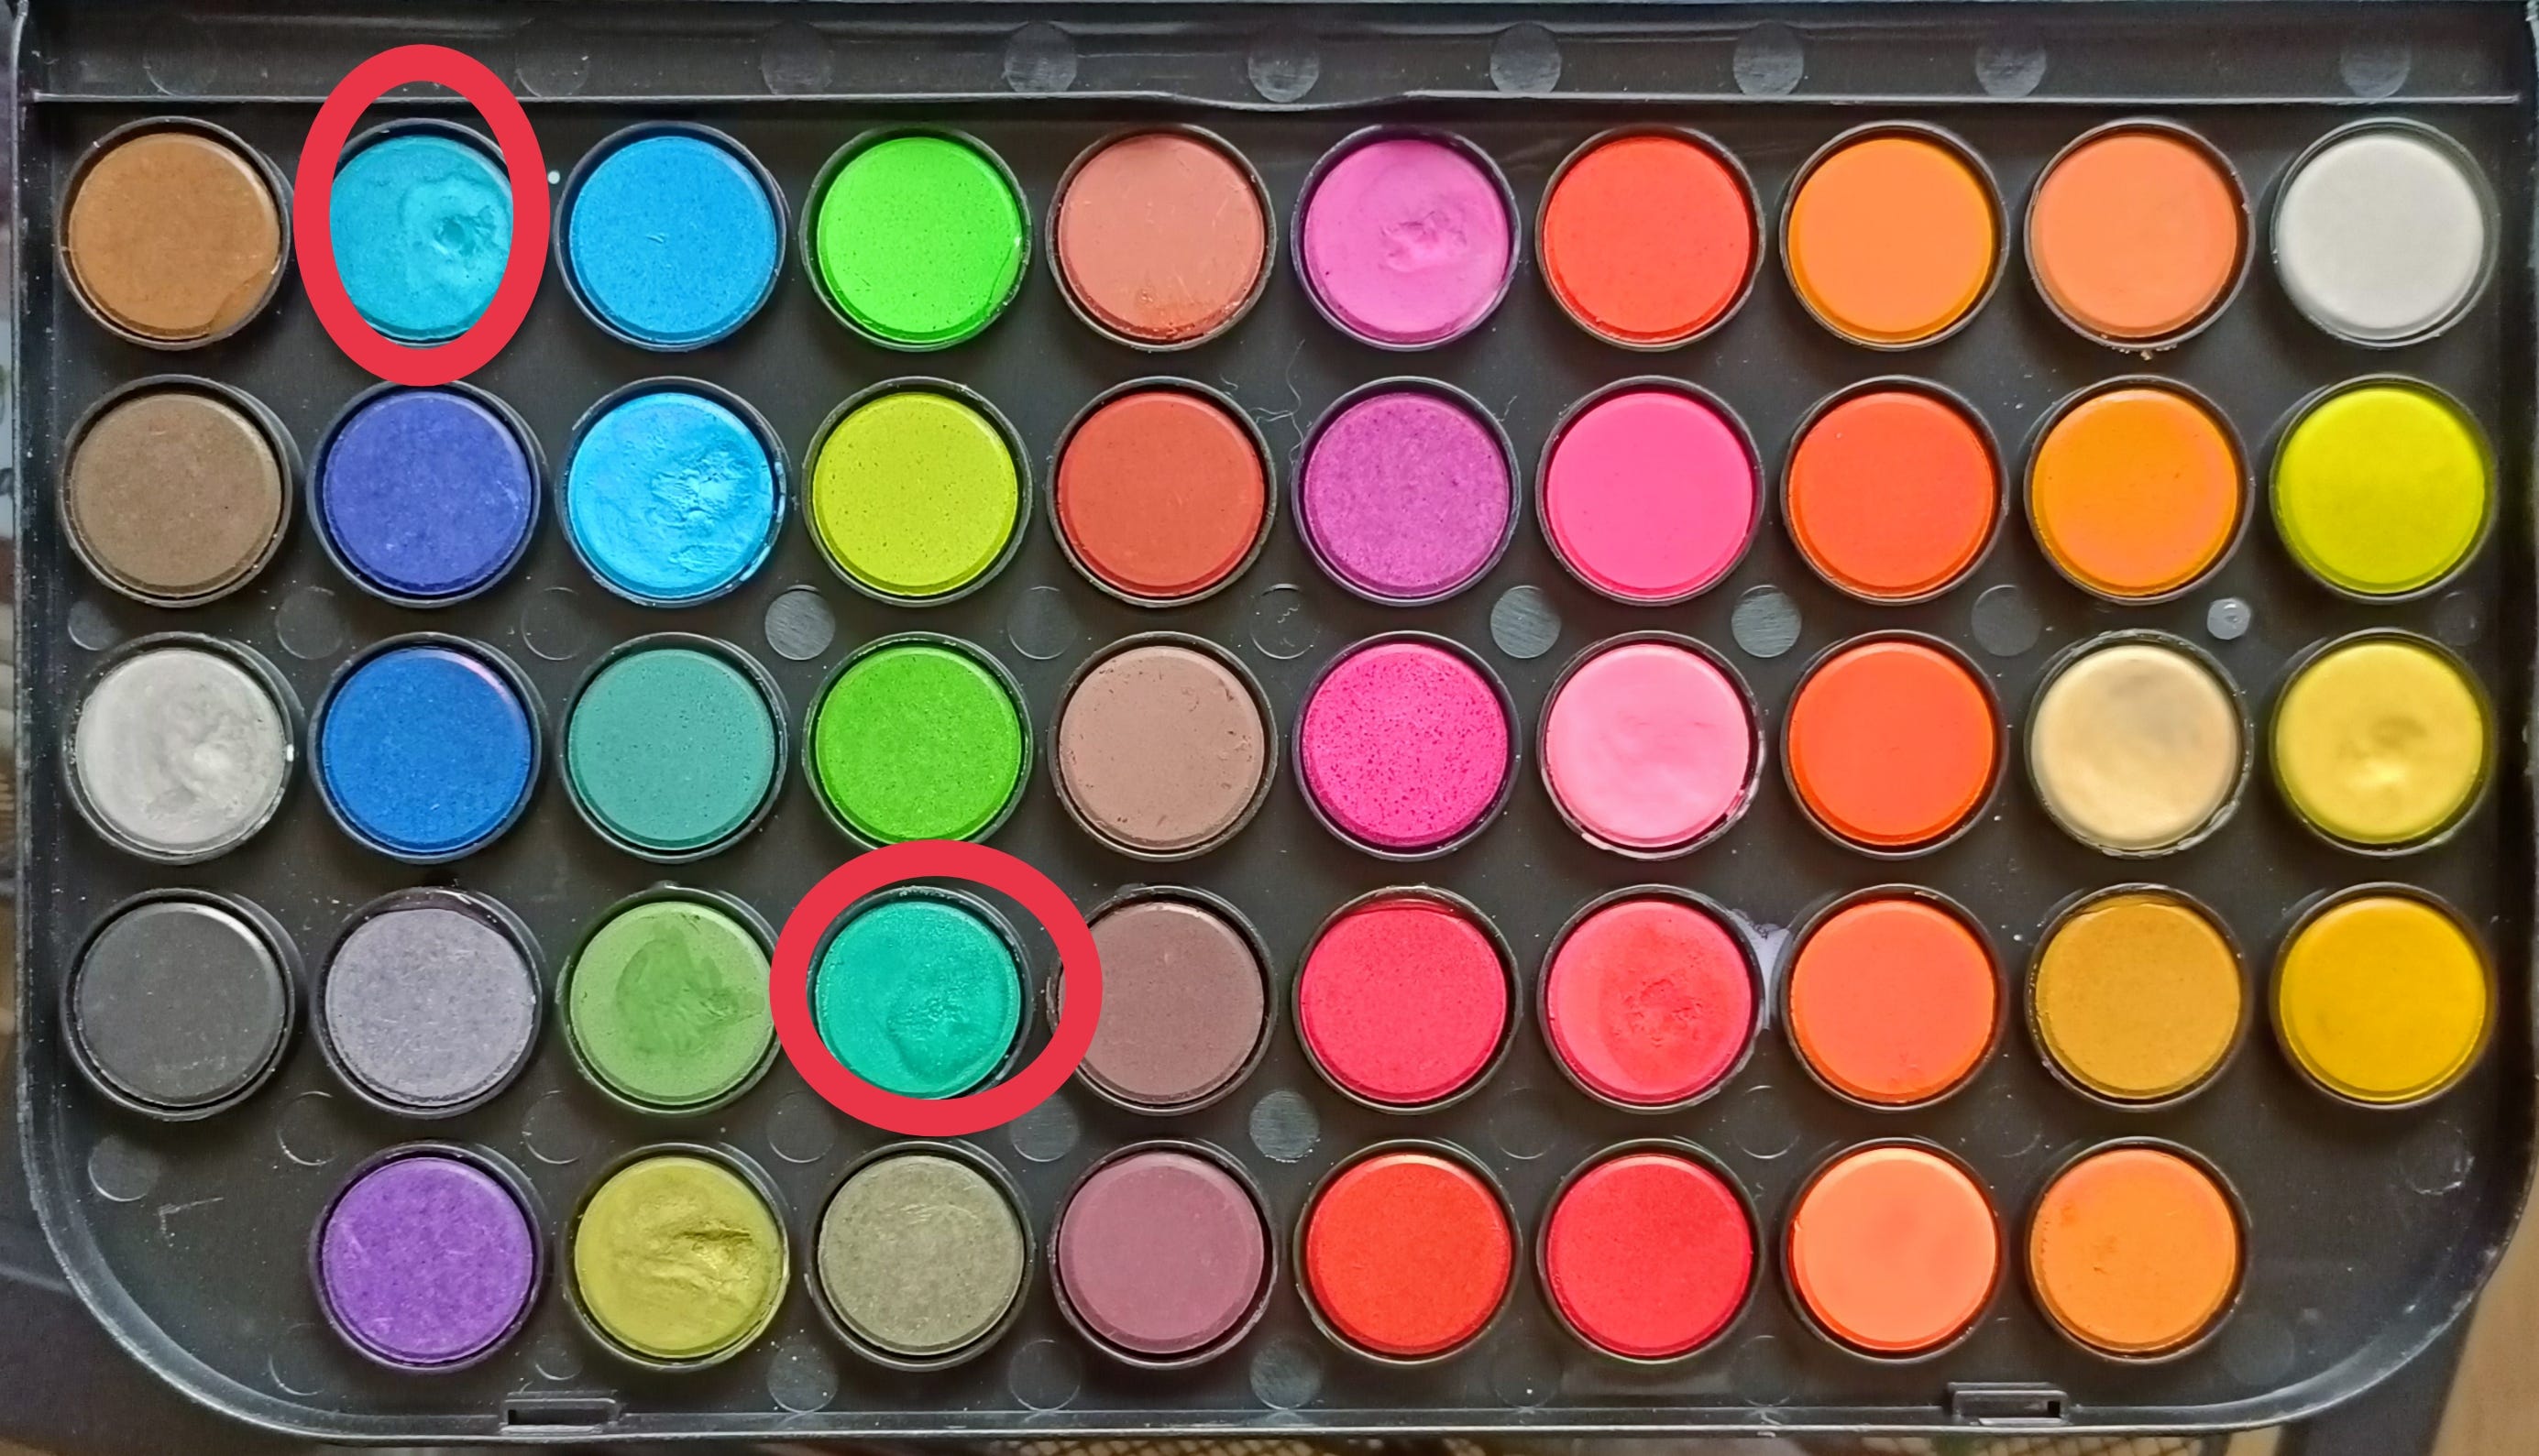
14) First, paint a larger flowers with pink shades, I have circled the one I used with a red colour.

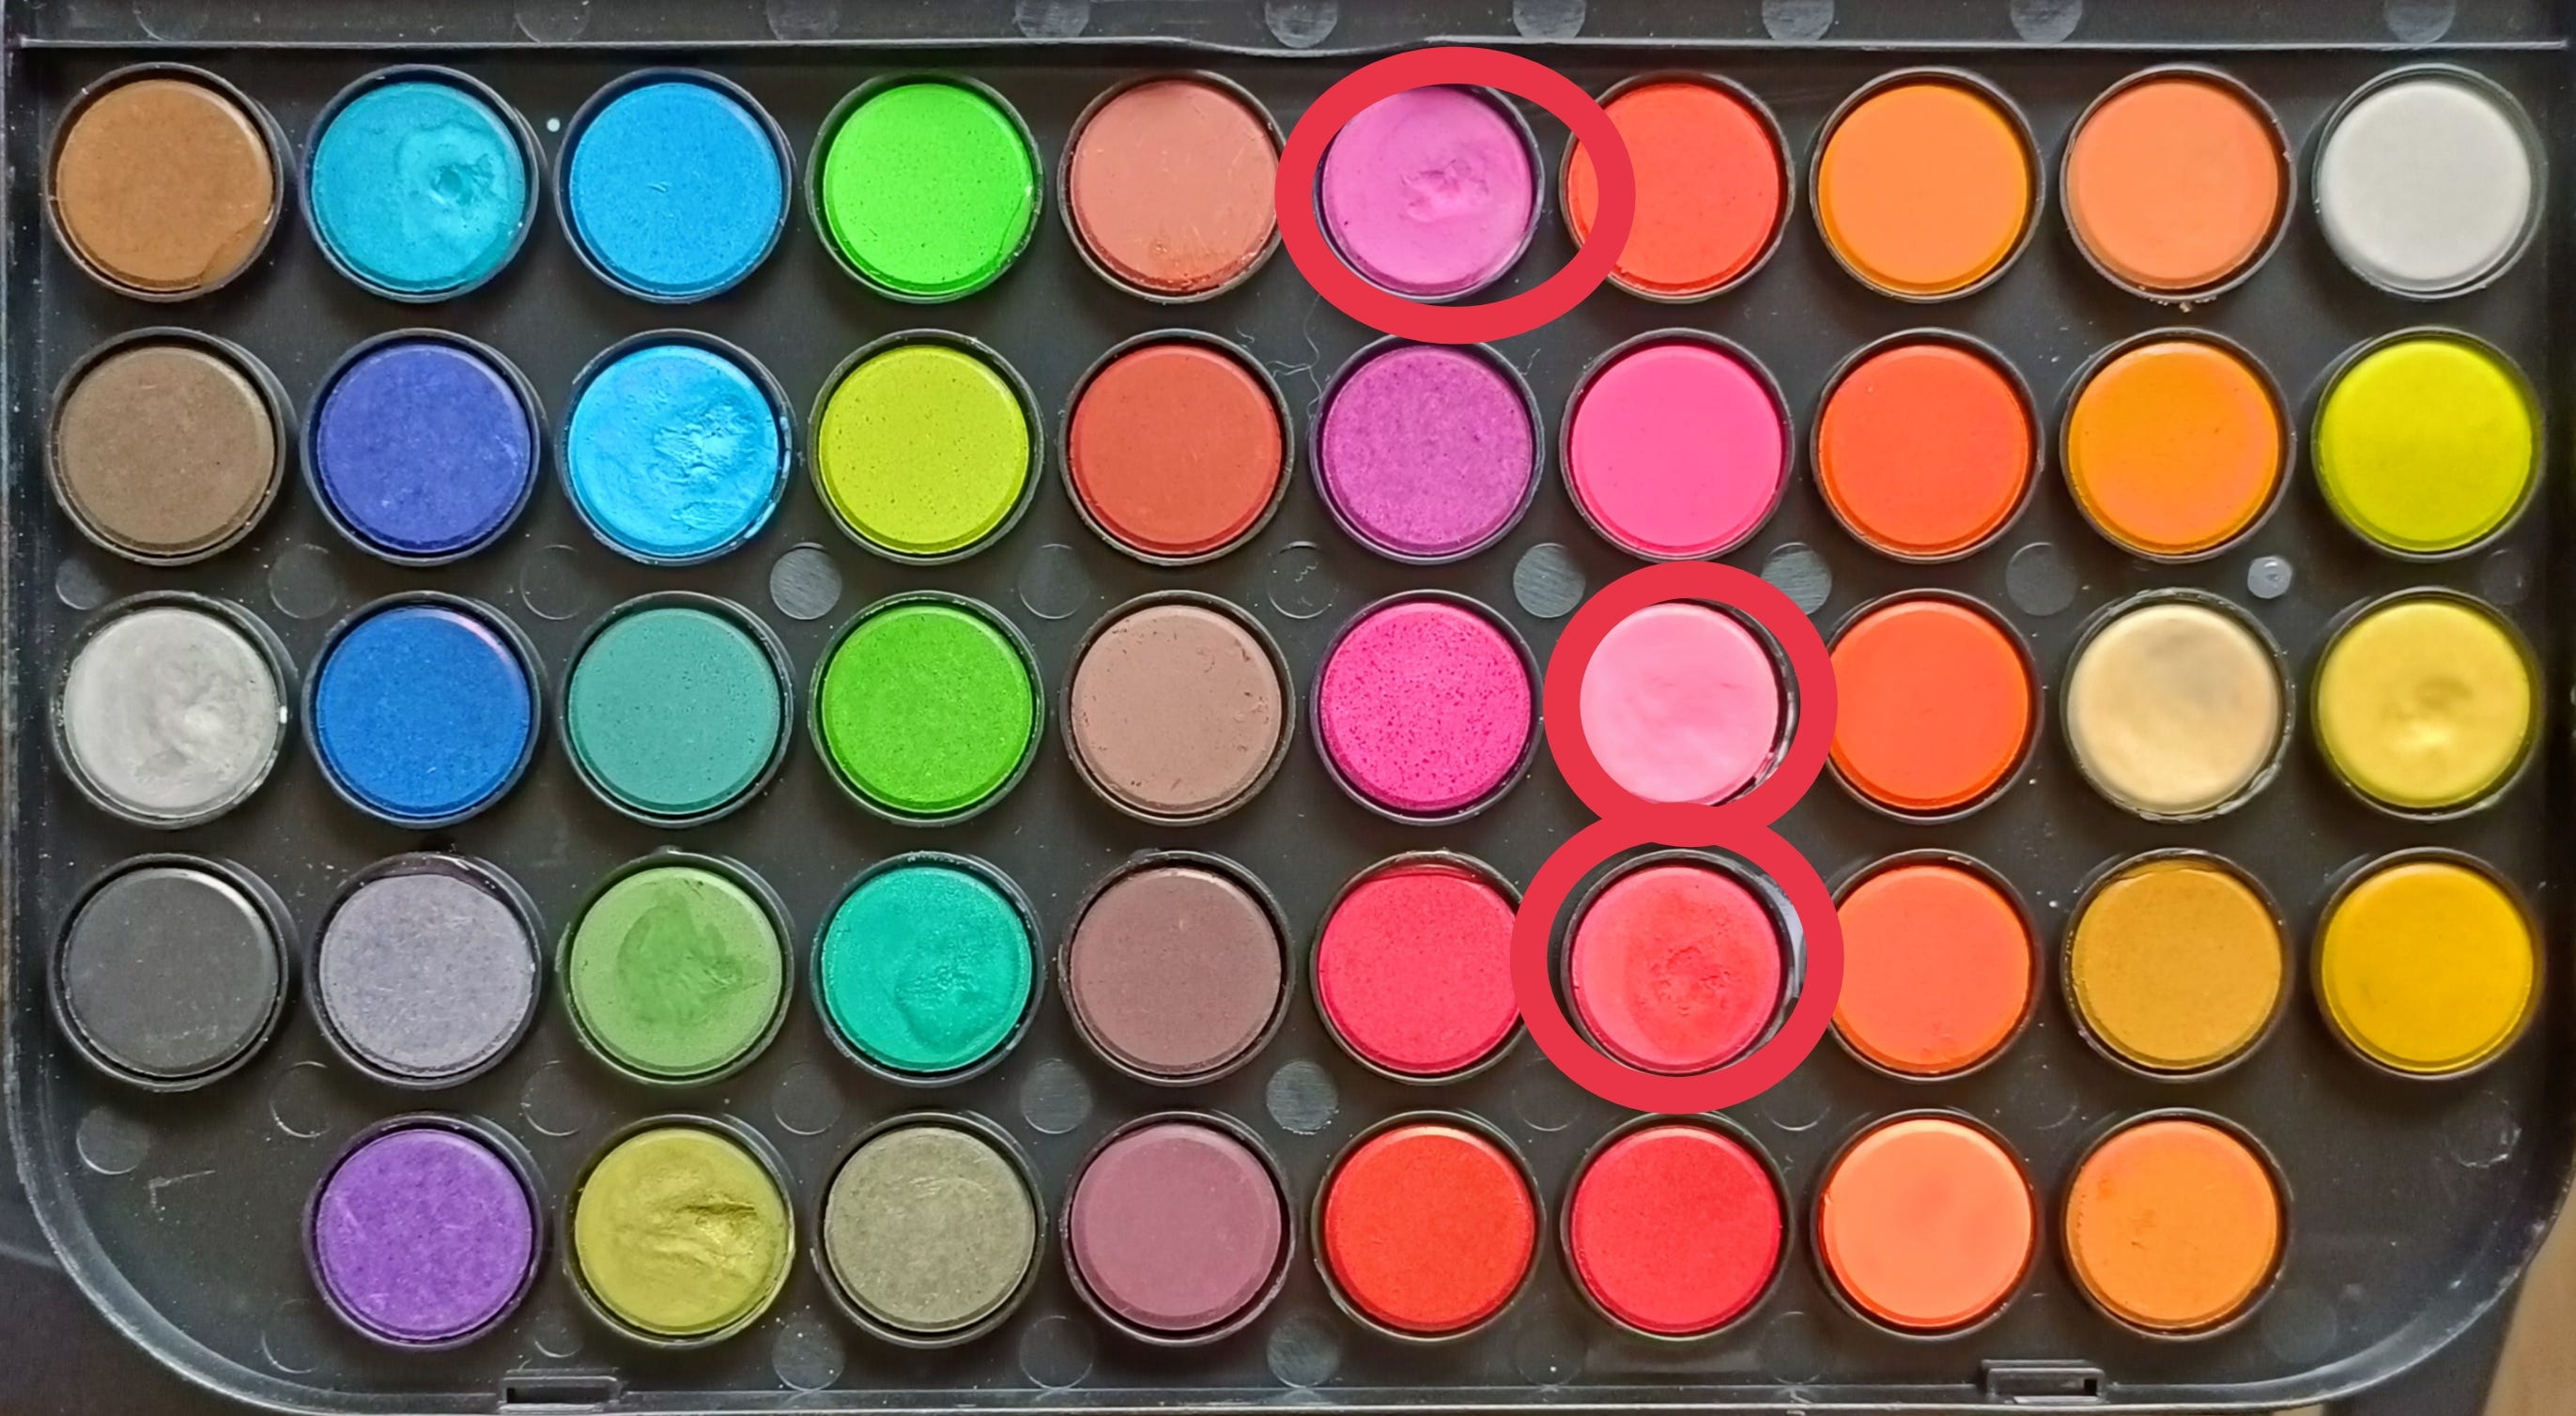
15) Next are blue colours, I have circled with red I well.
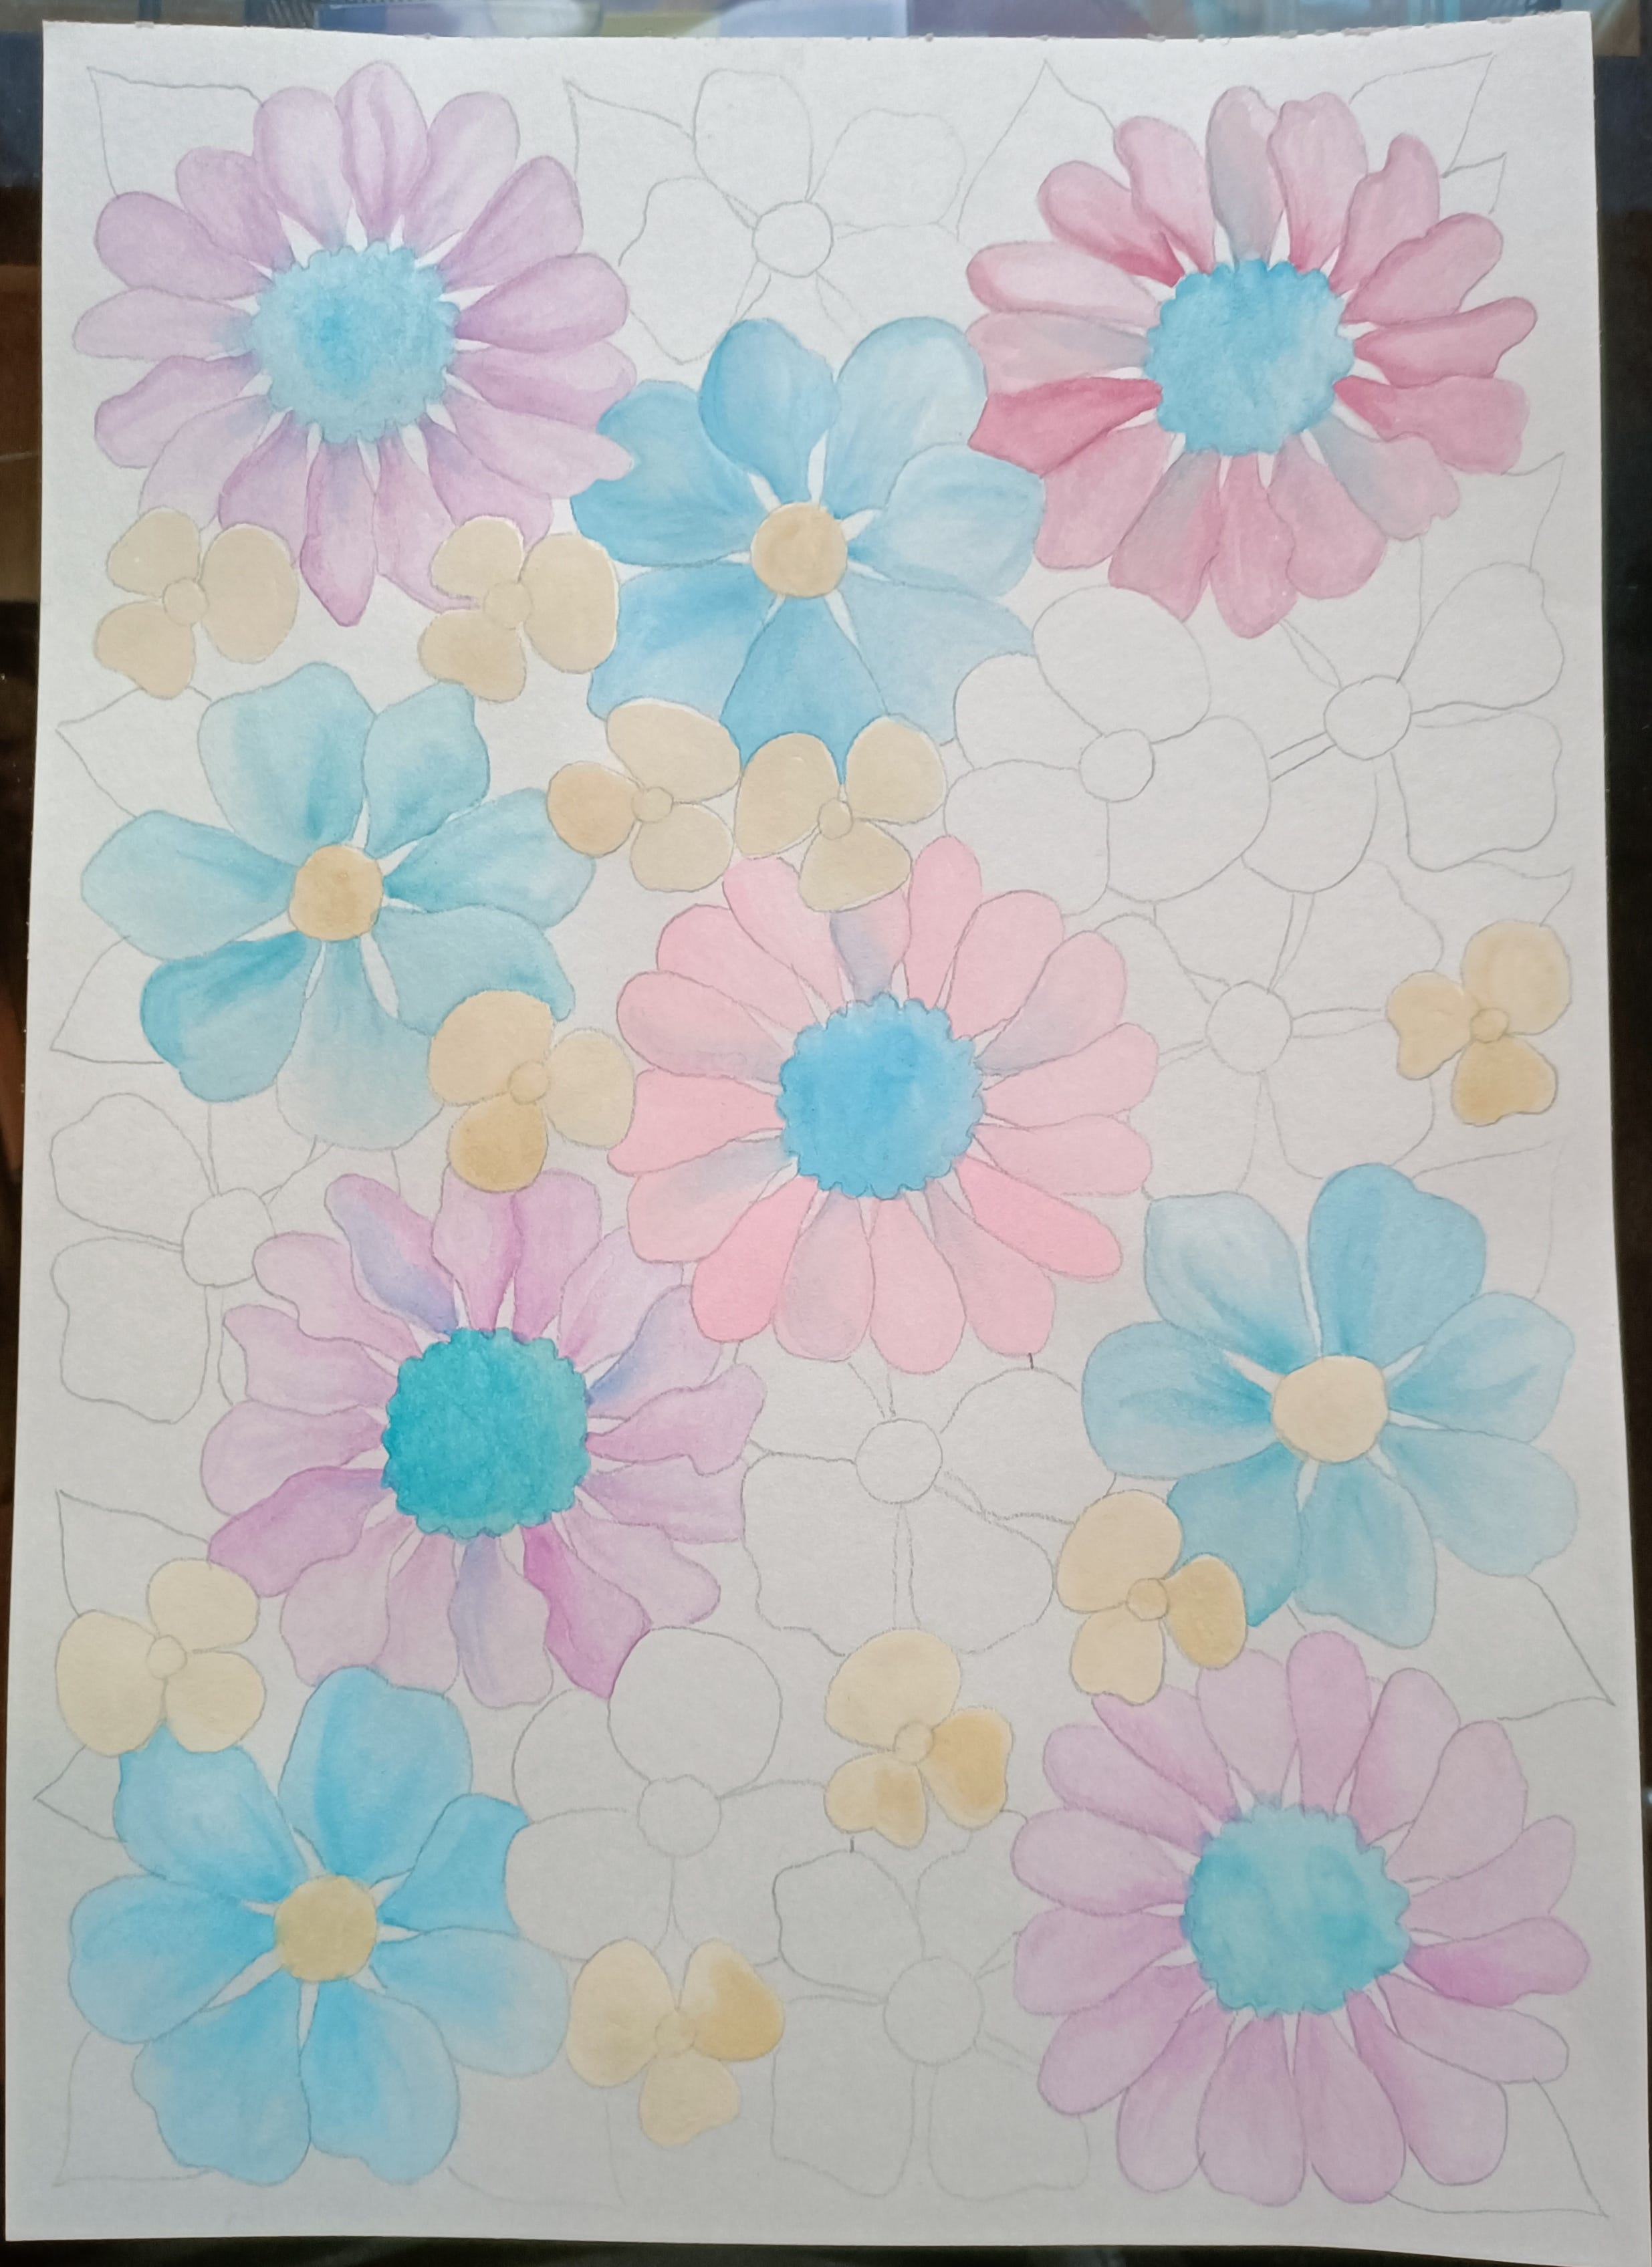
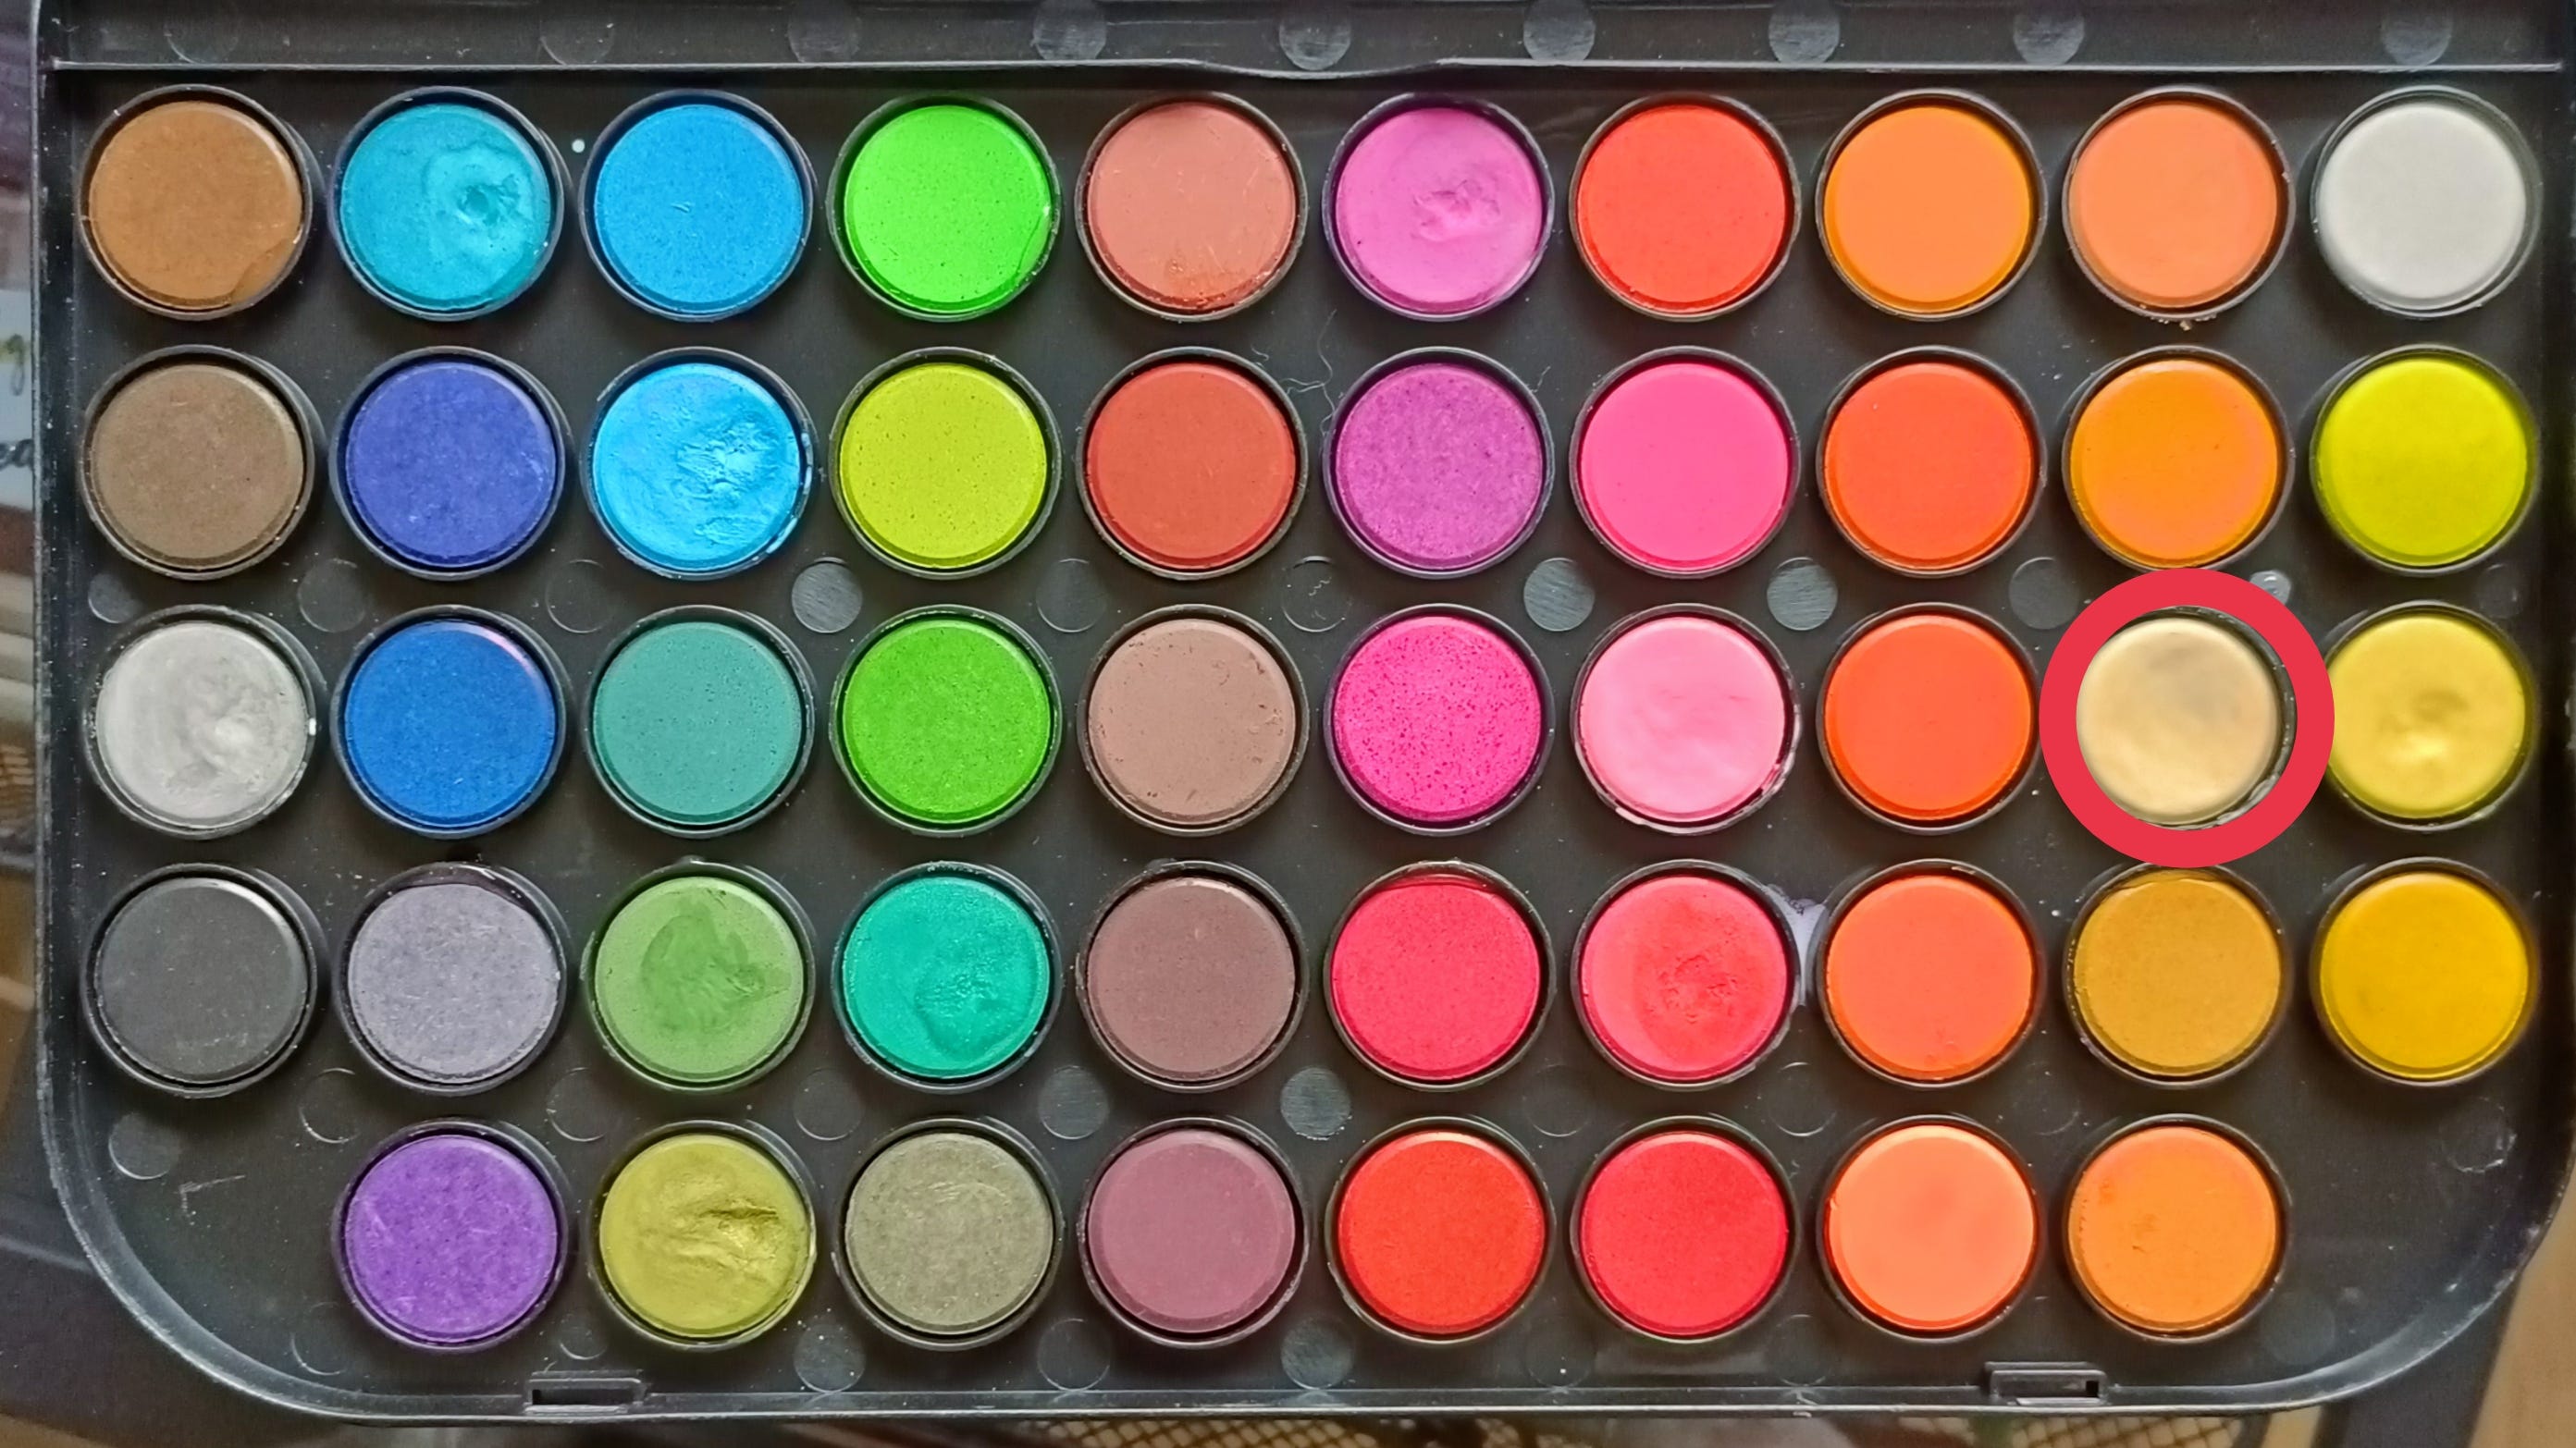
16) Next are tiny flowers, which I painted with light beige colour.
17) Next is orange colour.

18) Yellow colour.
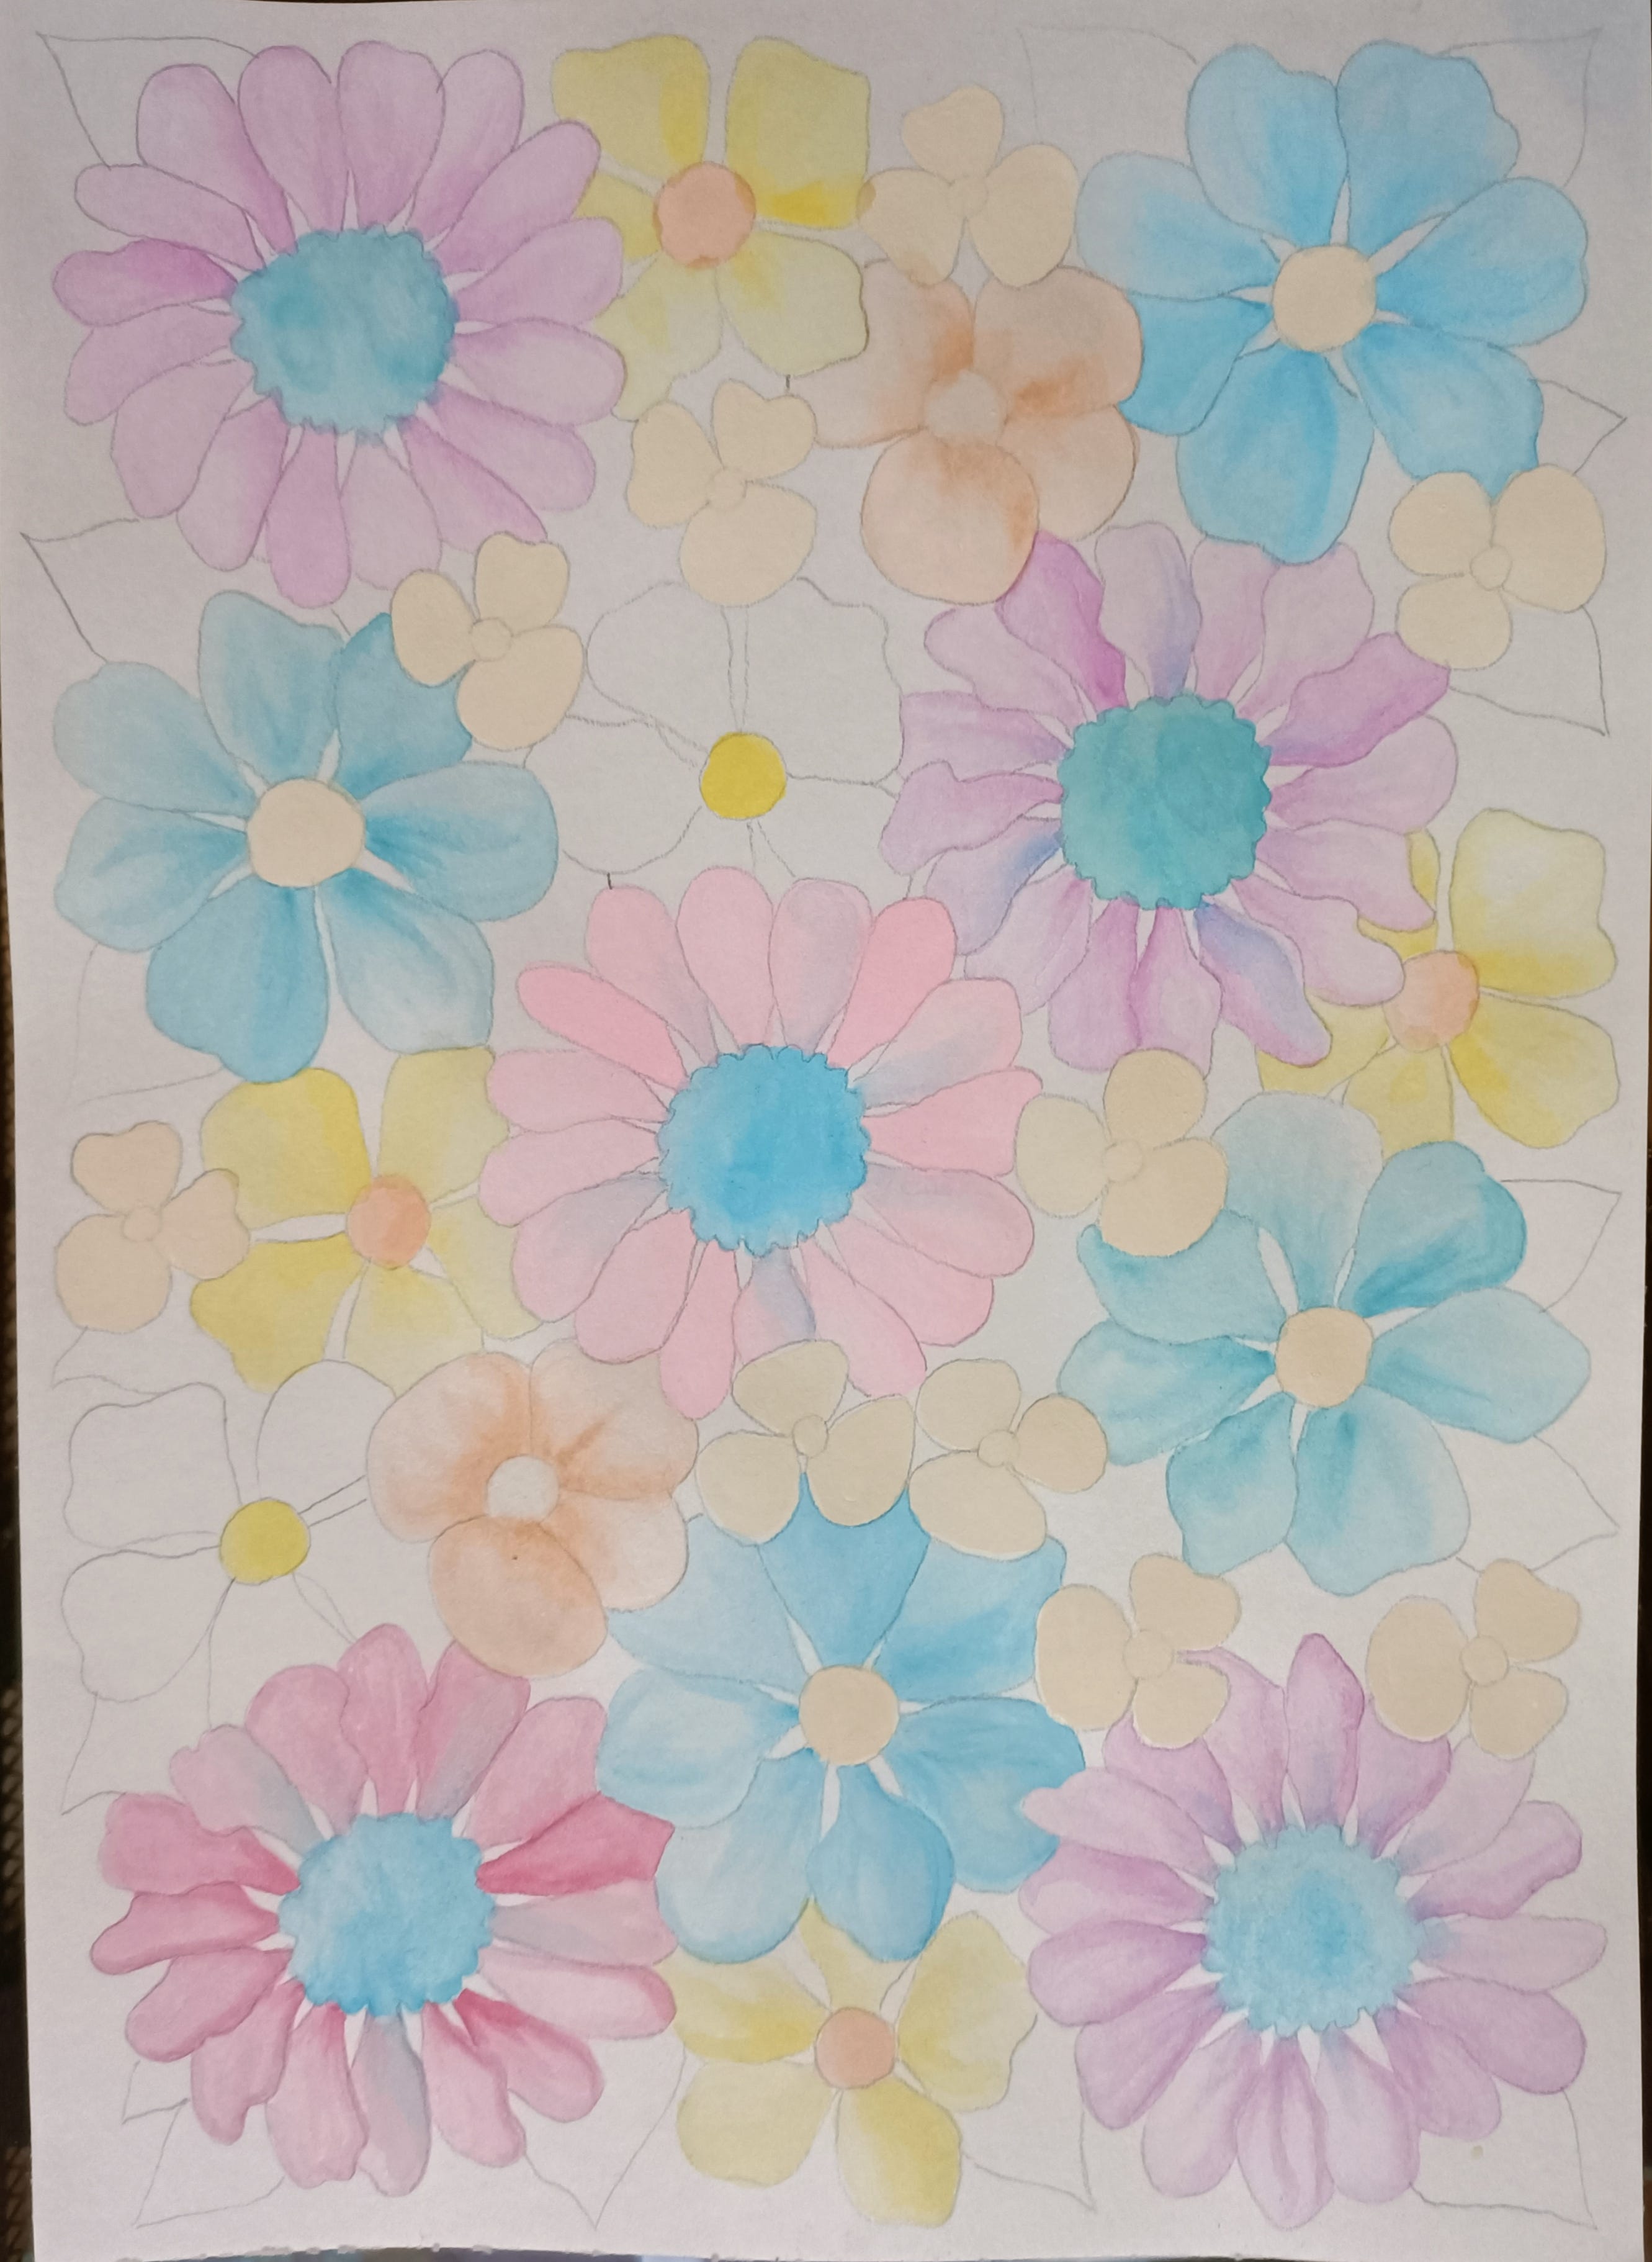

19) And here grey with green leaves.

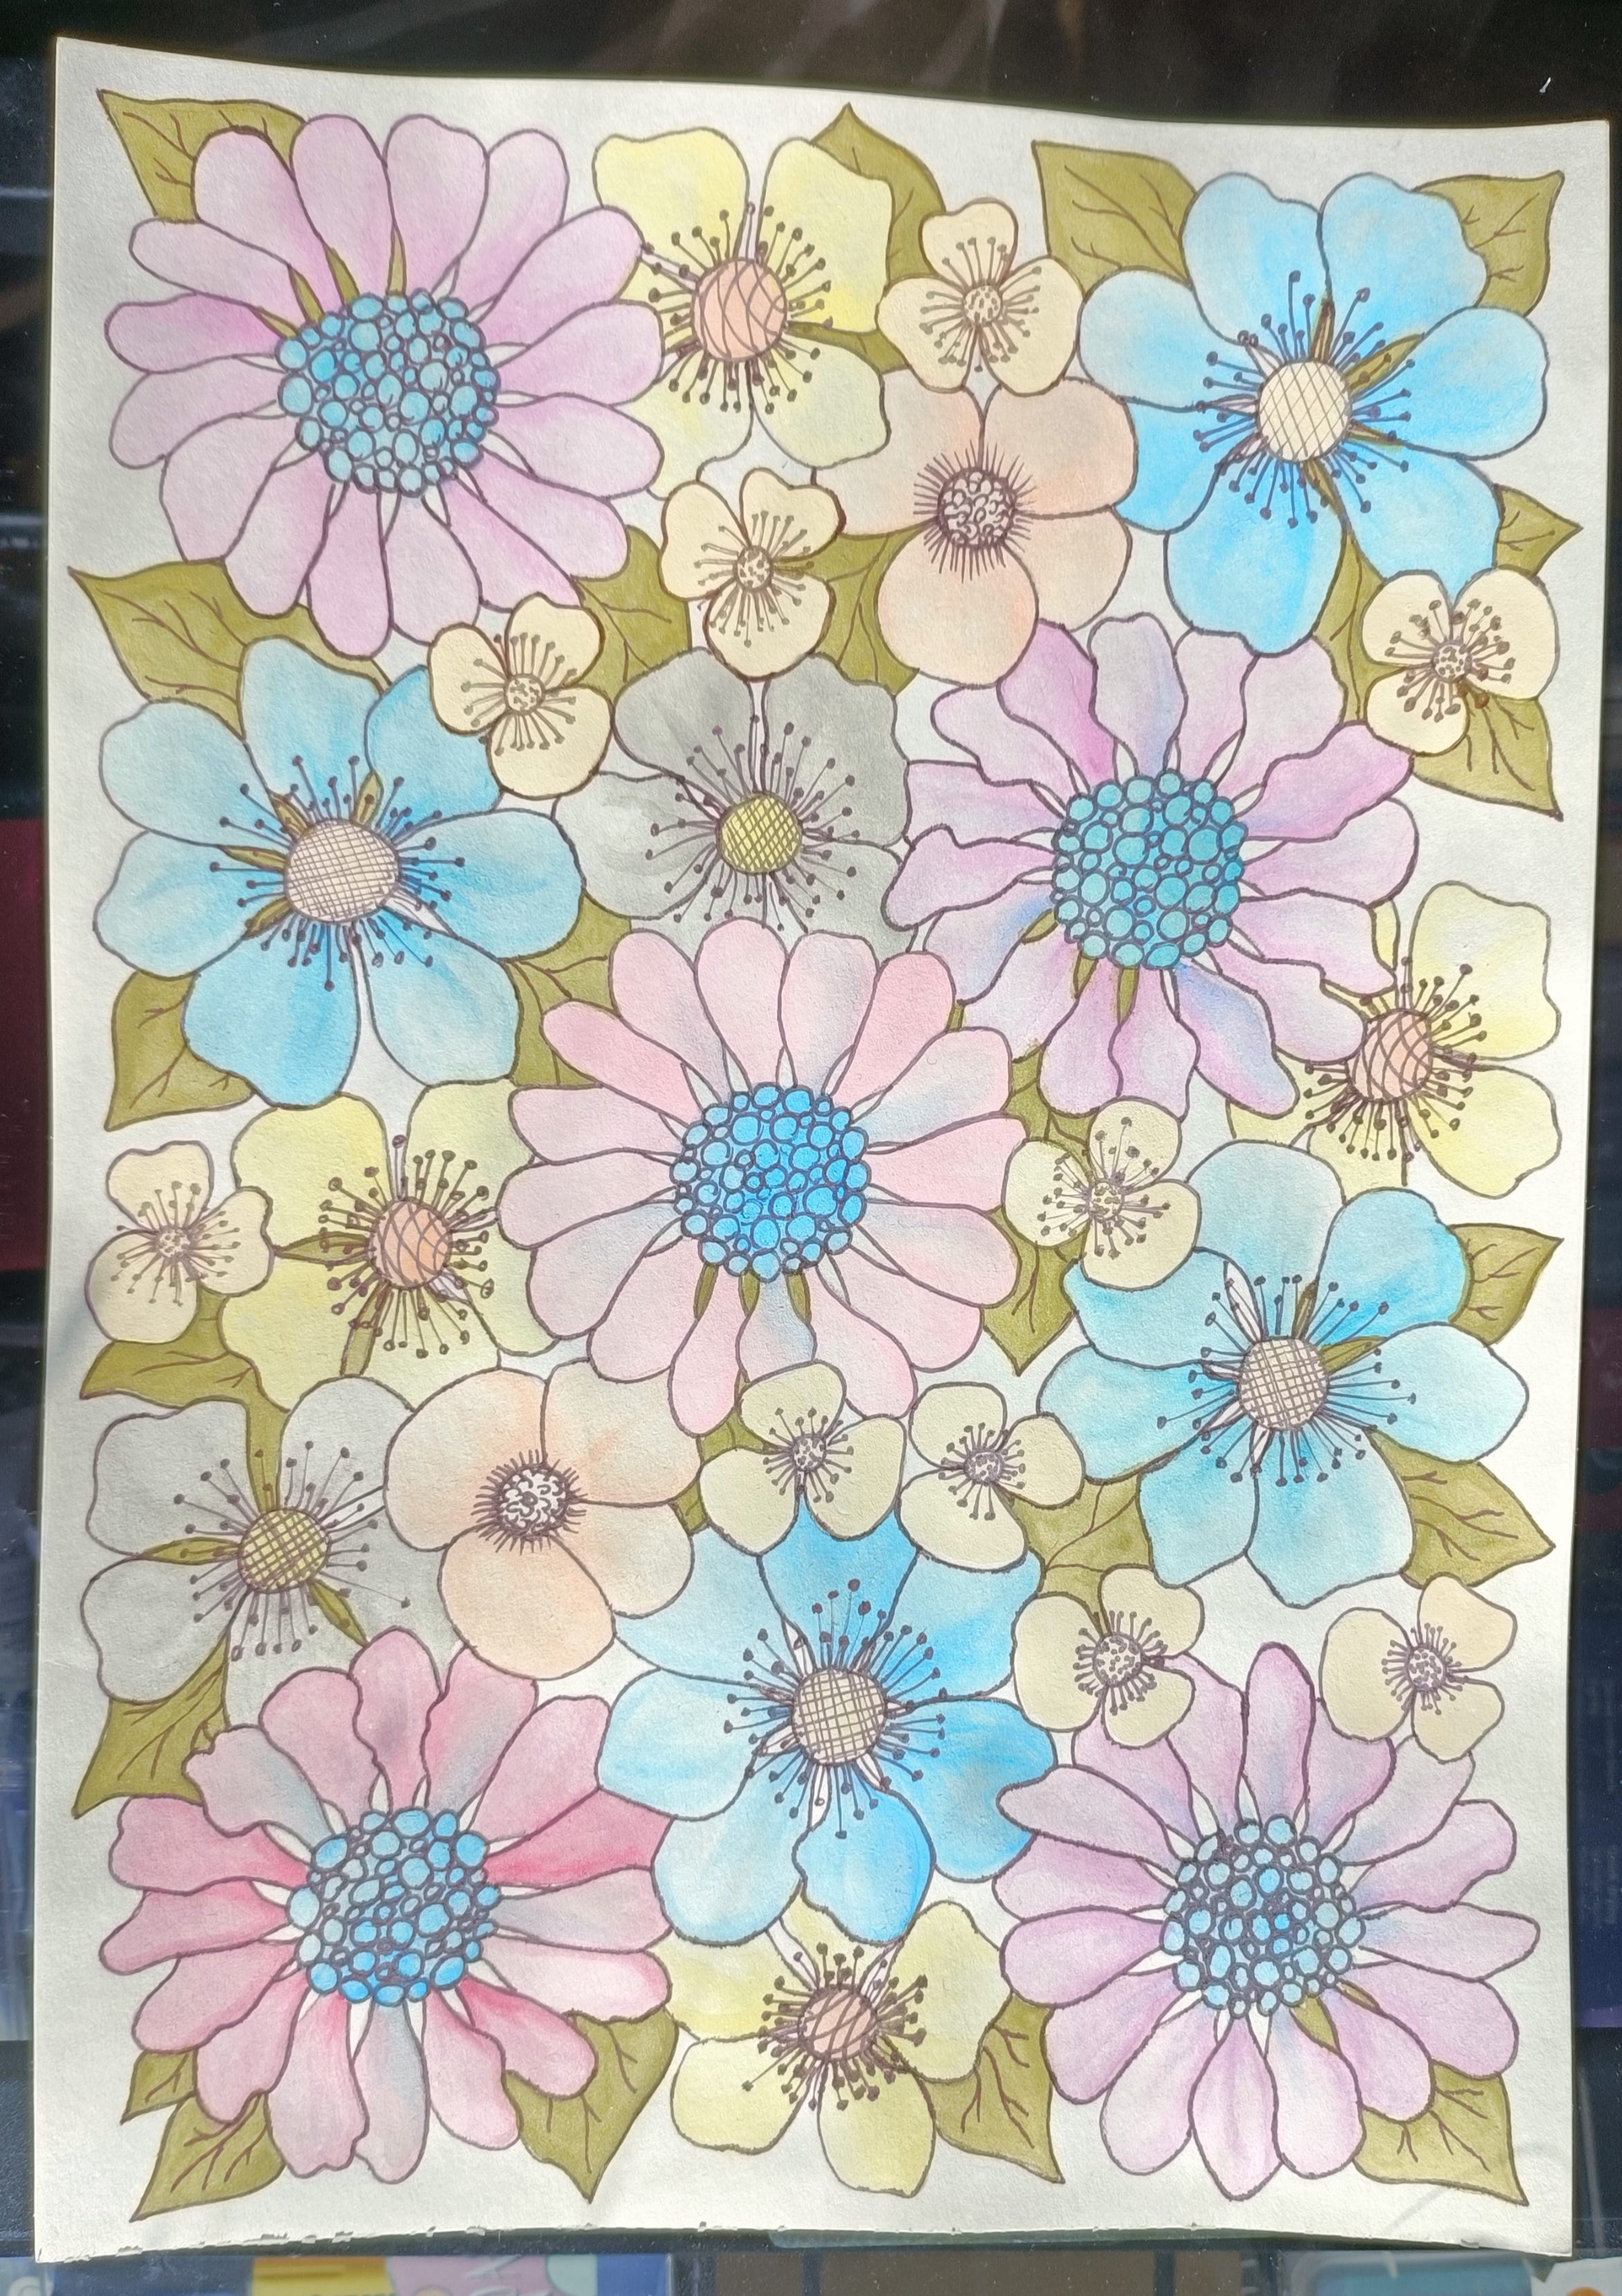
20) That's it, I promised you it won’t be difficult. Next I took a dark brown permanent marker, 0.4-0.5 in size and outlined everything. I also added tiny circles in the middle of each big flower, and as well decorated centers of the other flowers. Please use my drawing as a reference. Don’t forget about leaves as well. You can also use colour coordinated markers to outline each flower and leaves. For example, pink flowers, darker pink markers and so on… It's up to you.
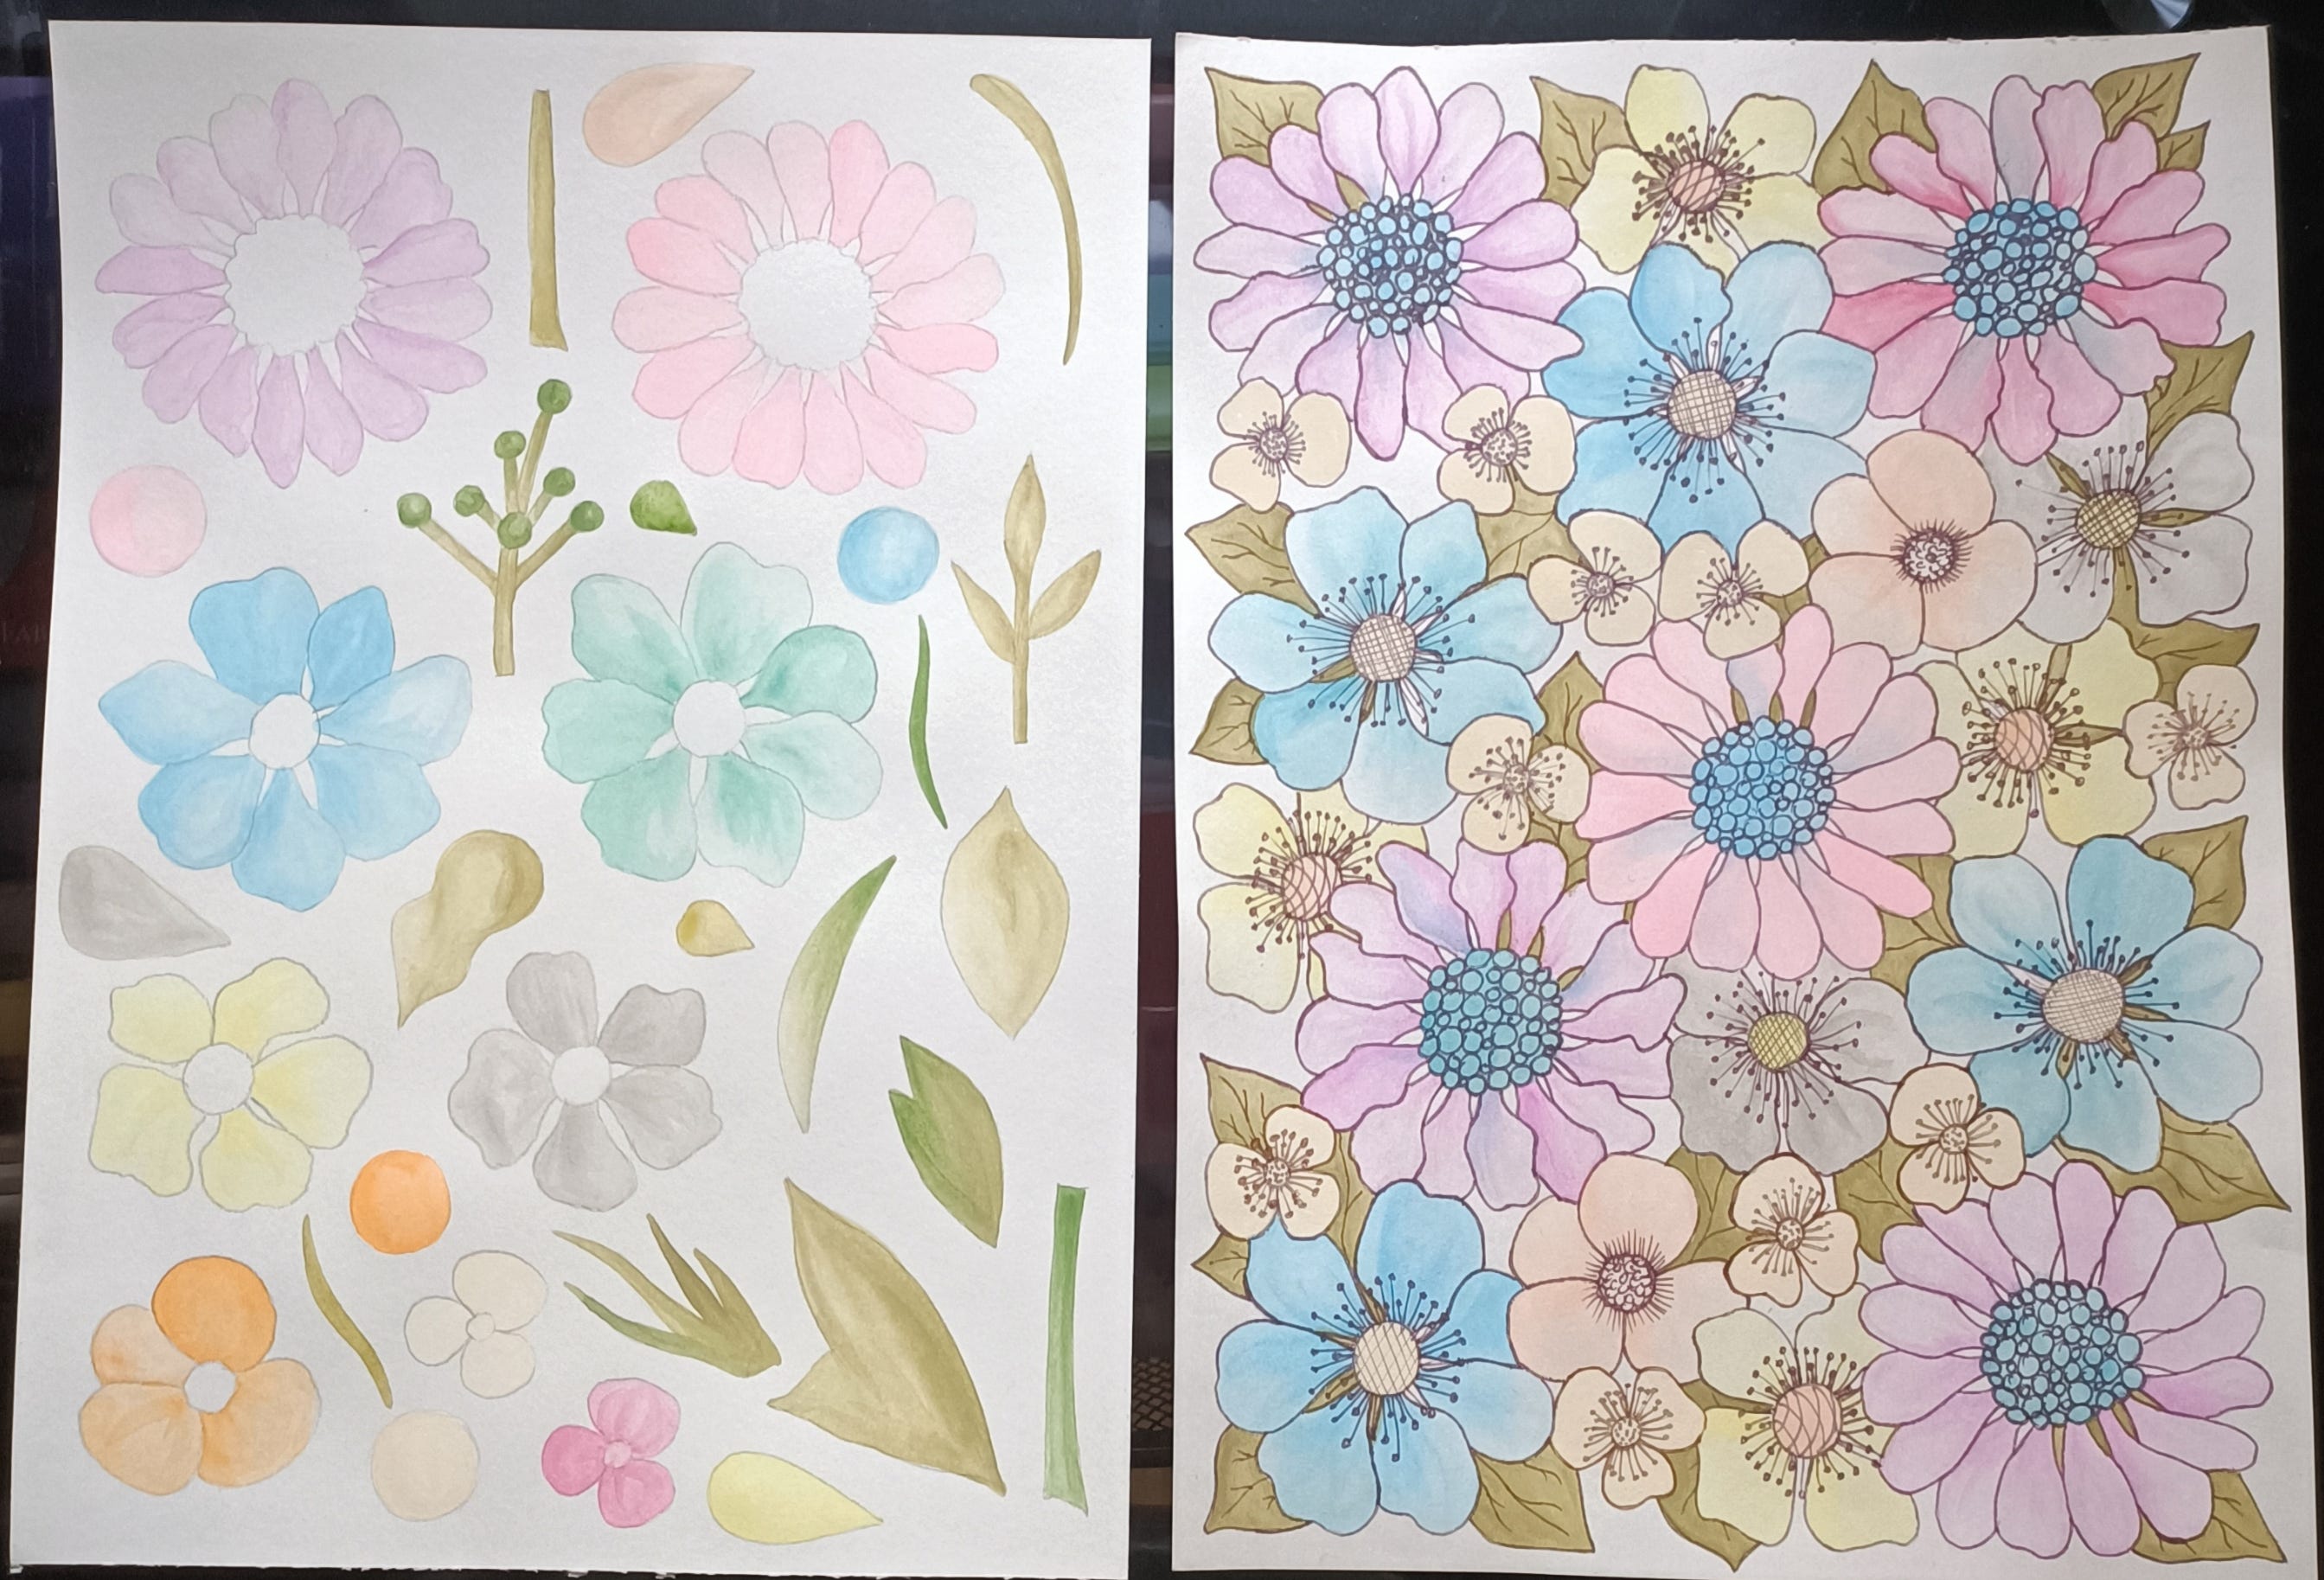
Next, I’ve decided to draw separate elements of each flower on a separate piece of paper. I did it for the reason that I wanted to prepare some templates/skins for social media and give it as a free gift in my next newsletter.

I painted each element. I didn’t use markers to outline, because I will be editing each element in digital software. So please keep an eye on my next newsletter, I will be giving direct links to download each file for social media use. I hope you like it!

It took me a couple of hours to finish this project and I like it a lot. Happy Mother’s Day!
With love,
Marina.
Reach out to me:
www.marinaapopova.com
www.linktr.ee/map.author.poet